December 8

Frost

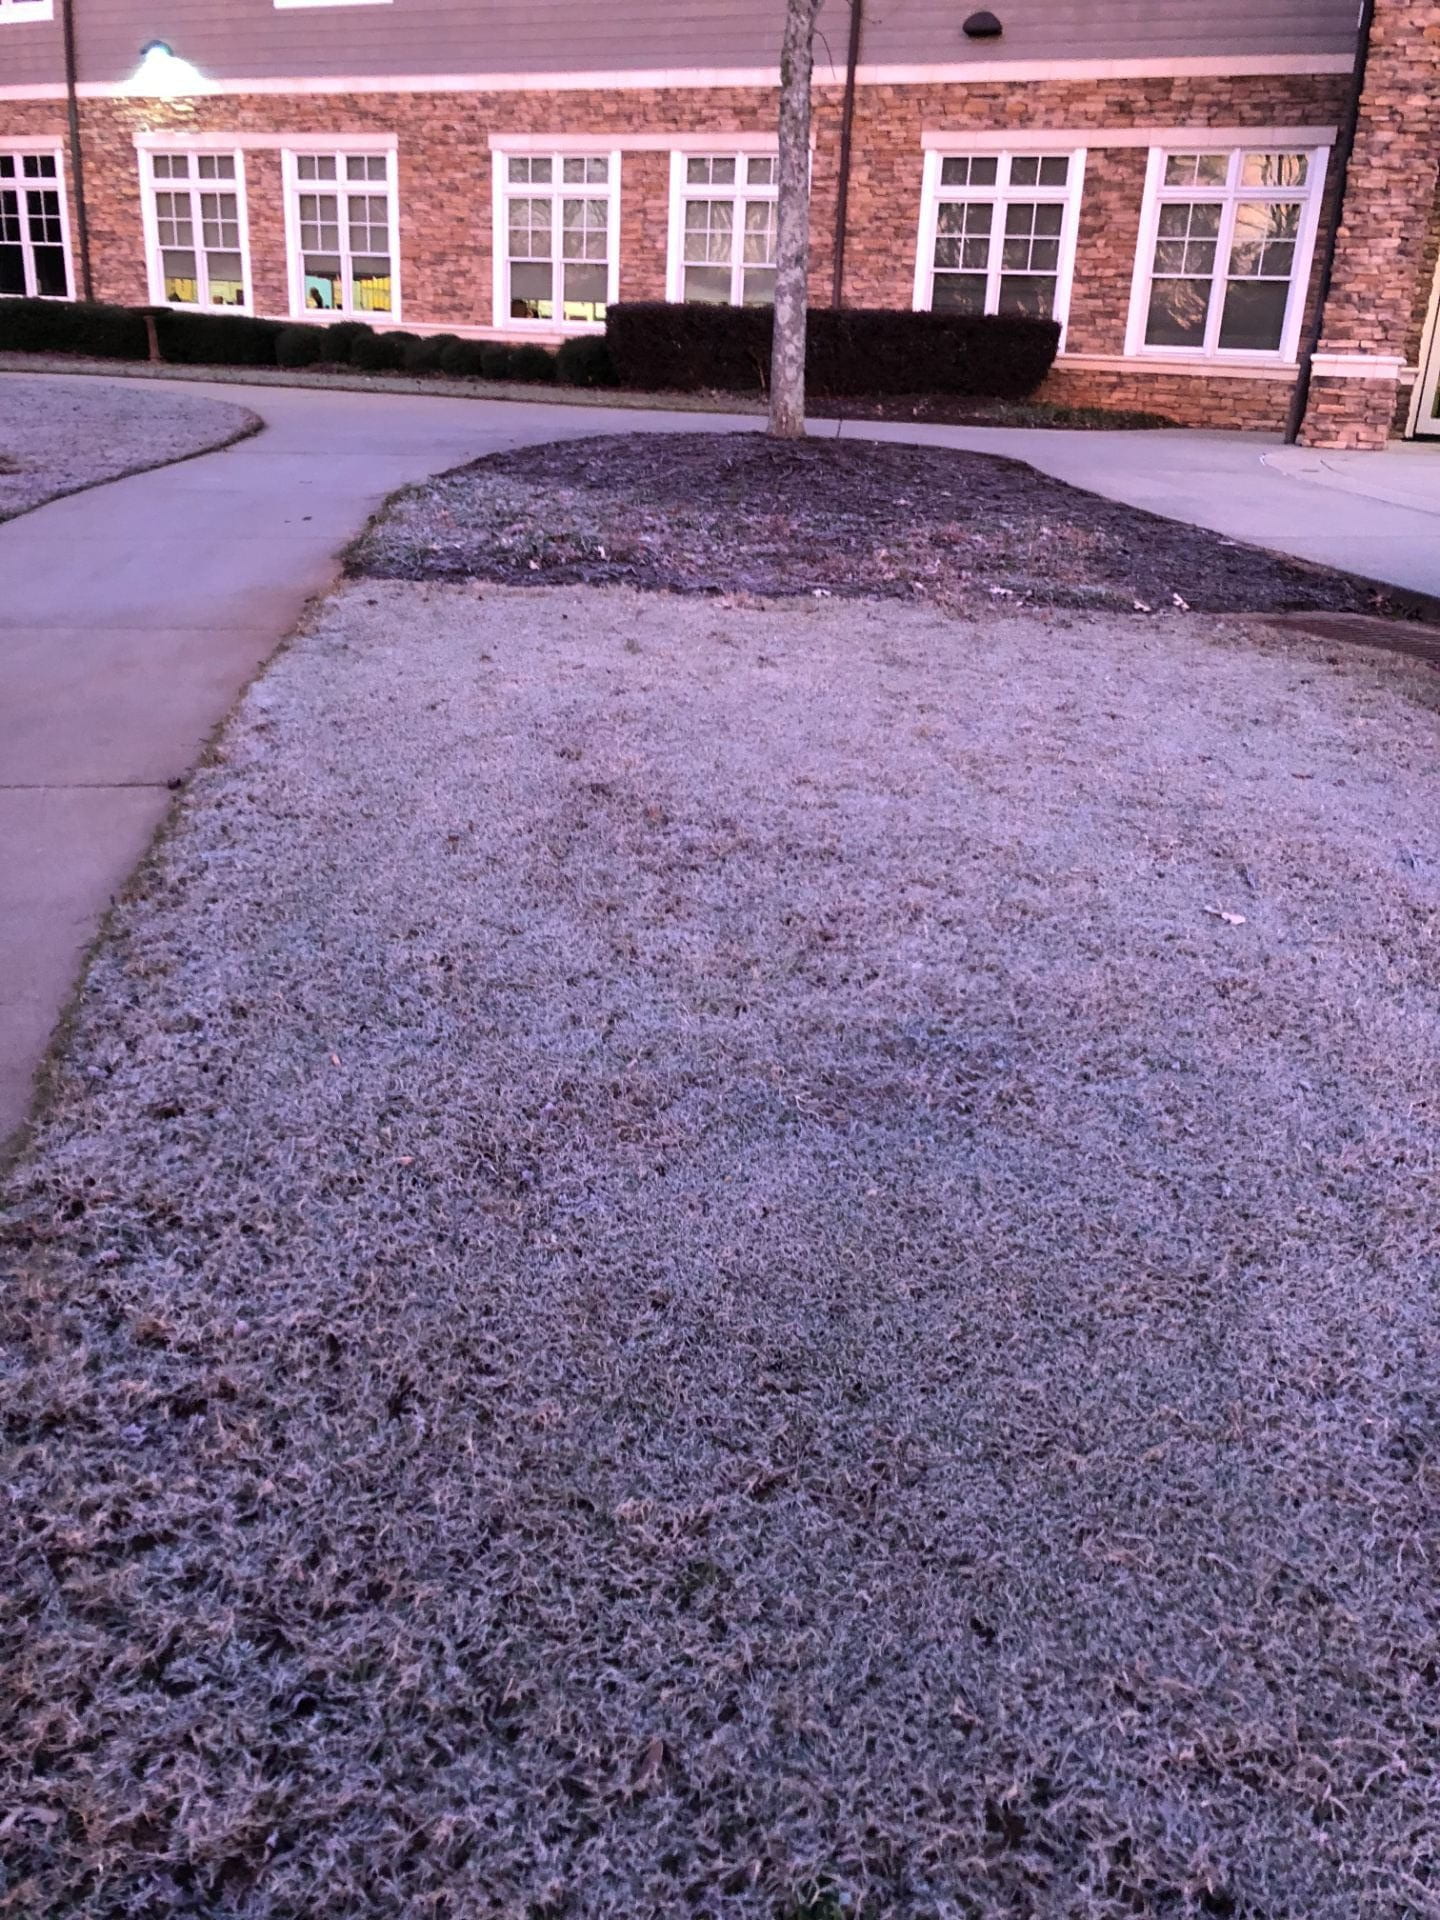
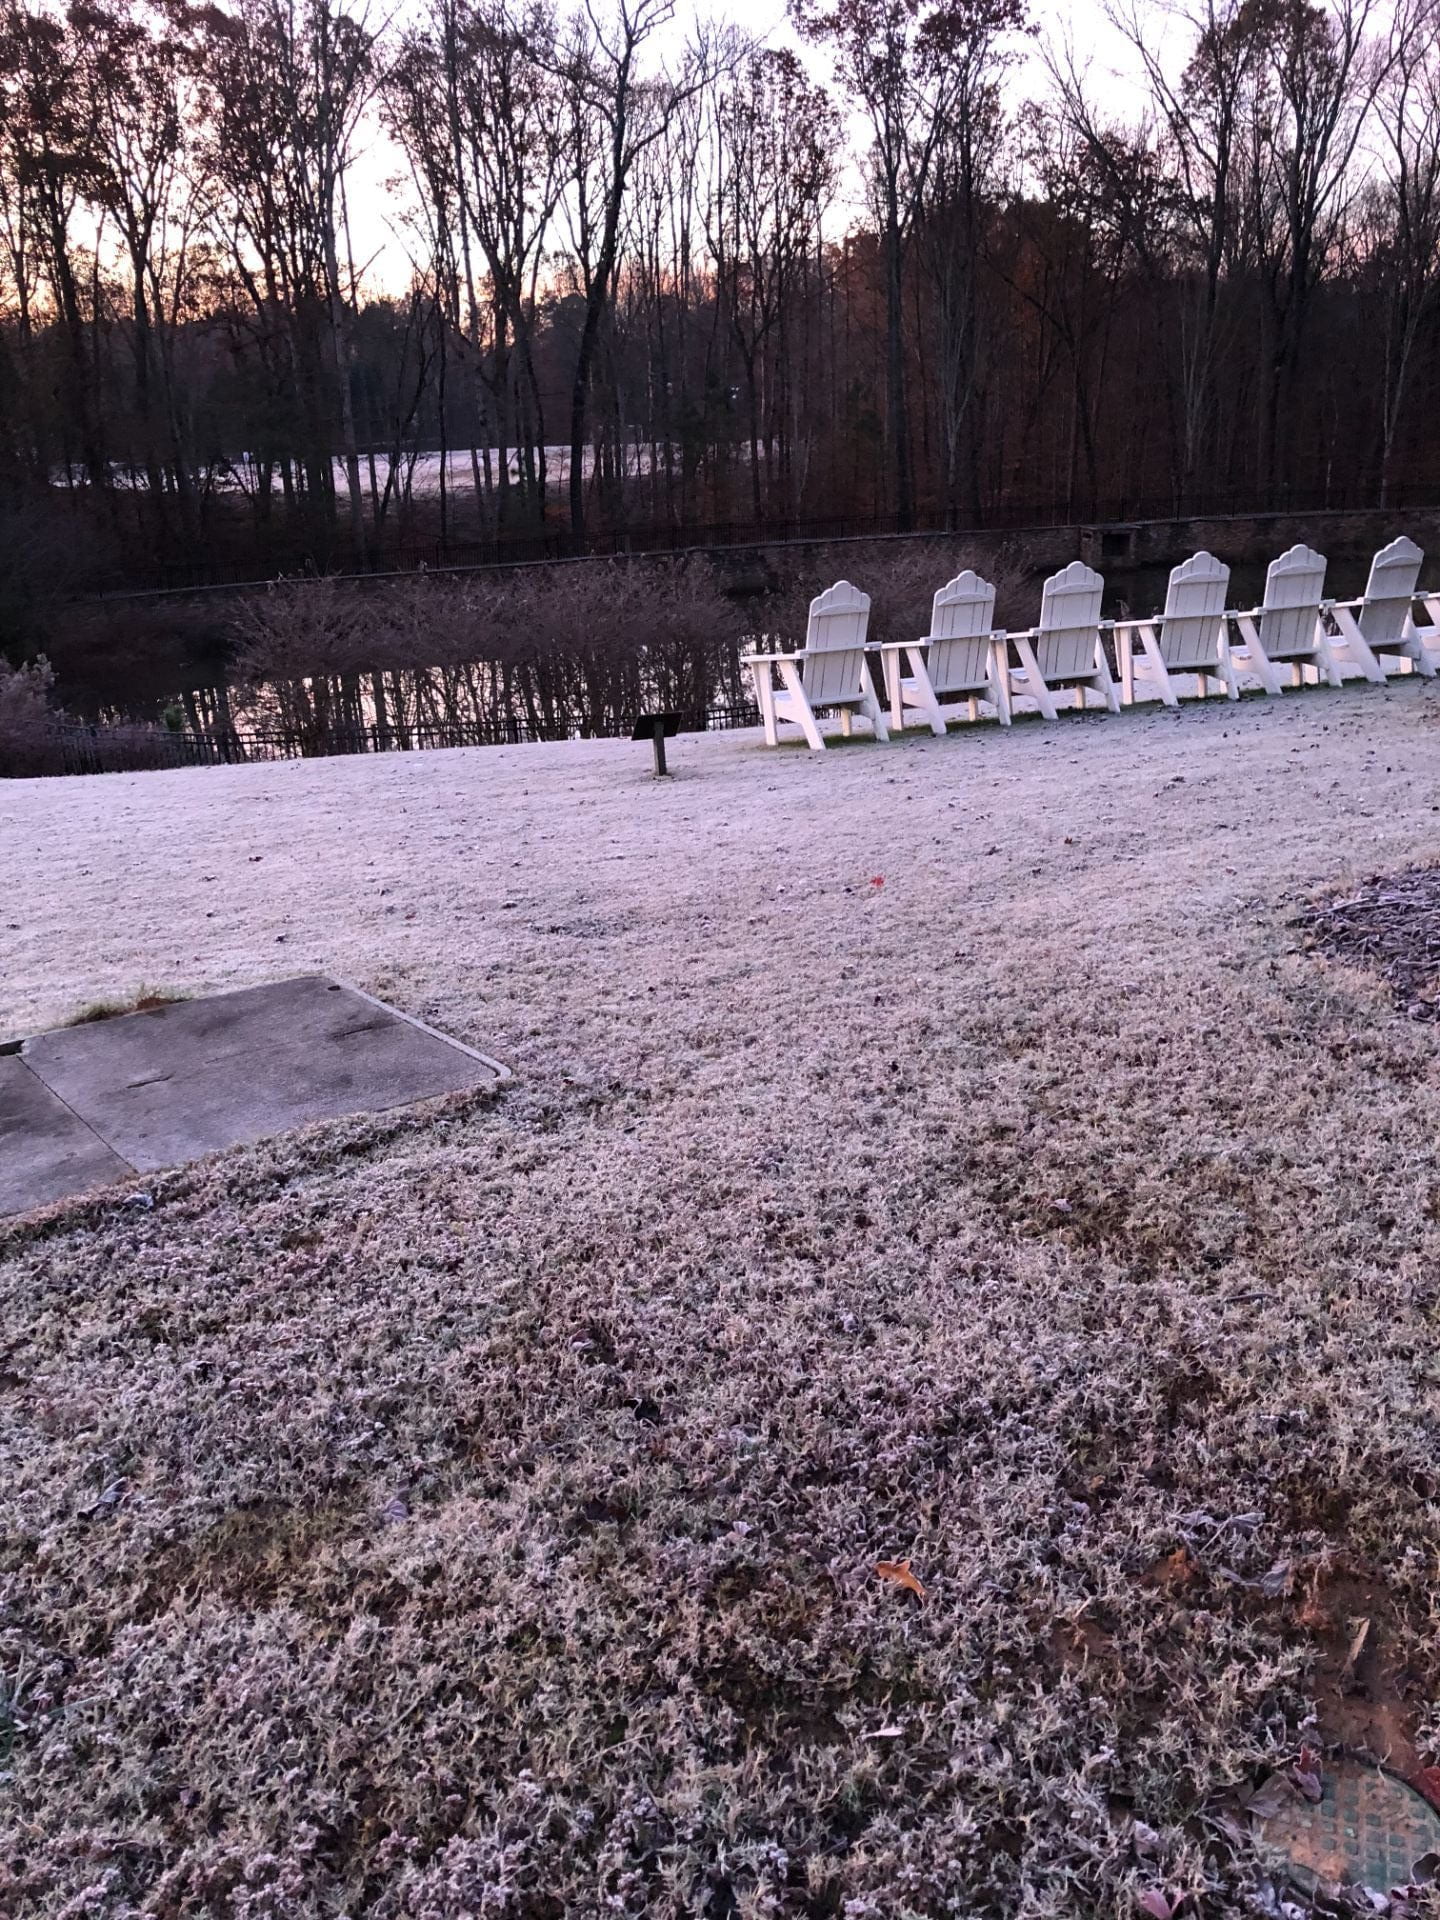
What did I observe when I walked into school one cold morning?


What is the difference between frost and snow? How does frost form? Click here to watch this breathtaking beauty and click here to learn more about how and when frost forms.

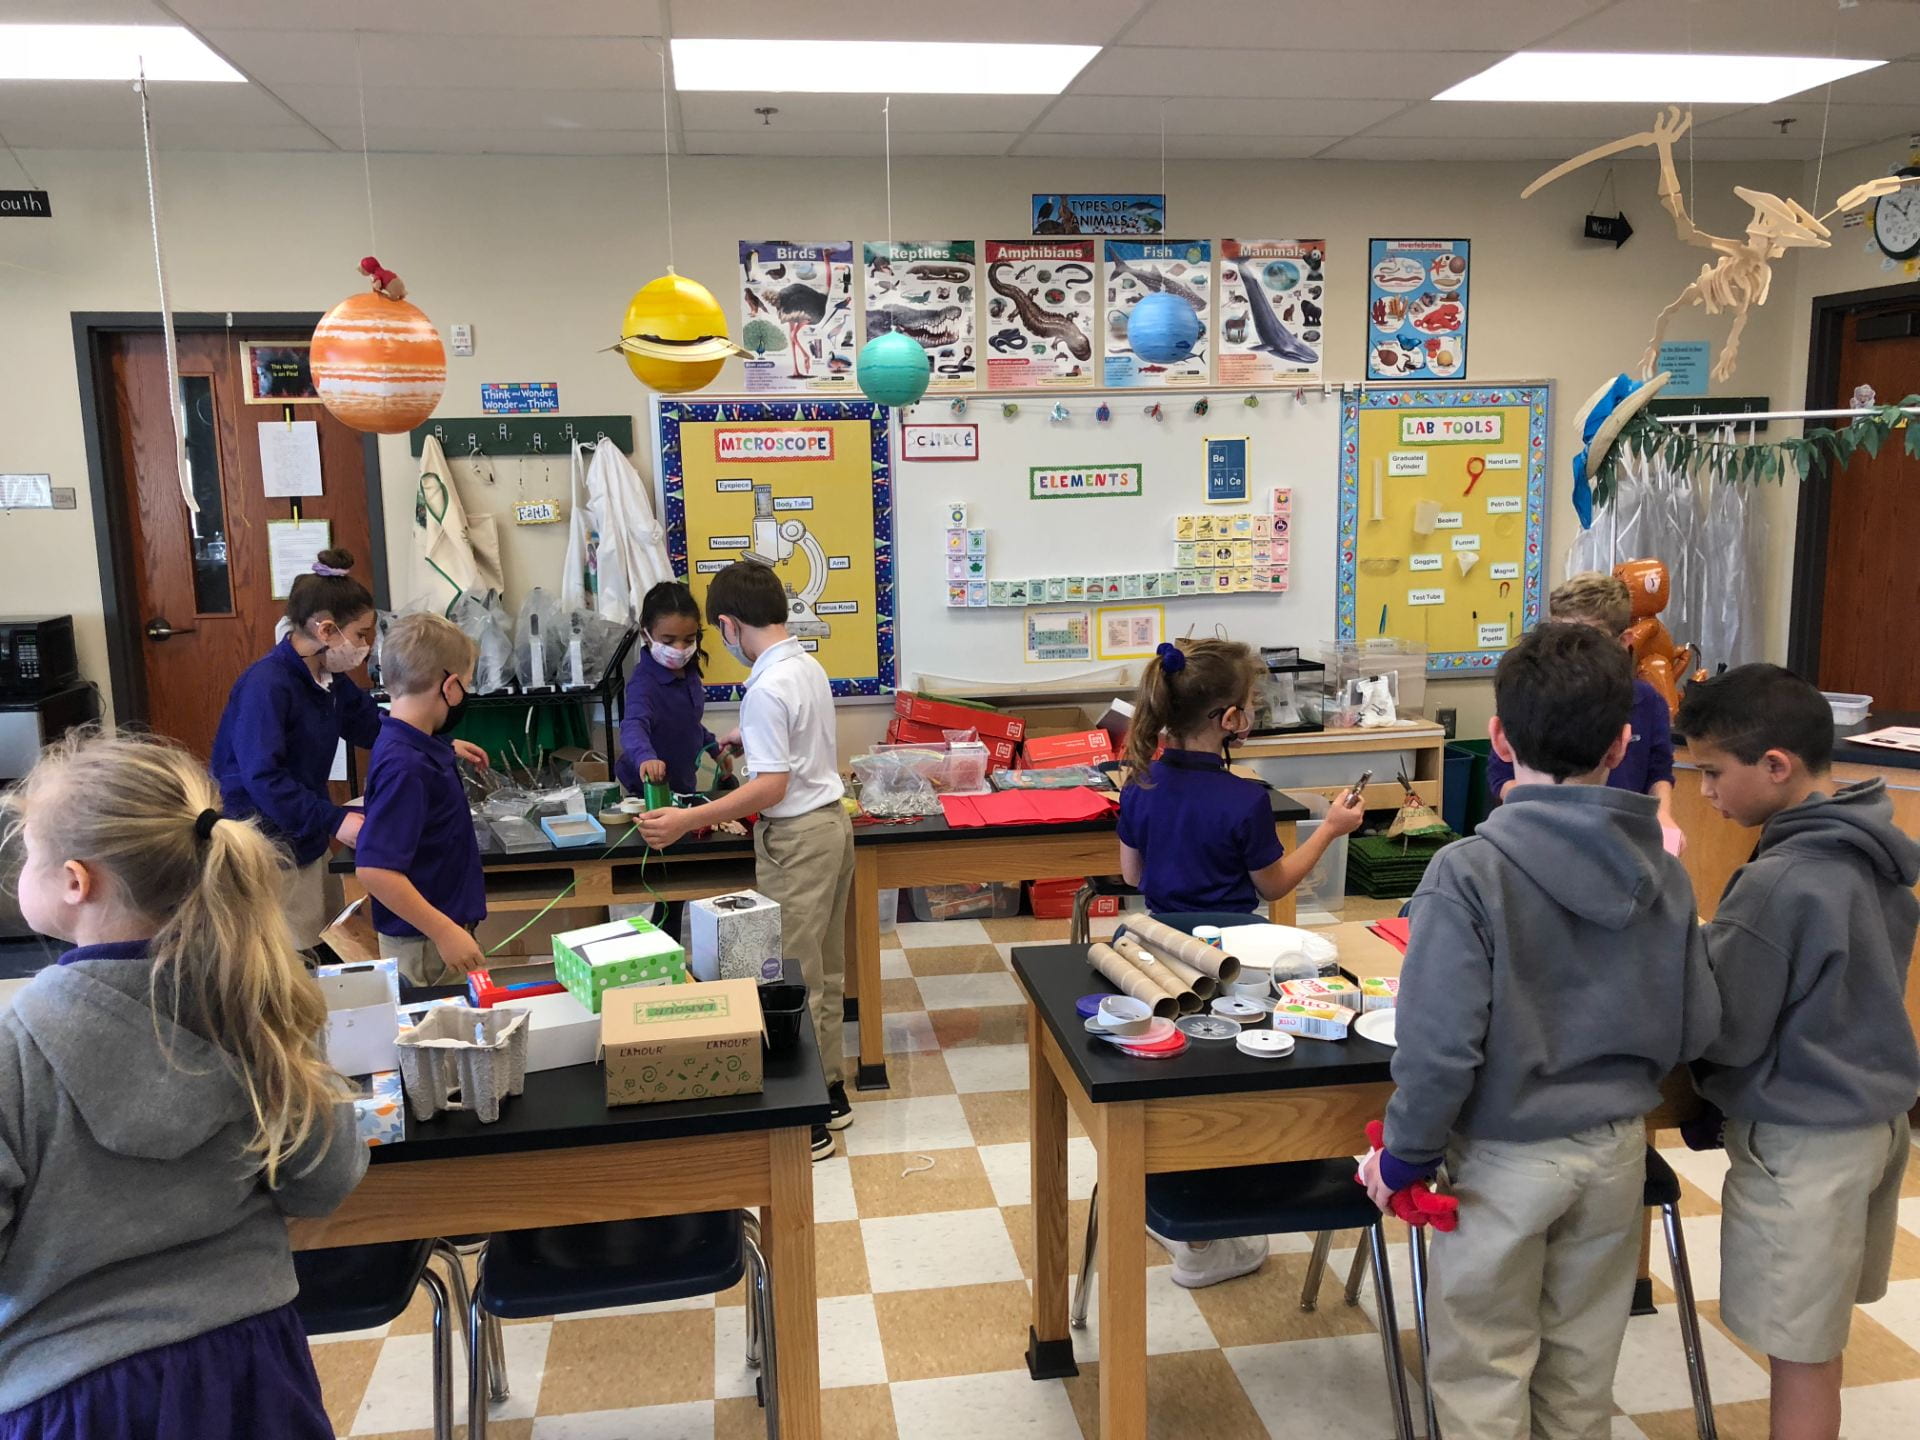
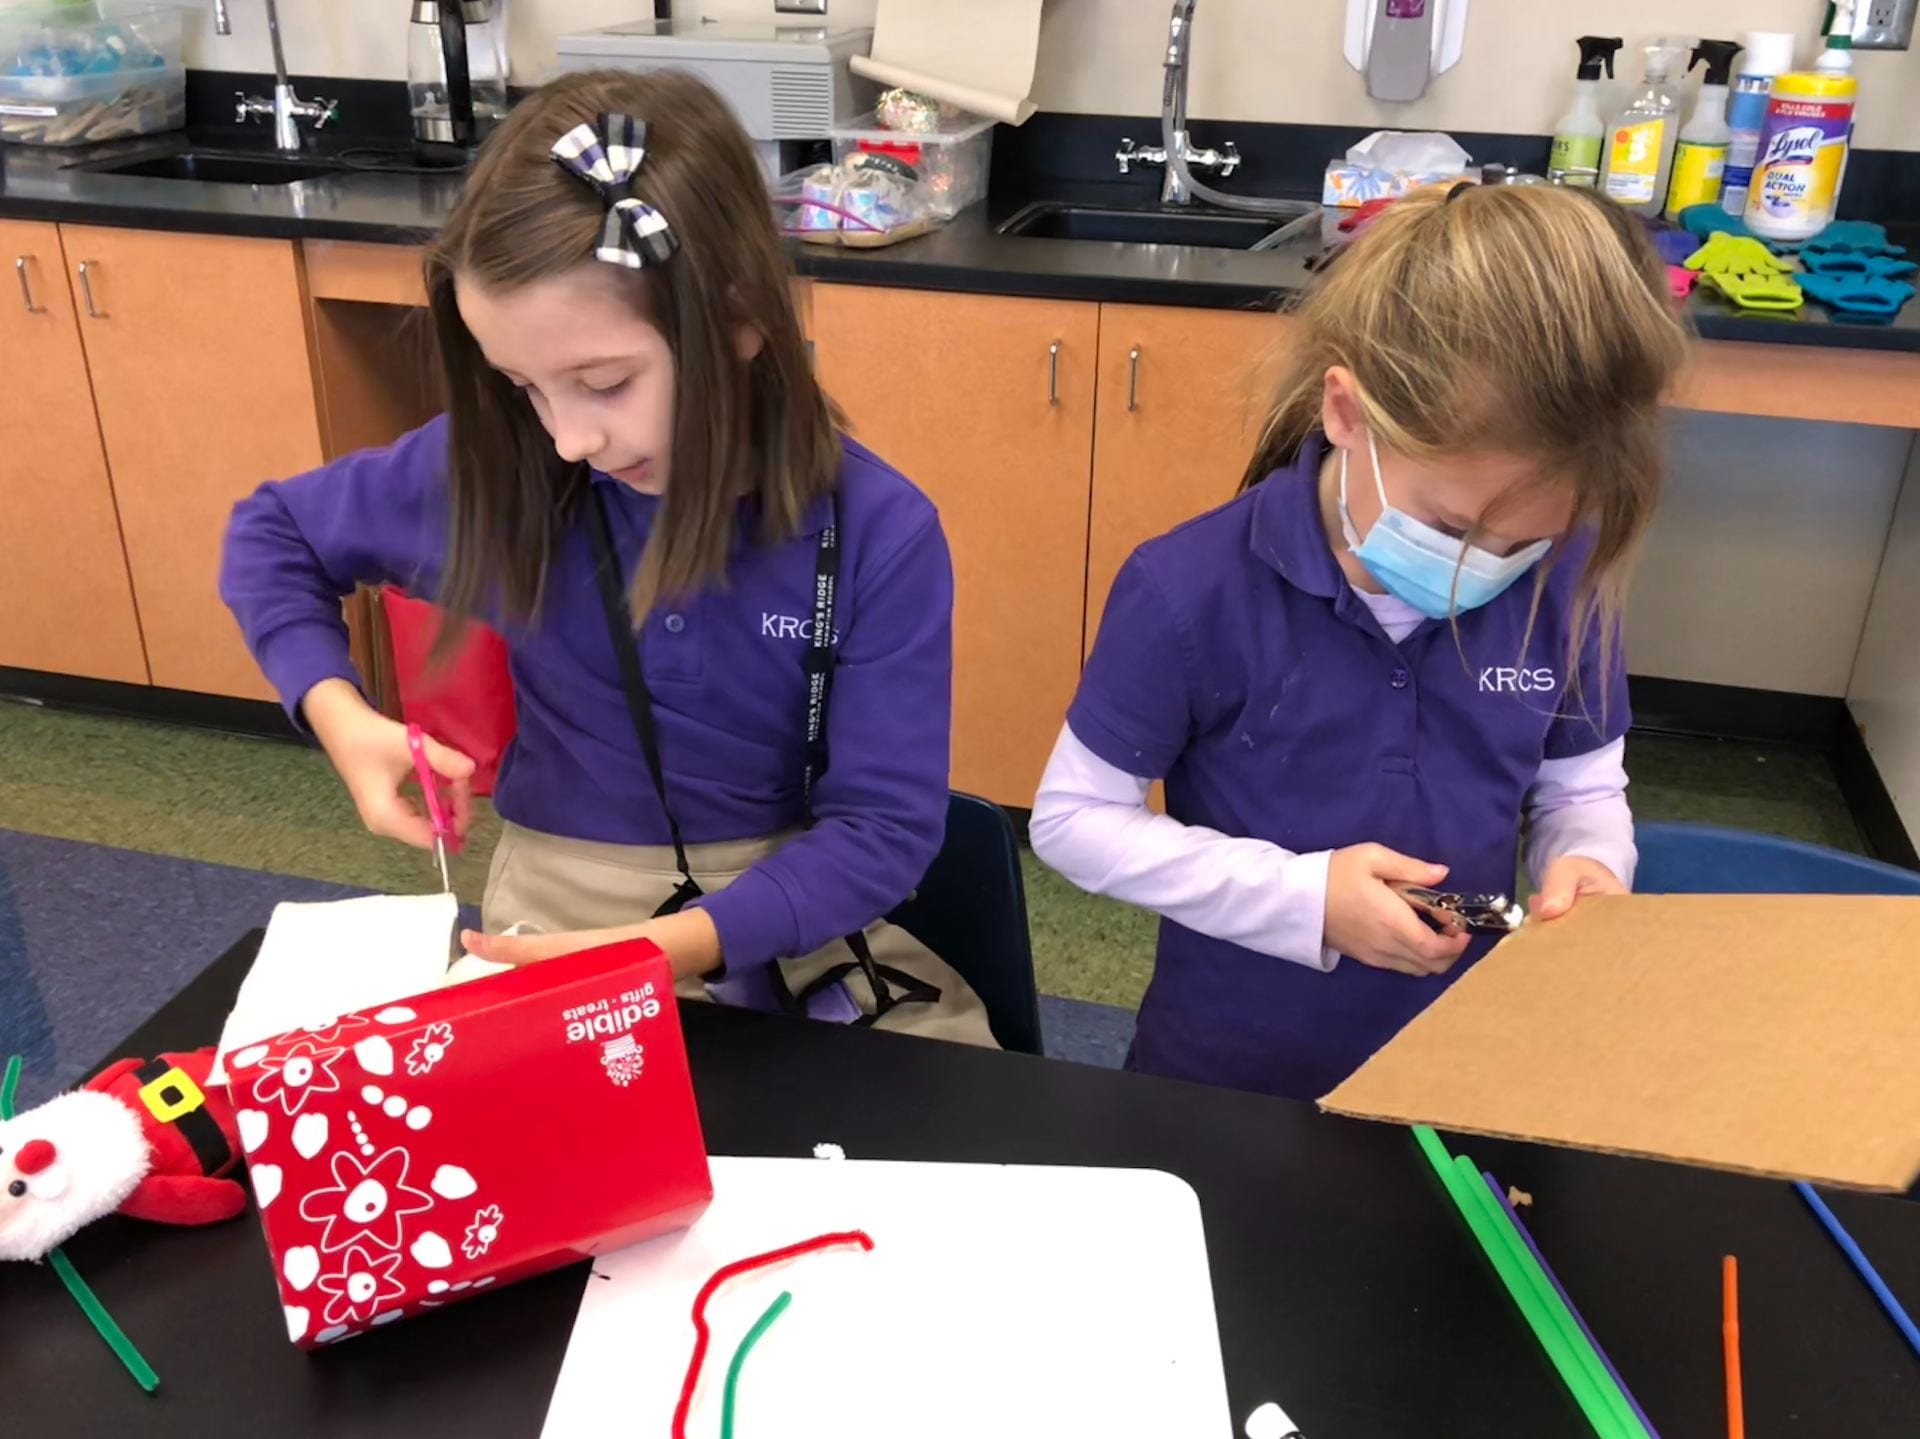
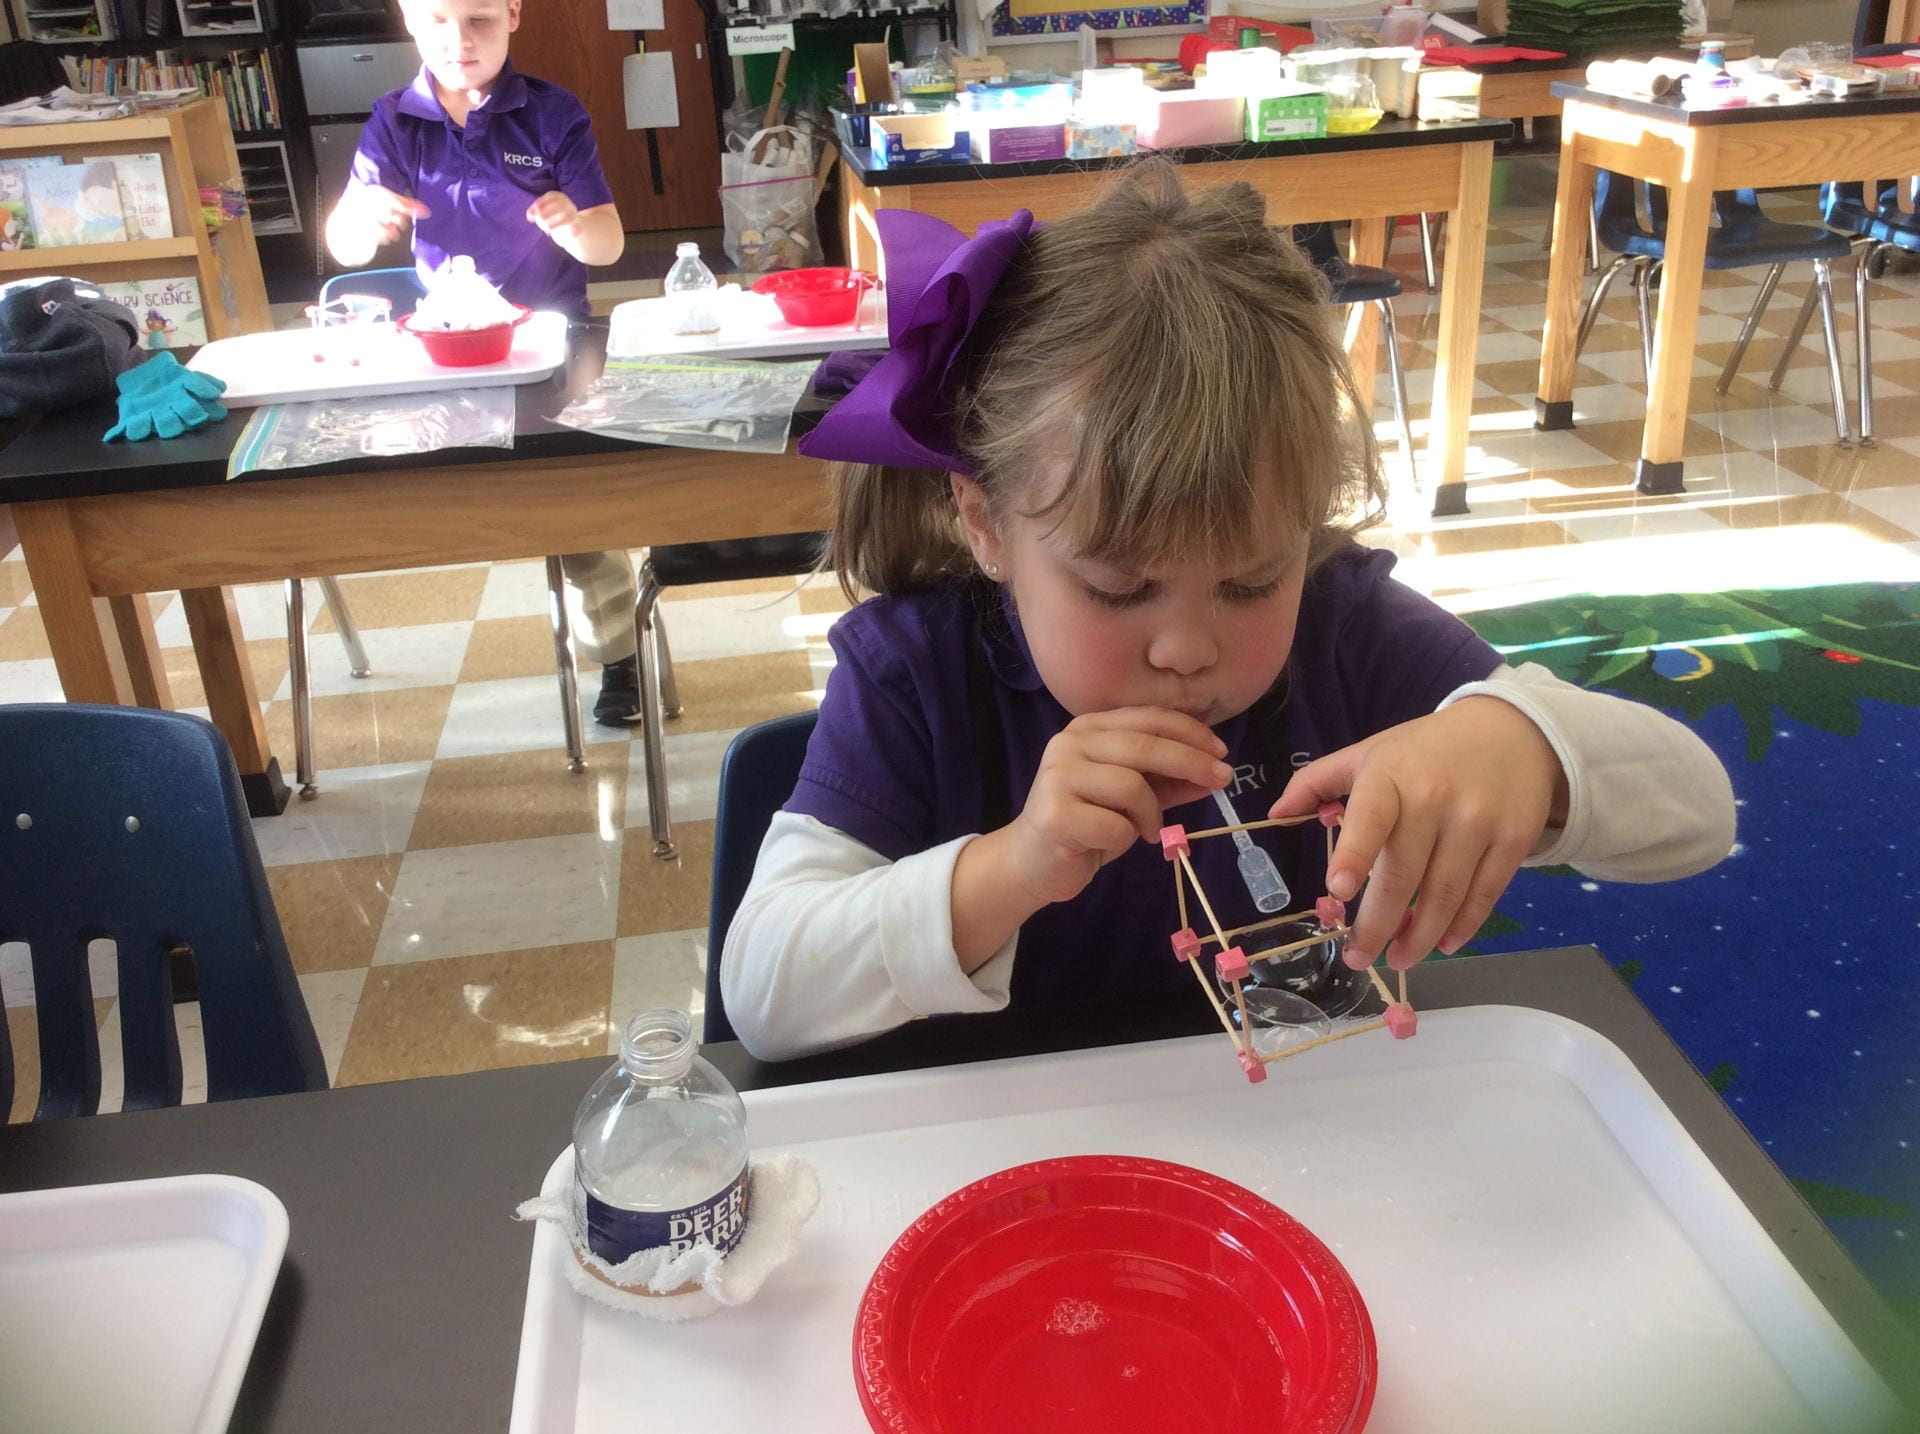
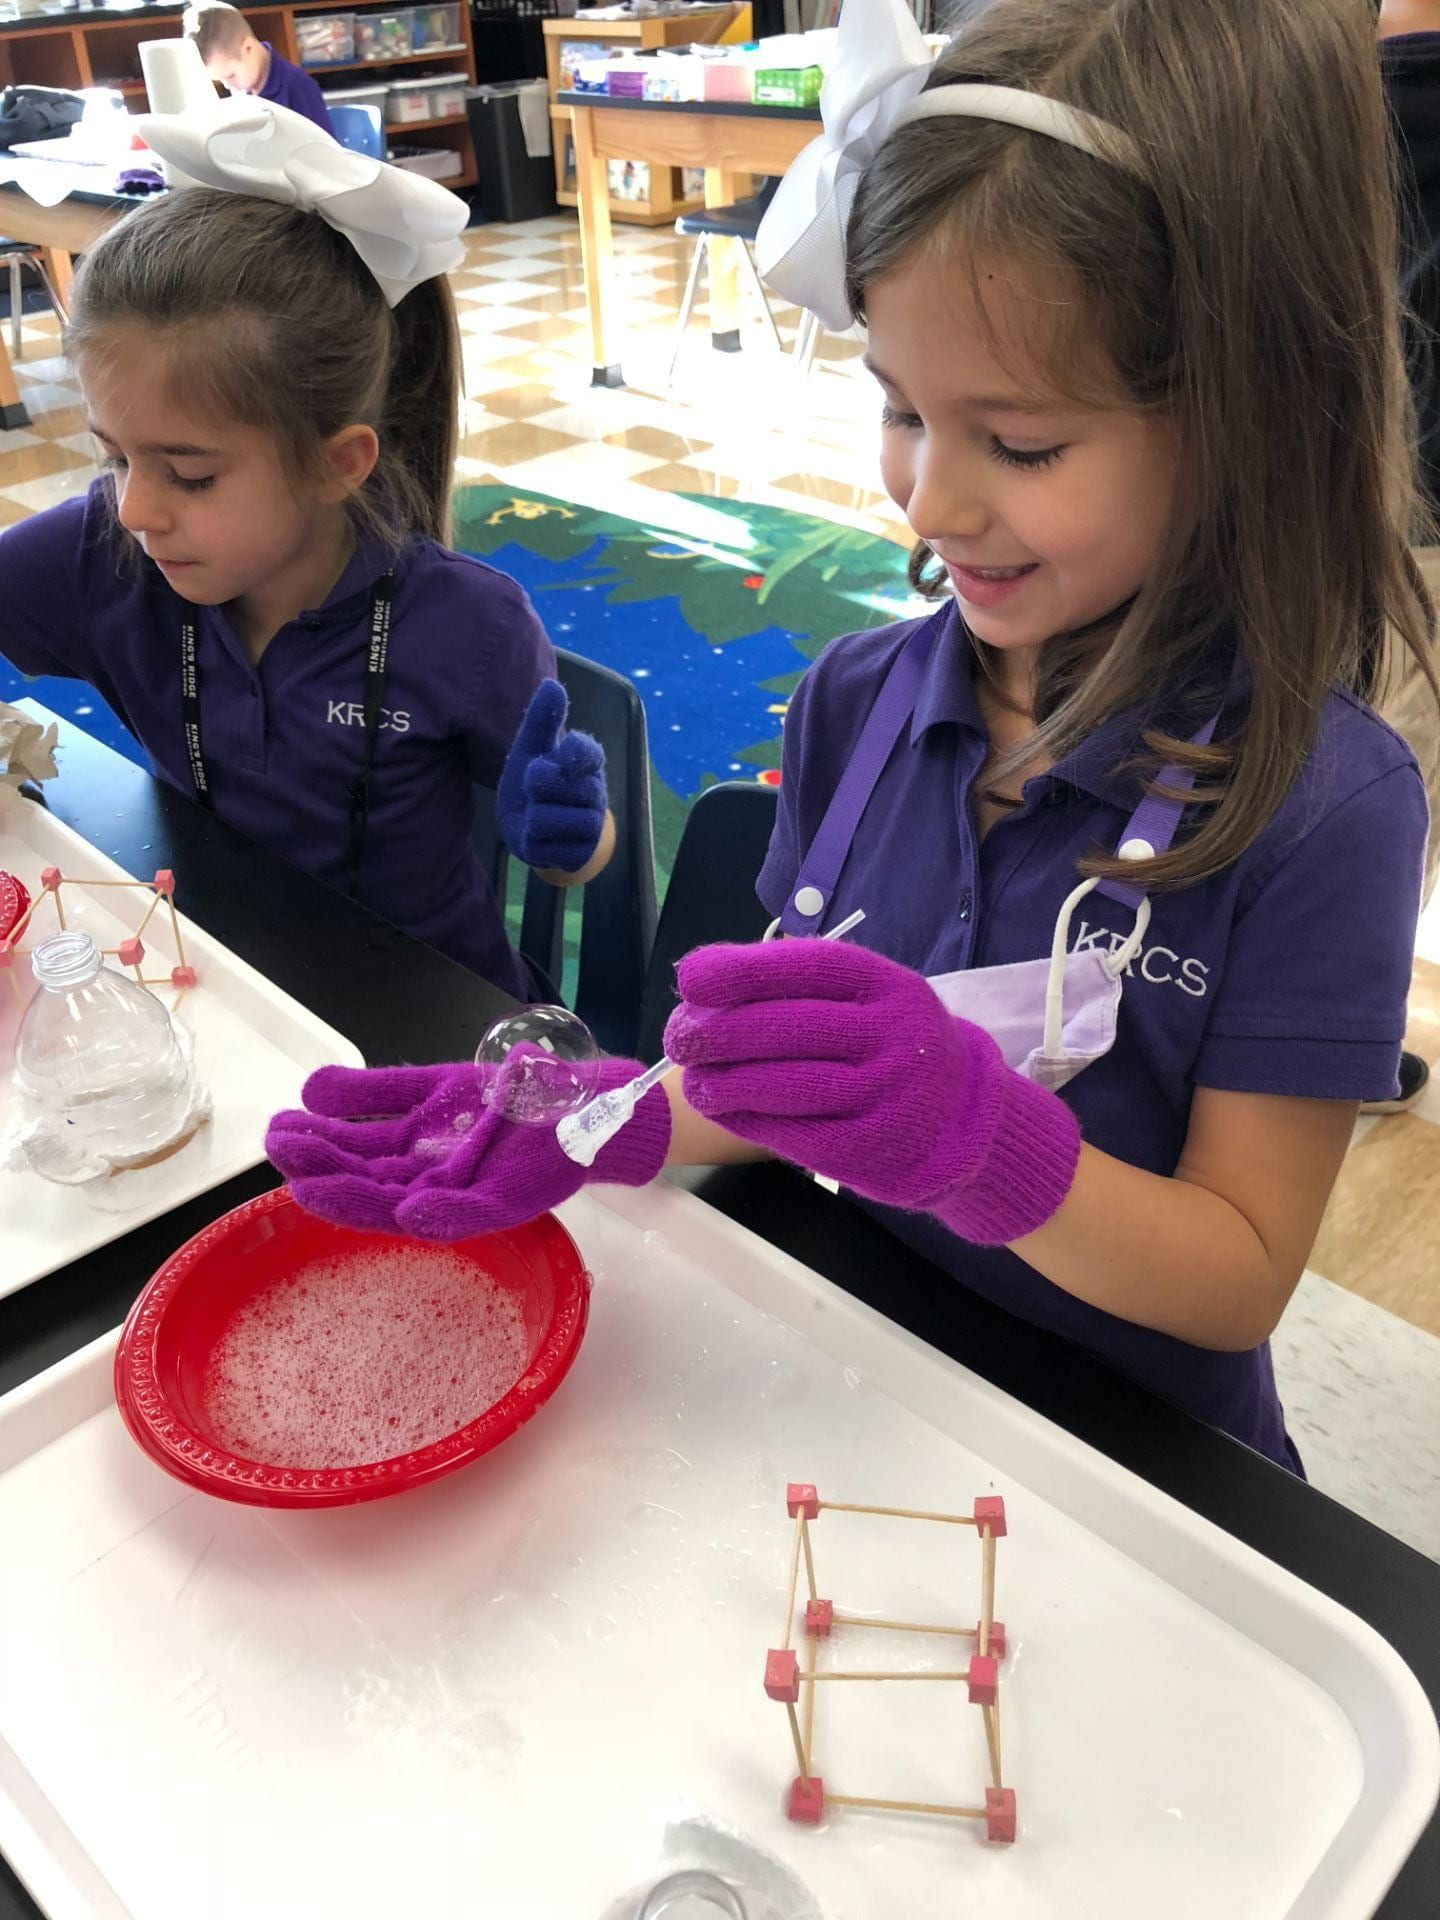
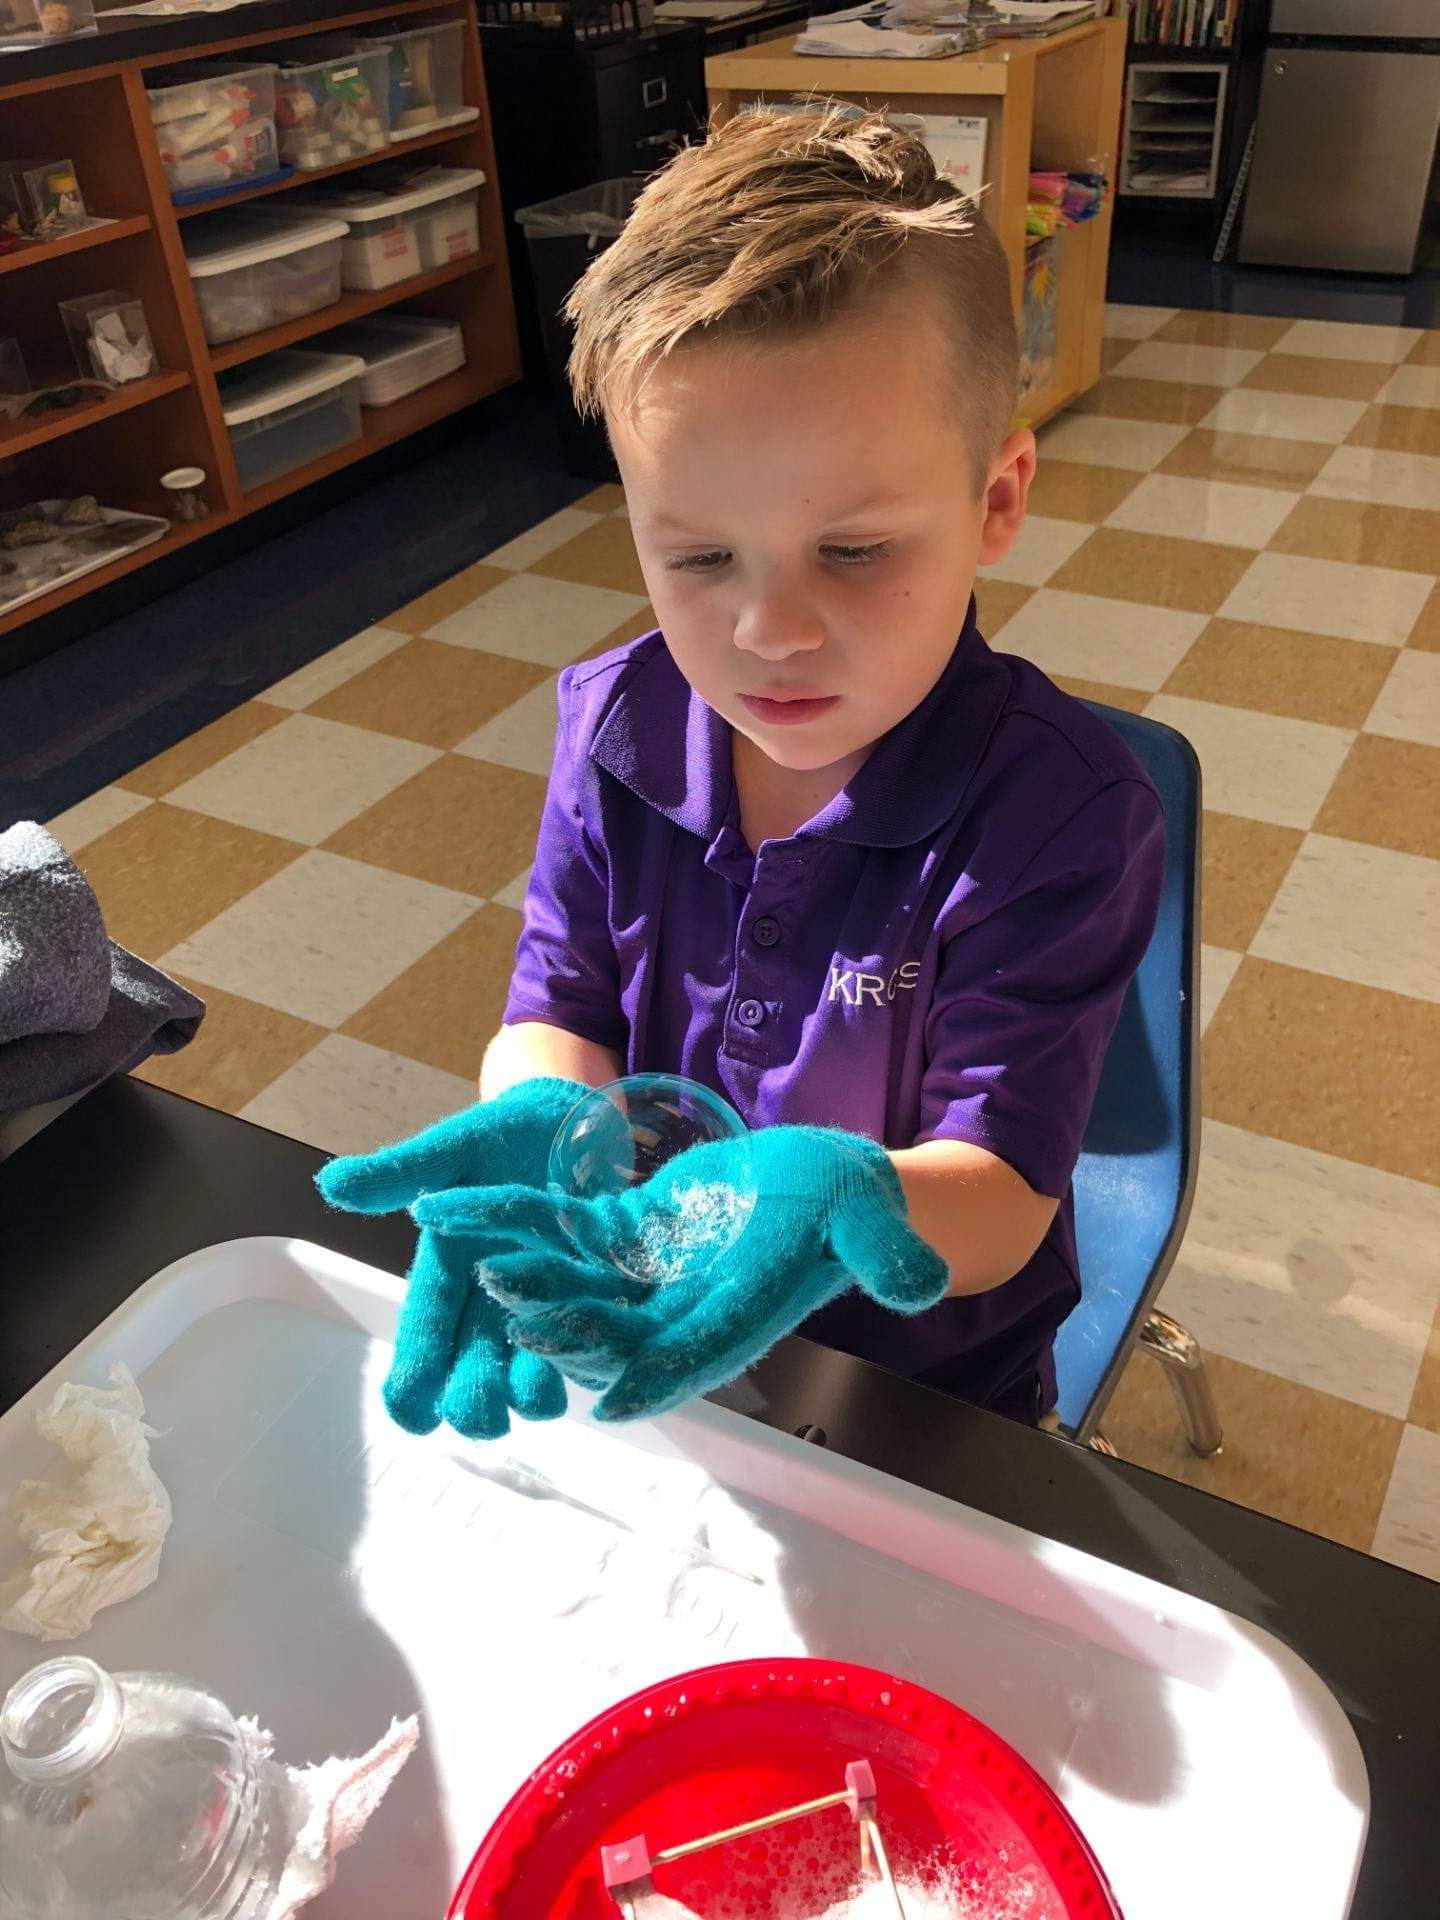
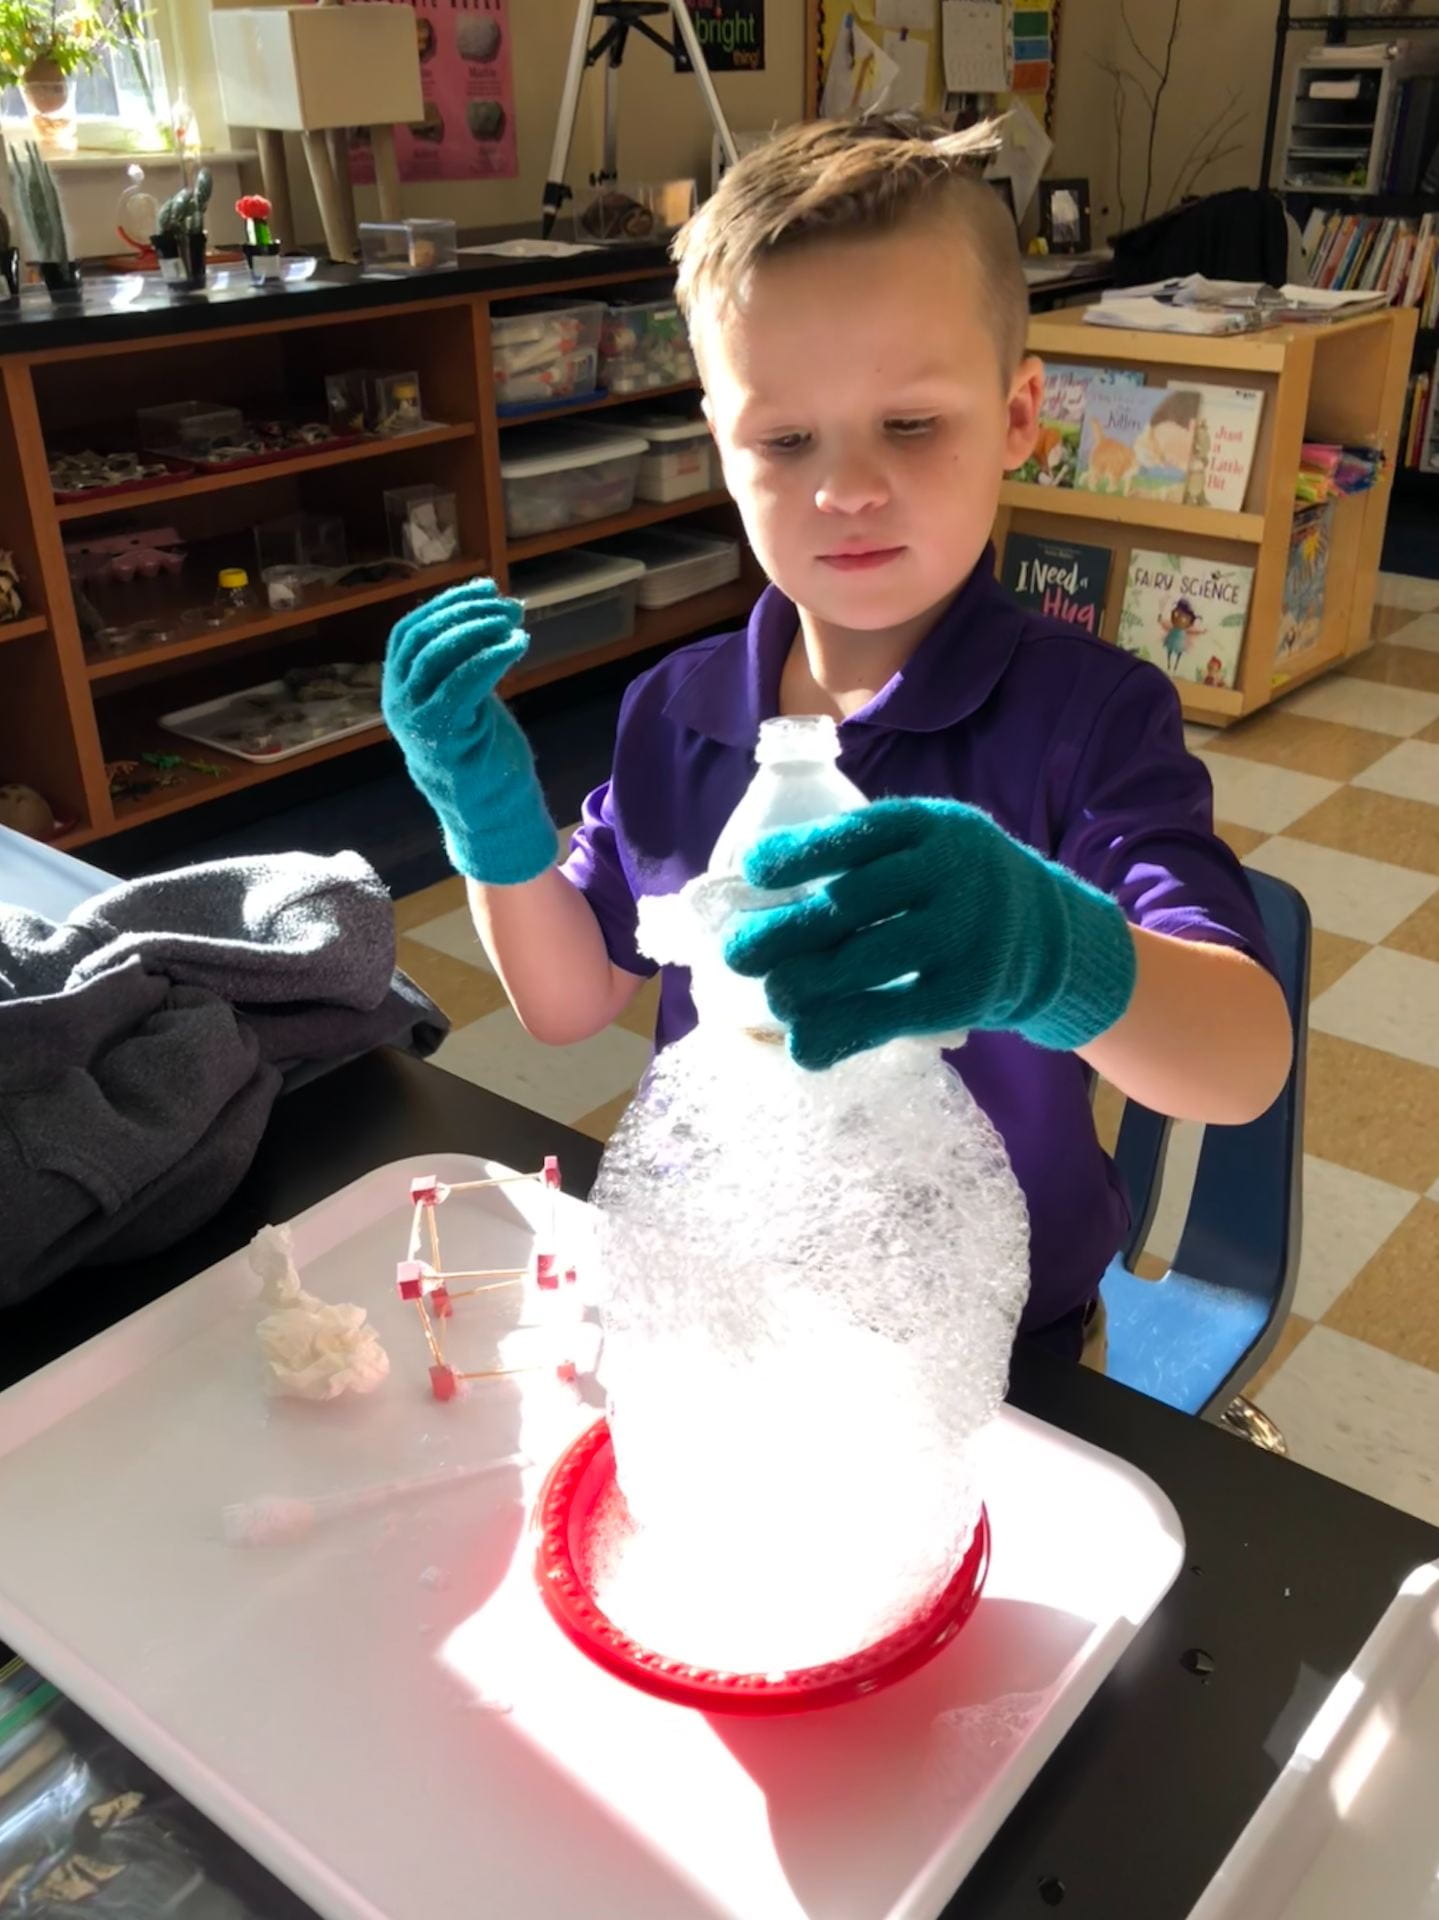
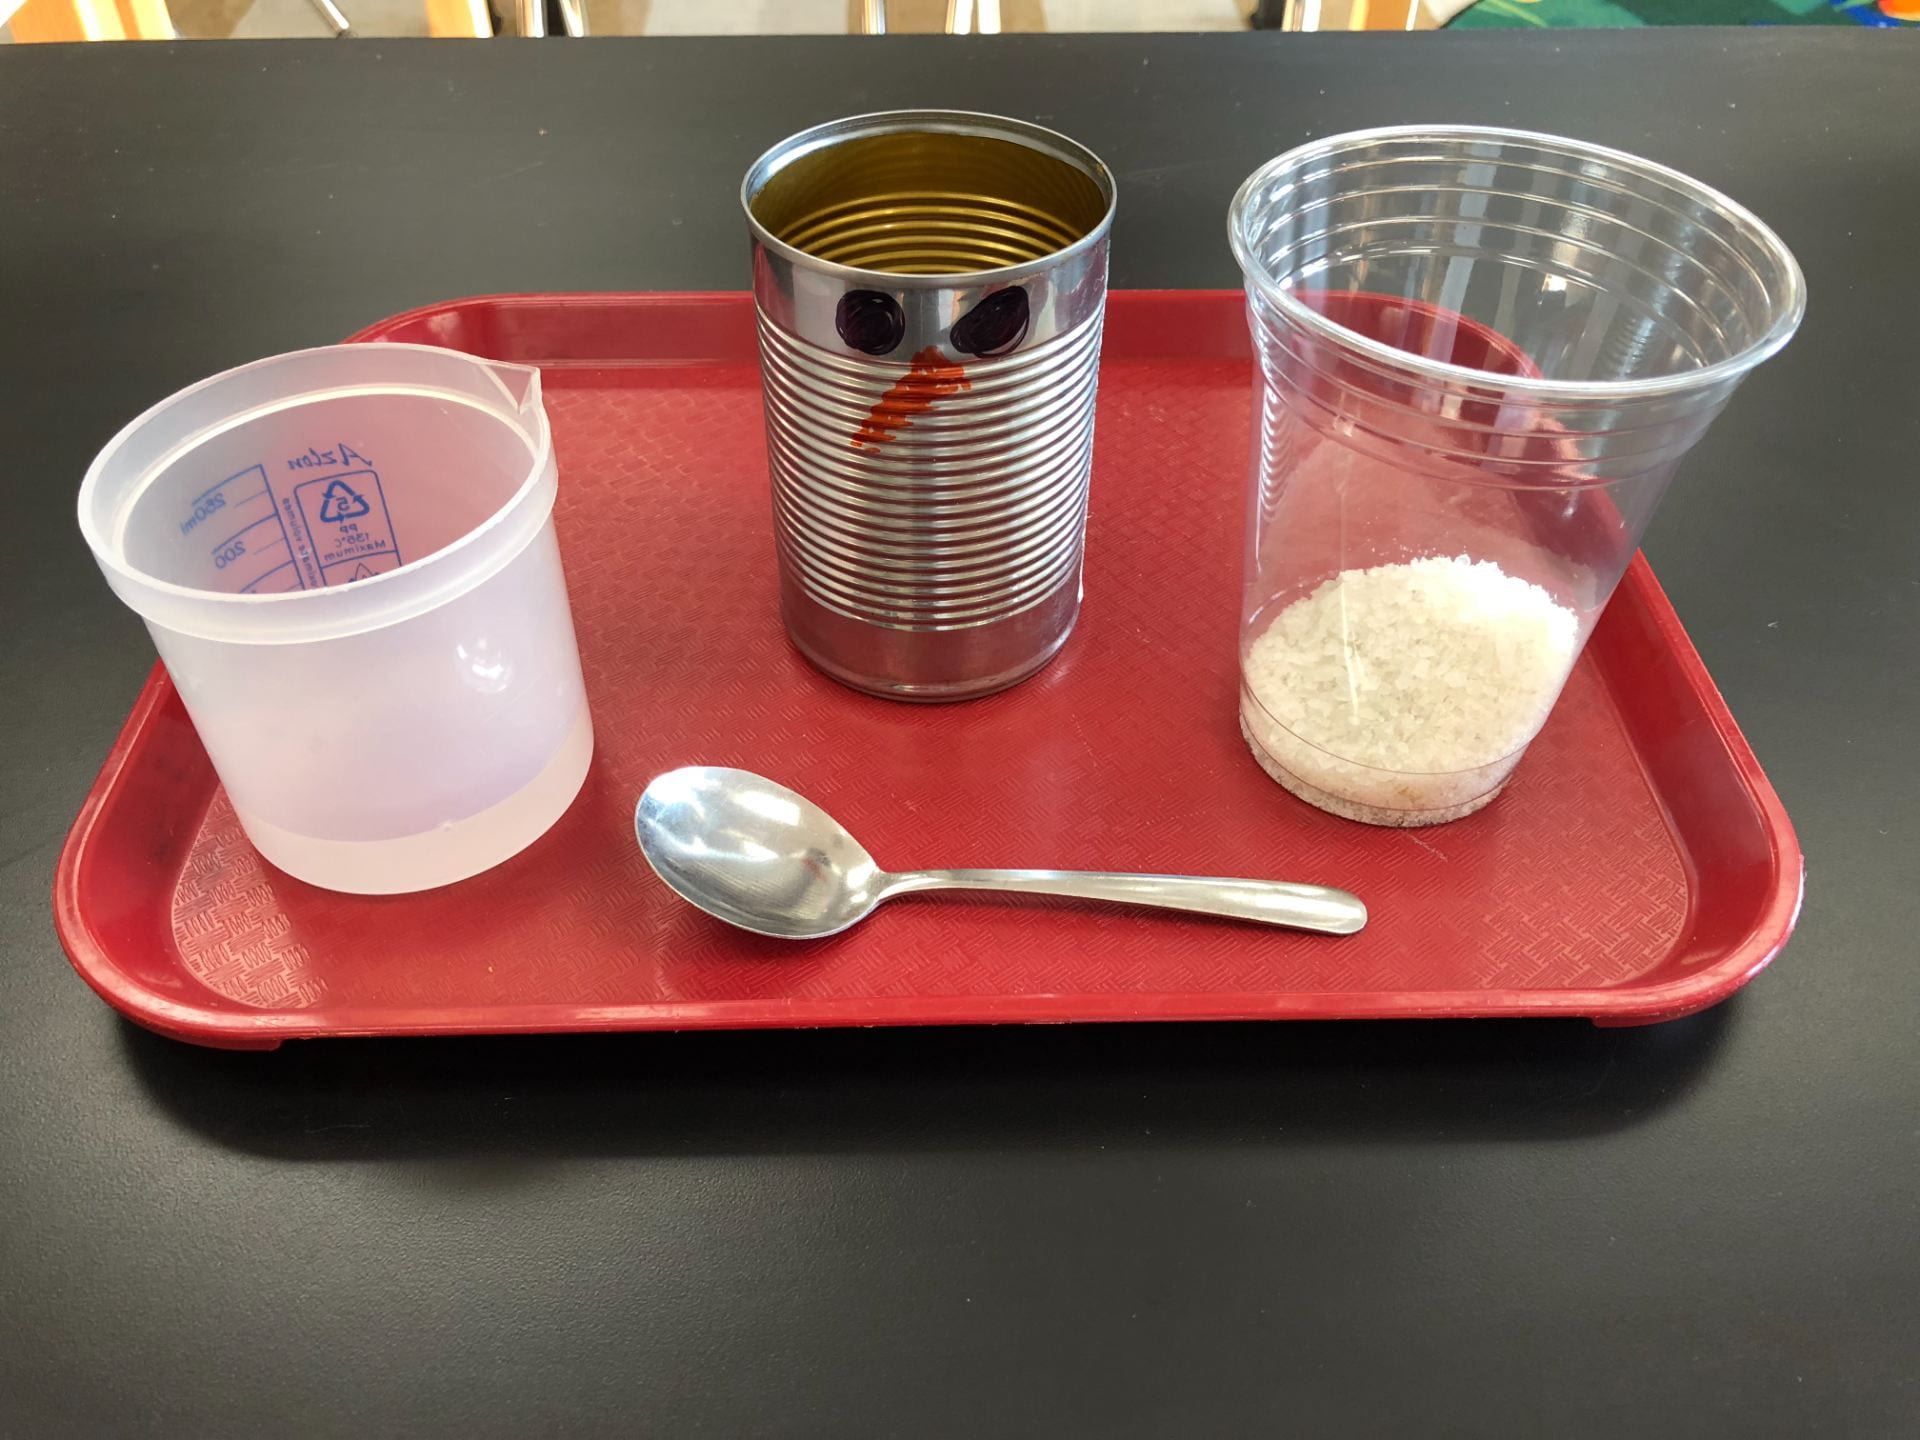
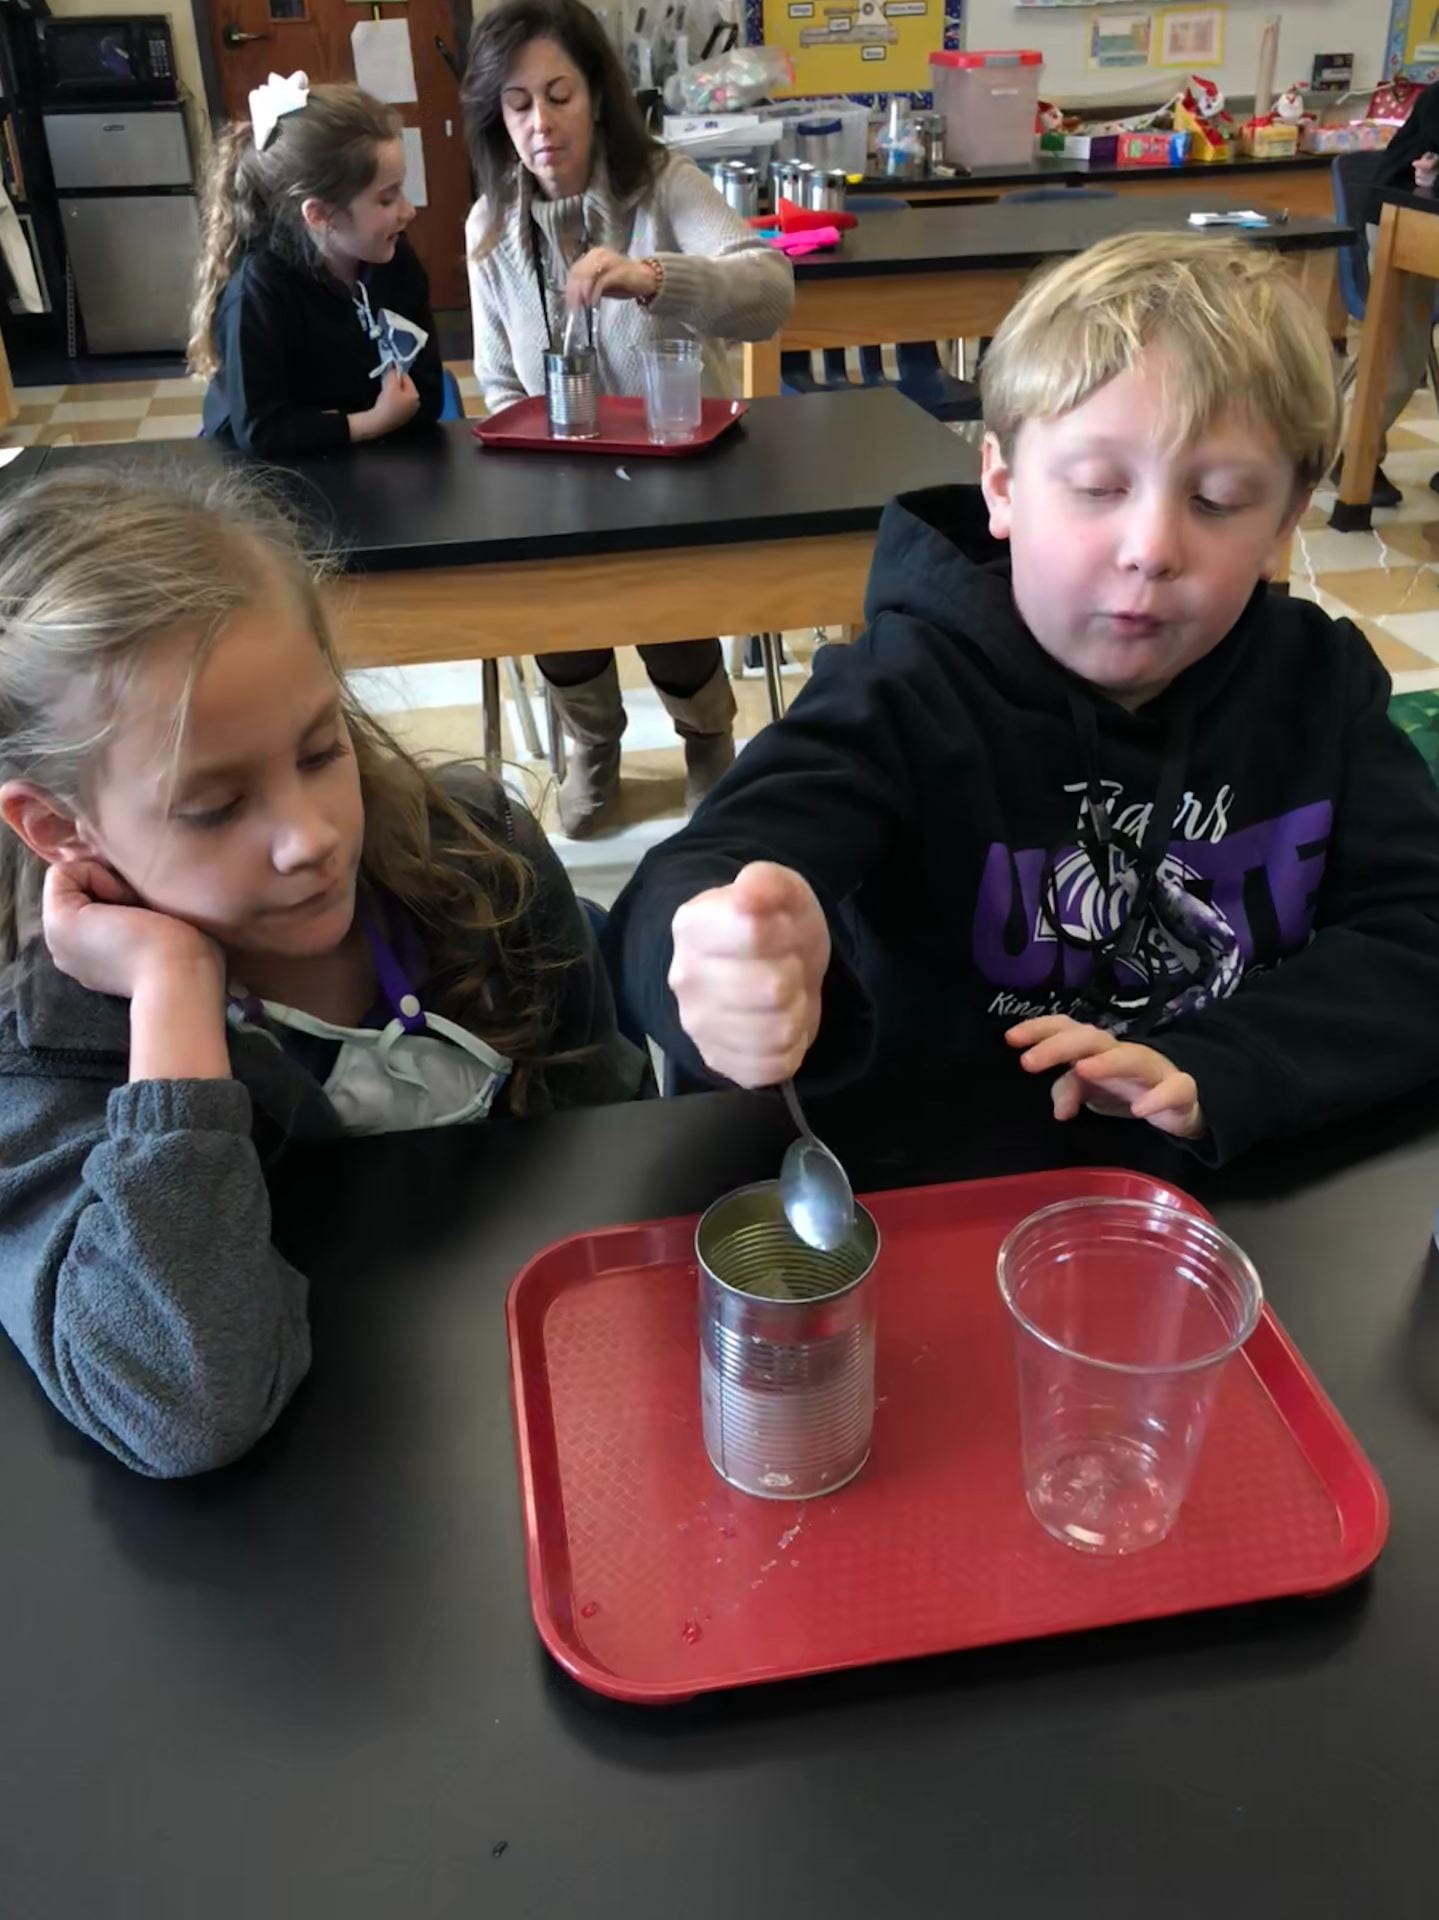
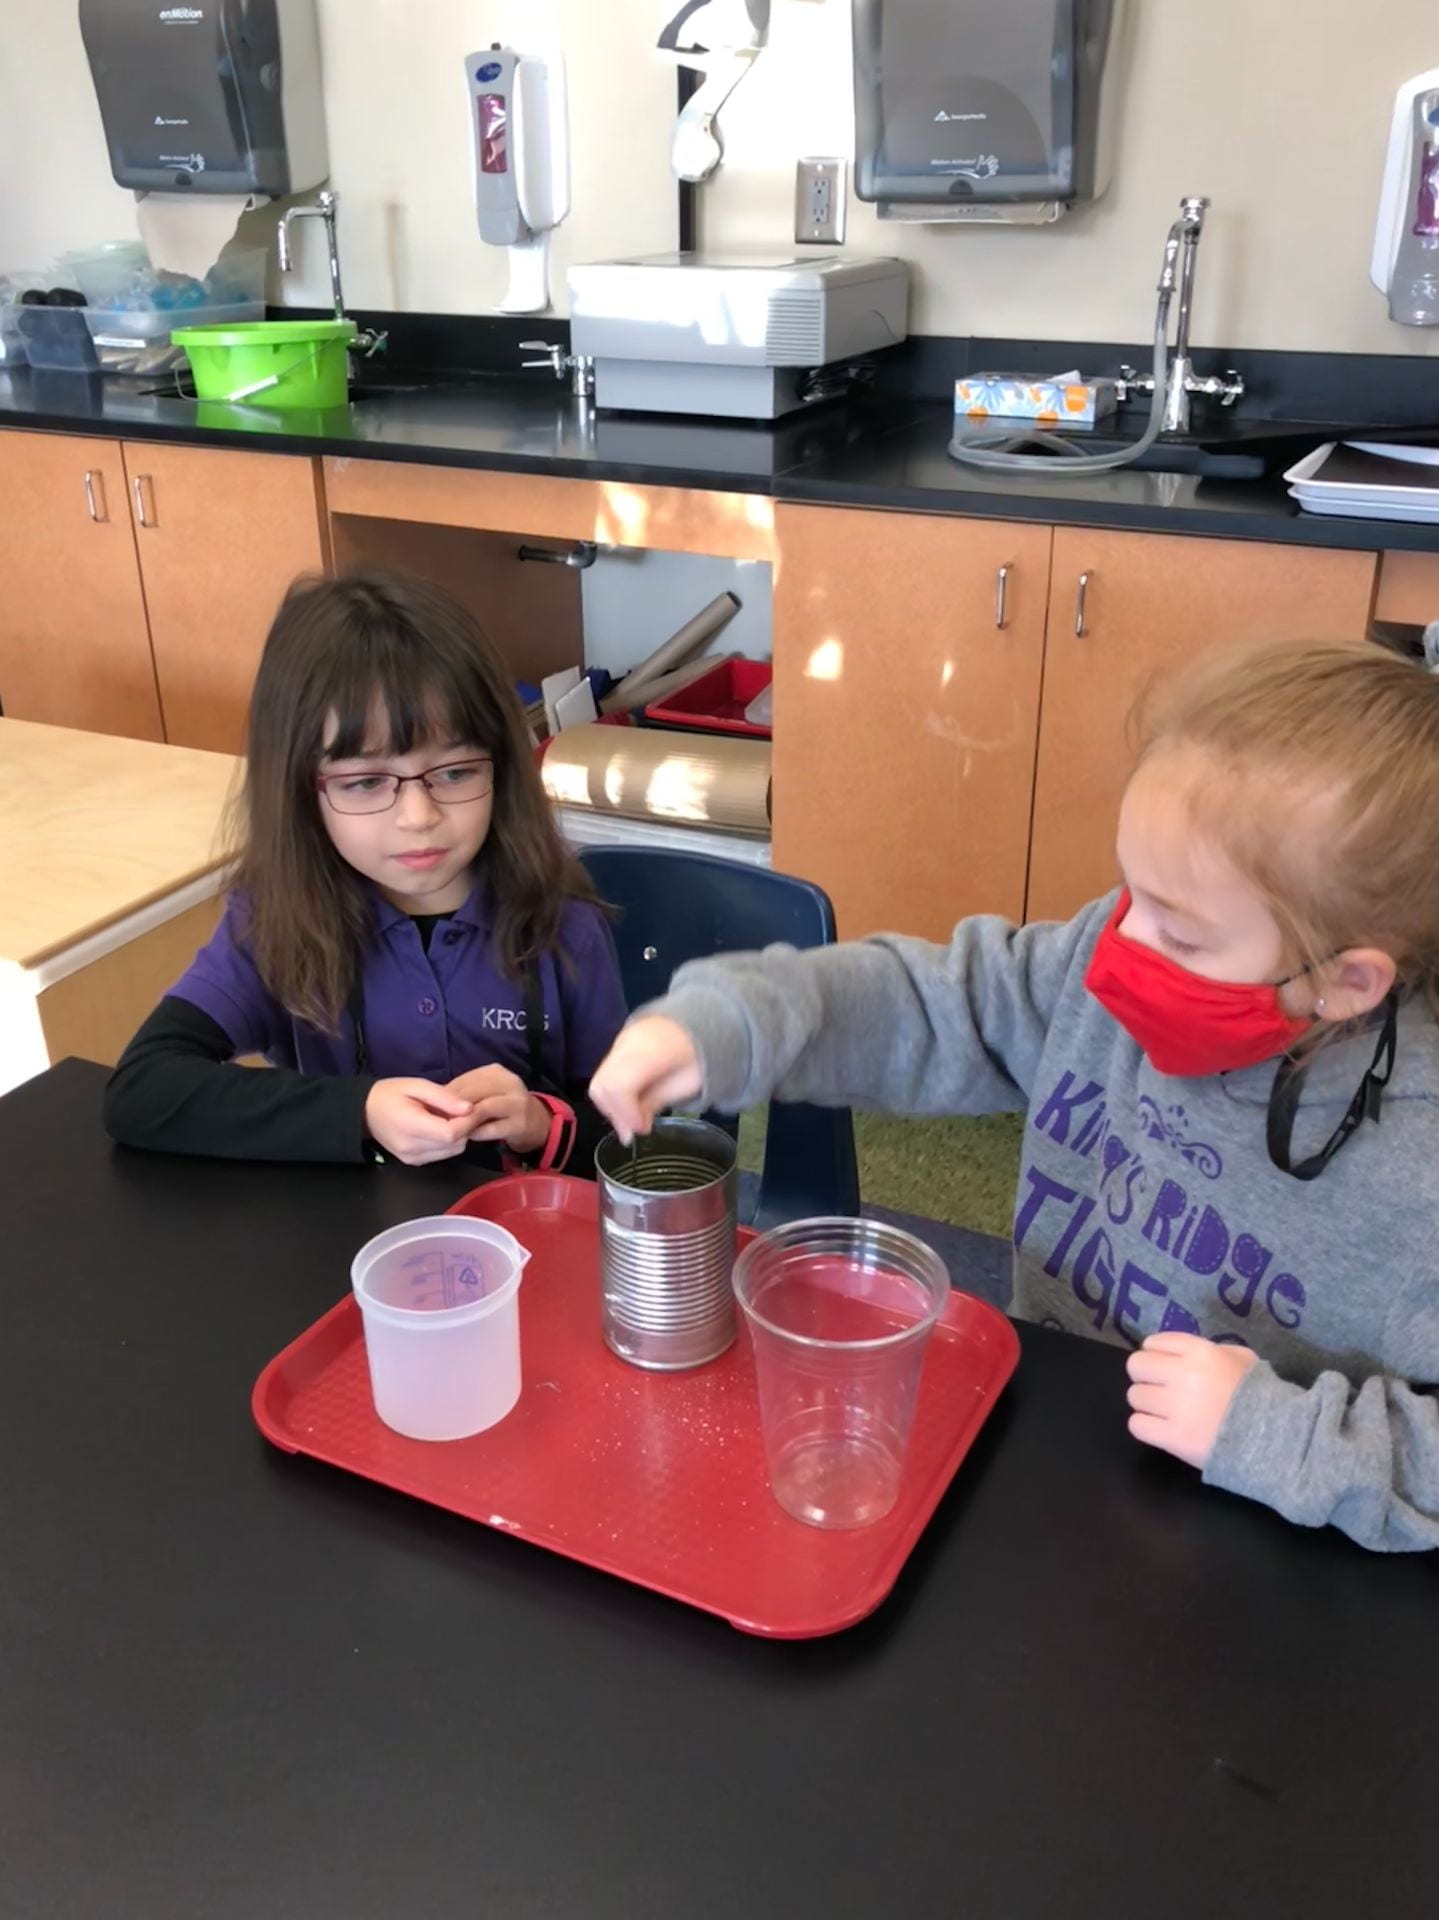
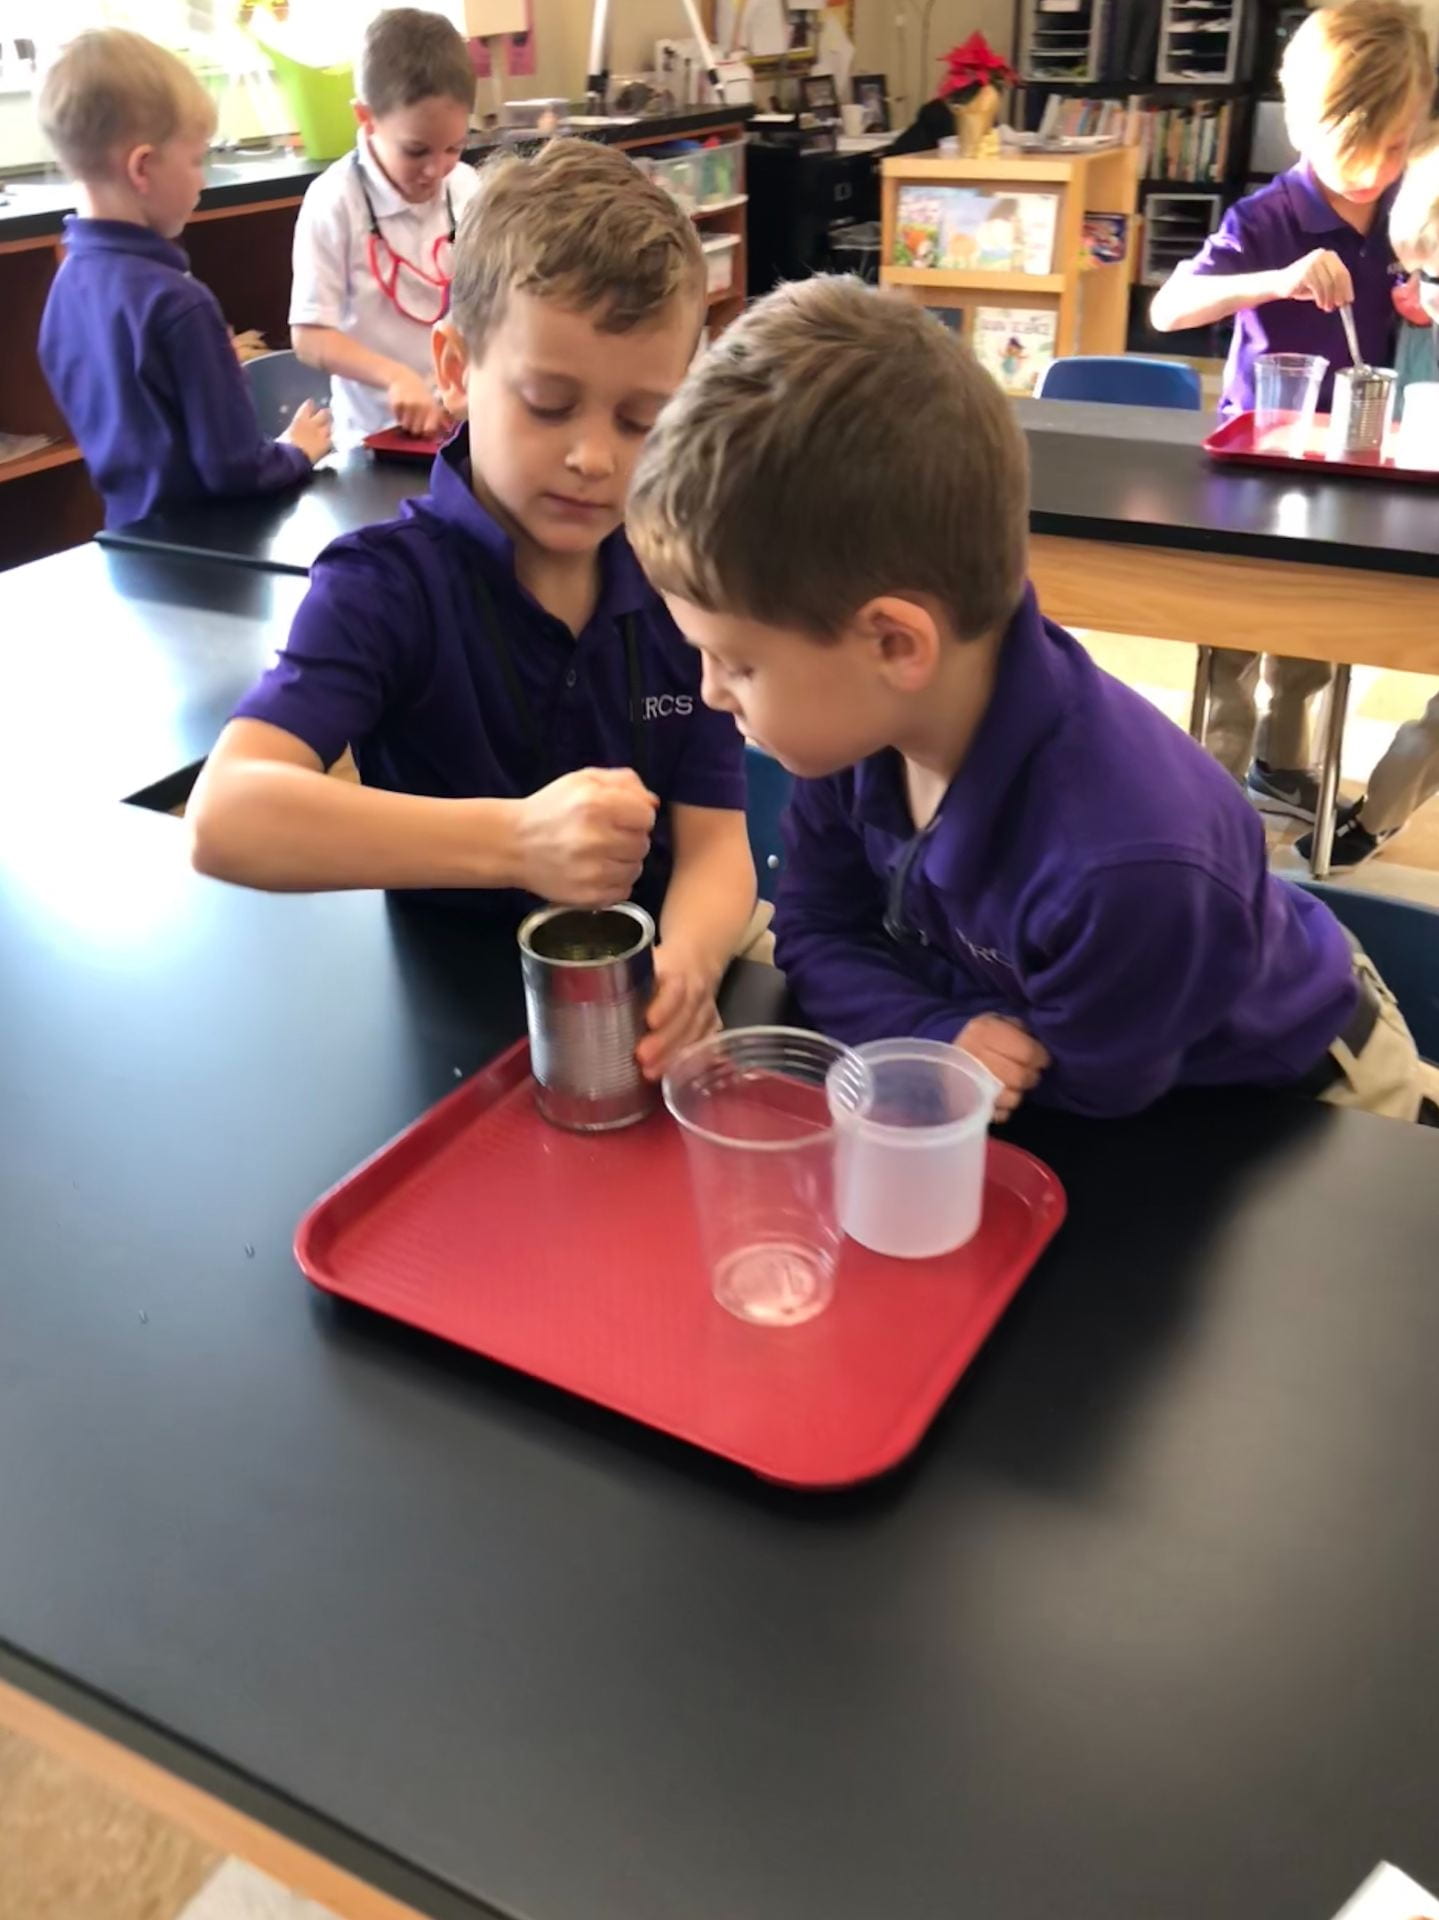
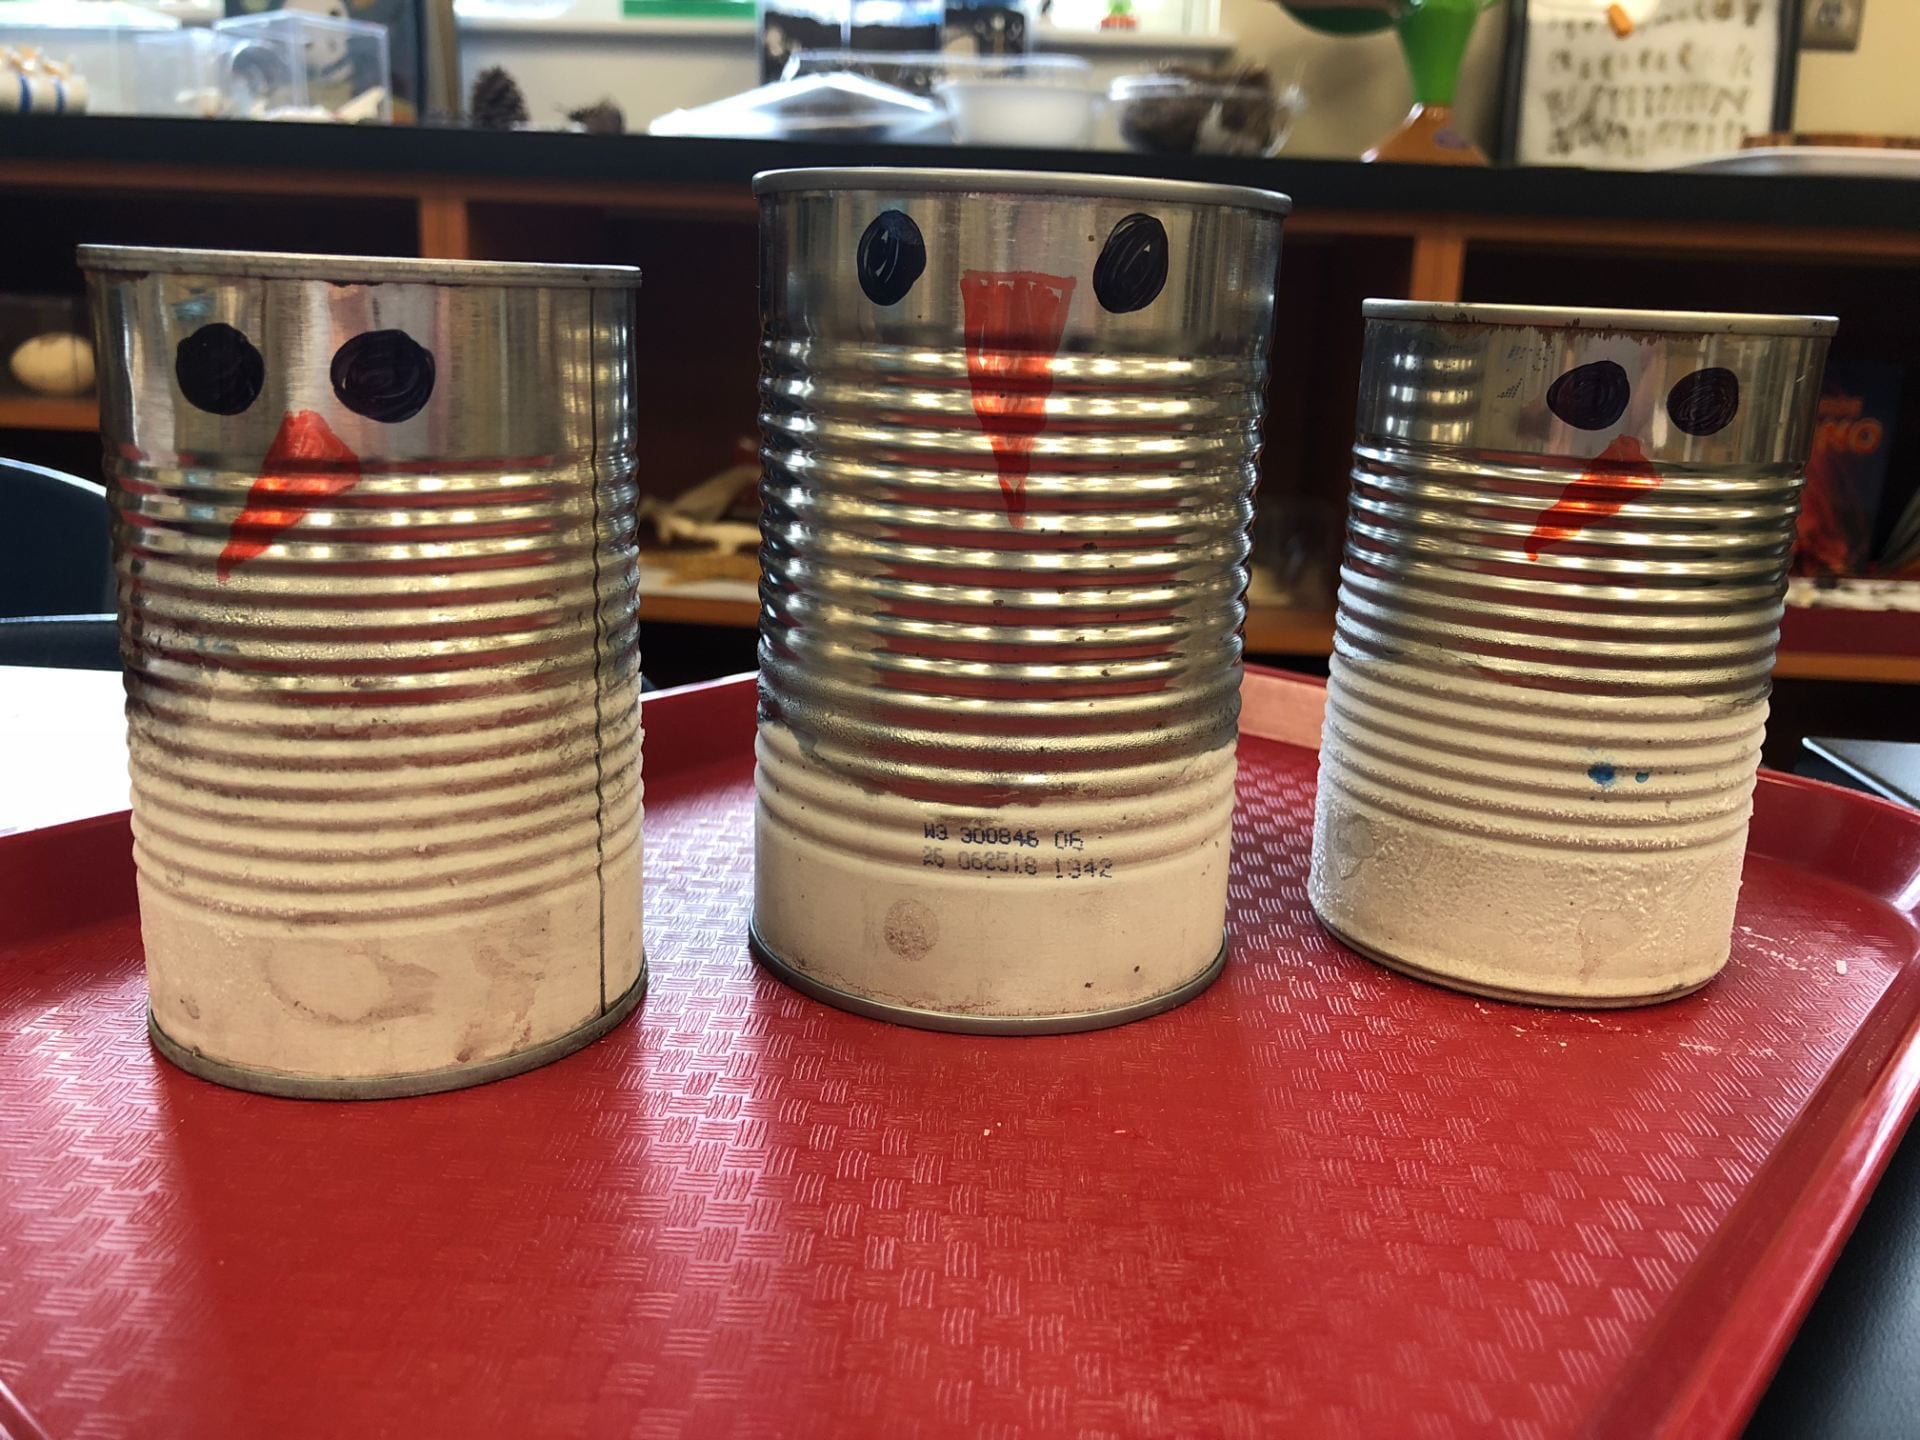
Can we make frost? Of course we can in the science lab! We poured 4 T of rock salt and 75 mL of water (from a beaker) into a recycled can that was filled approximately 2/3 of the way with ice. Then we chomped the ice about 20 seconds with a spoon. We were cautious not to touch the sides of the can because our hands are almost 99 degrees! We also did not place our hands inside the can because the edges of cans can be sharp. Wow, the spoon felt cold in the can! Why? Almost immediately, frost began to form on the outside of the can! But wait, we didn’t place anything on the outside of the can. Why did the ice crystals form there?


Frosty the Snowman


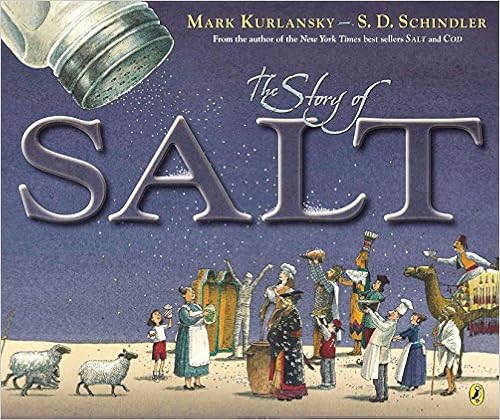
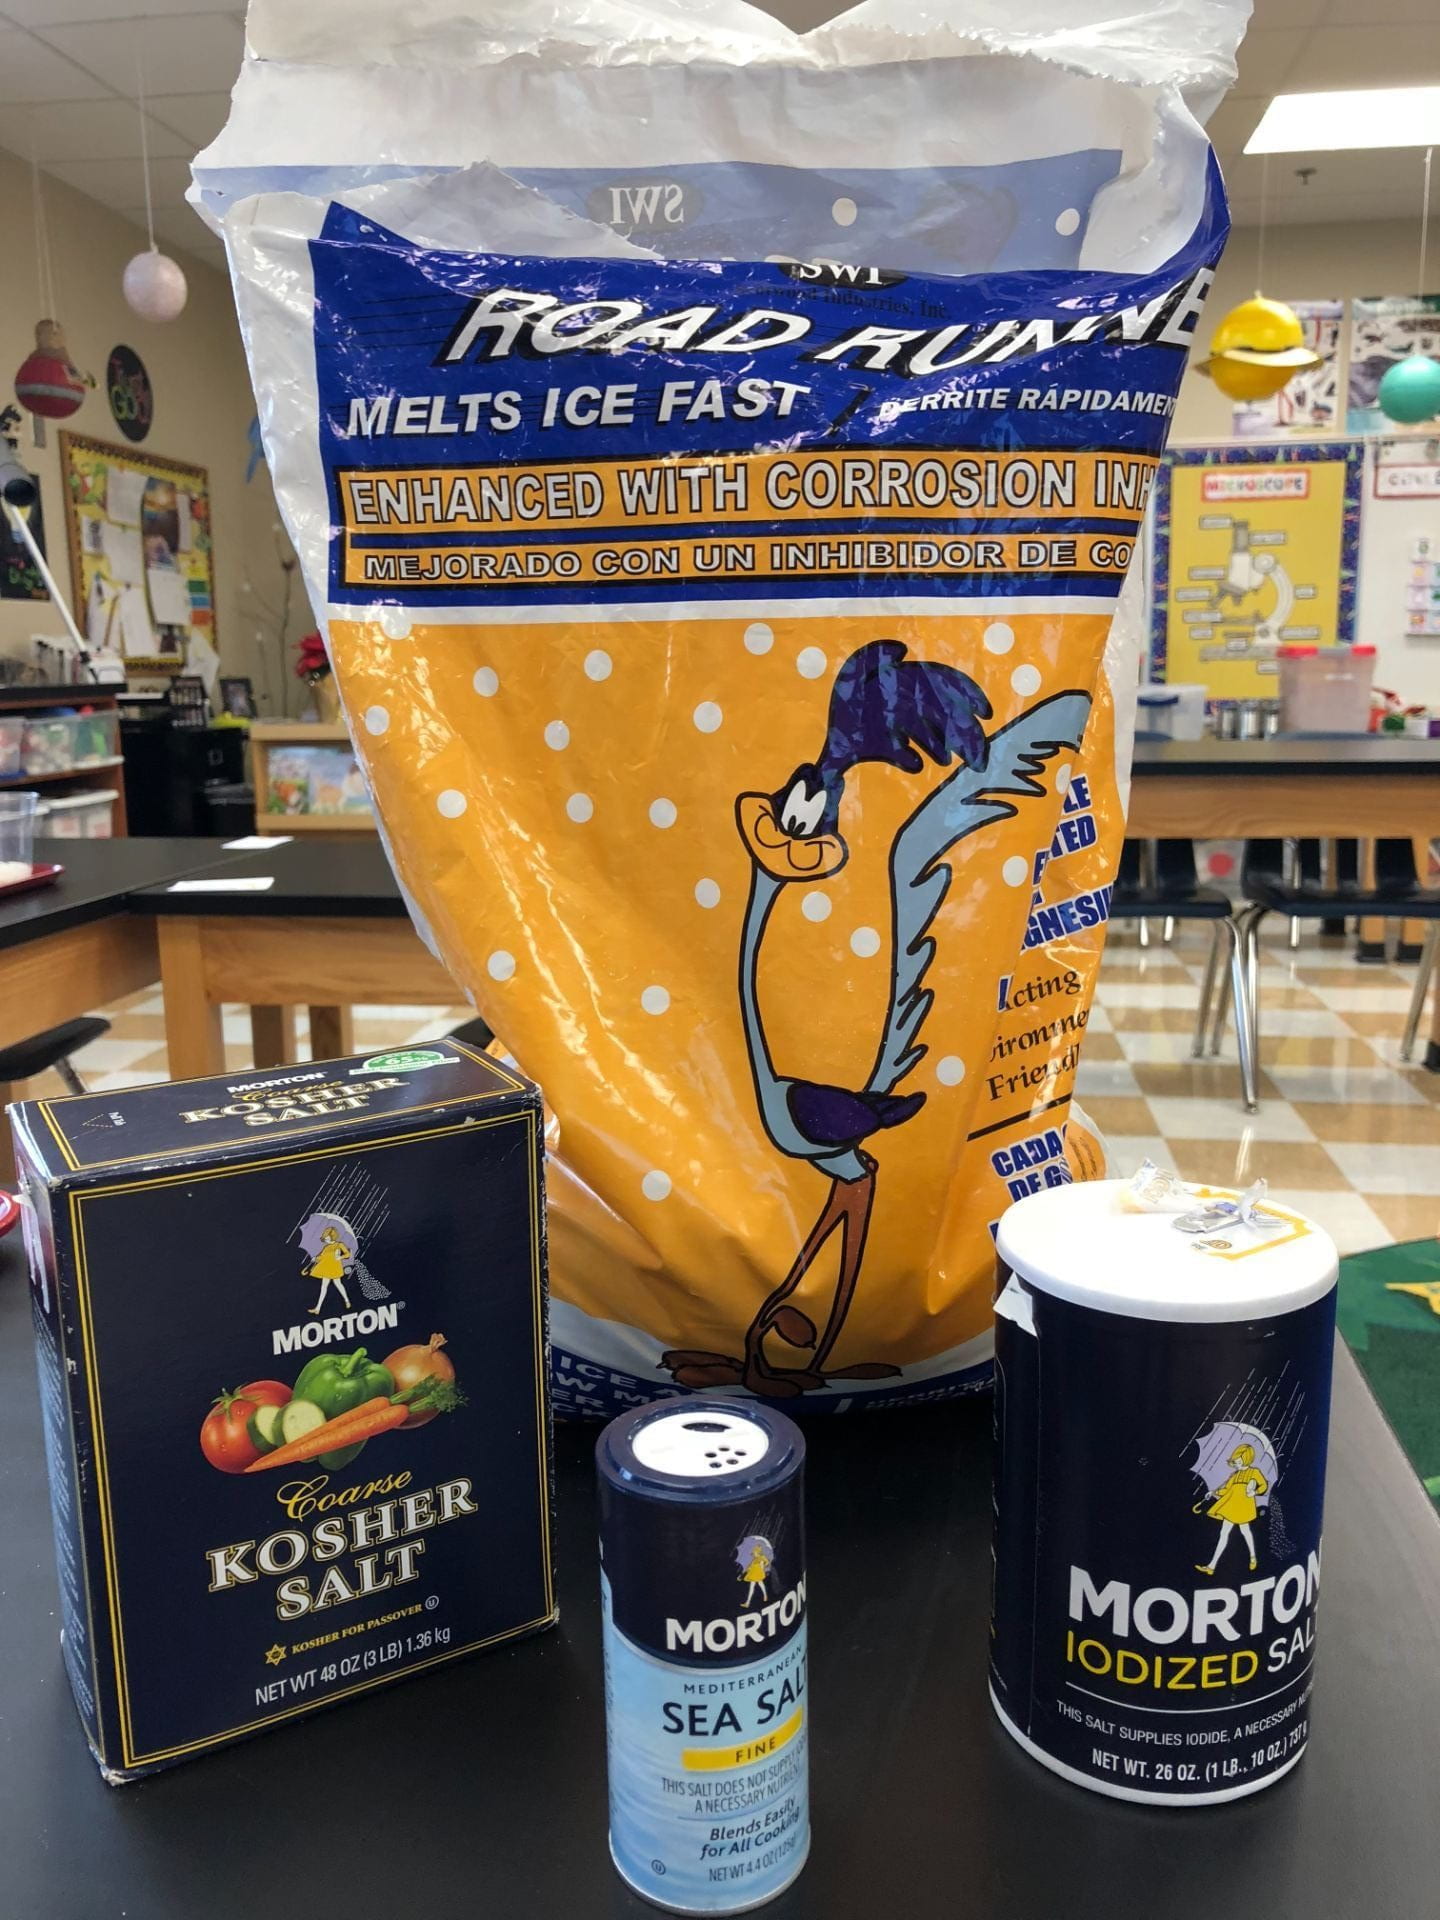
We briefly discussed different types of salt and where salt is found. During biblical times, salt was a valuable commodity, and it is mentioned over 40 times in the Bible. Investigating how it is used would be a great Bible study. We are called to be the salt of the earth. Matthew 5:13 What does that mean? I recommend this children’s book, if you want to learn more.


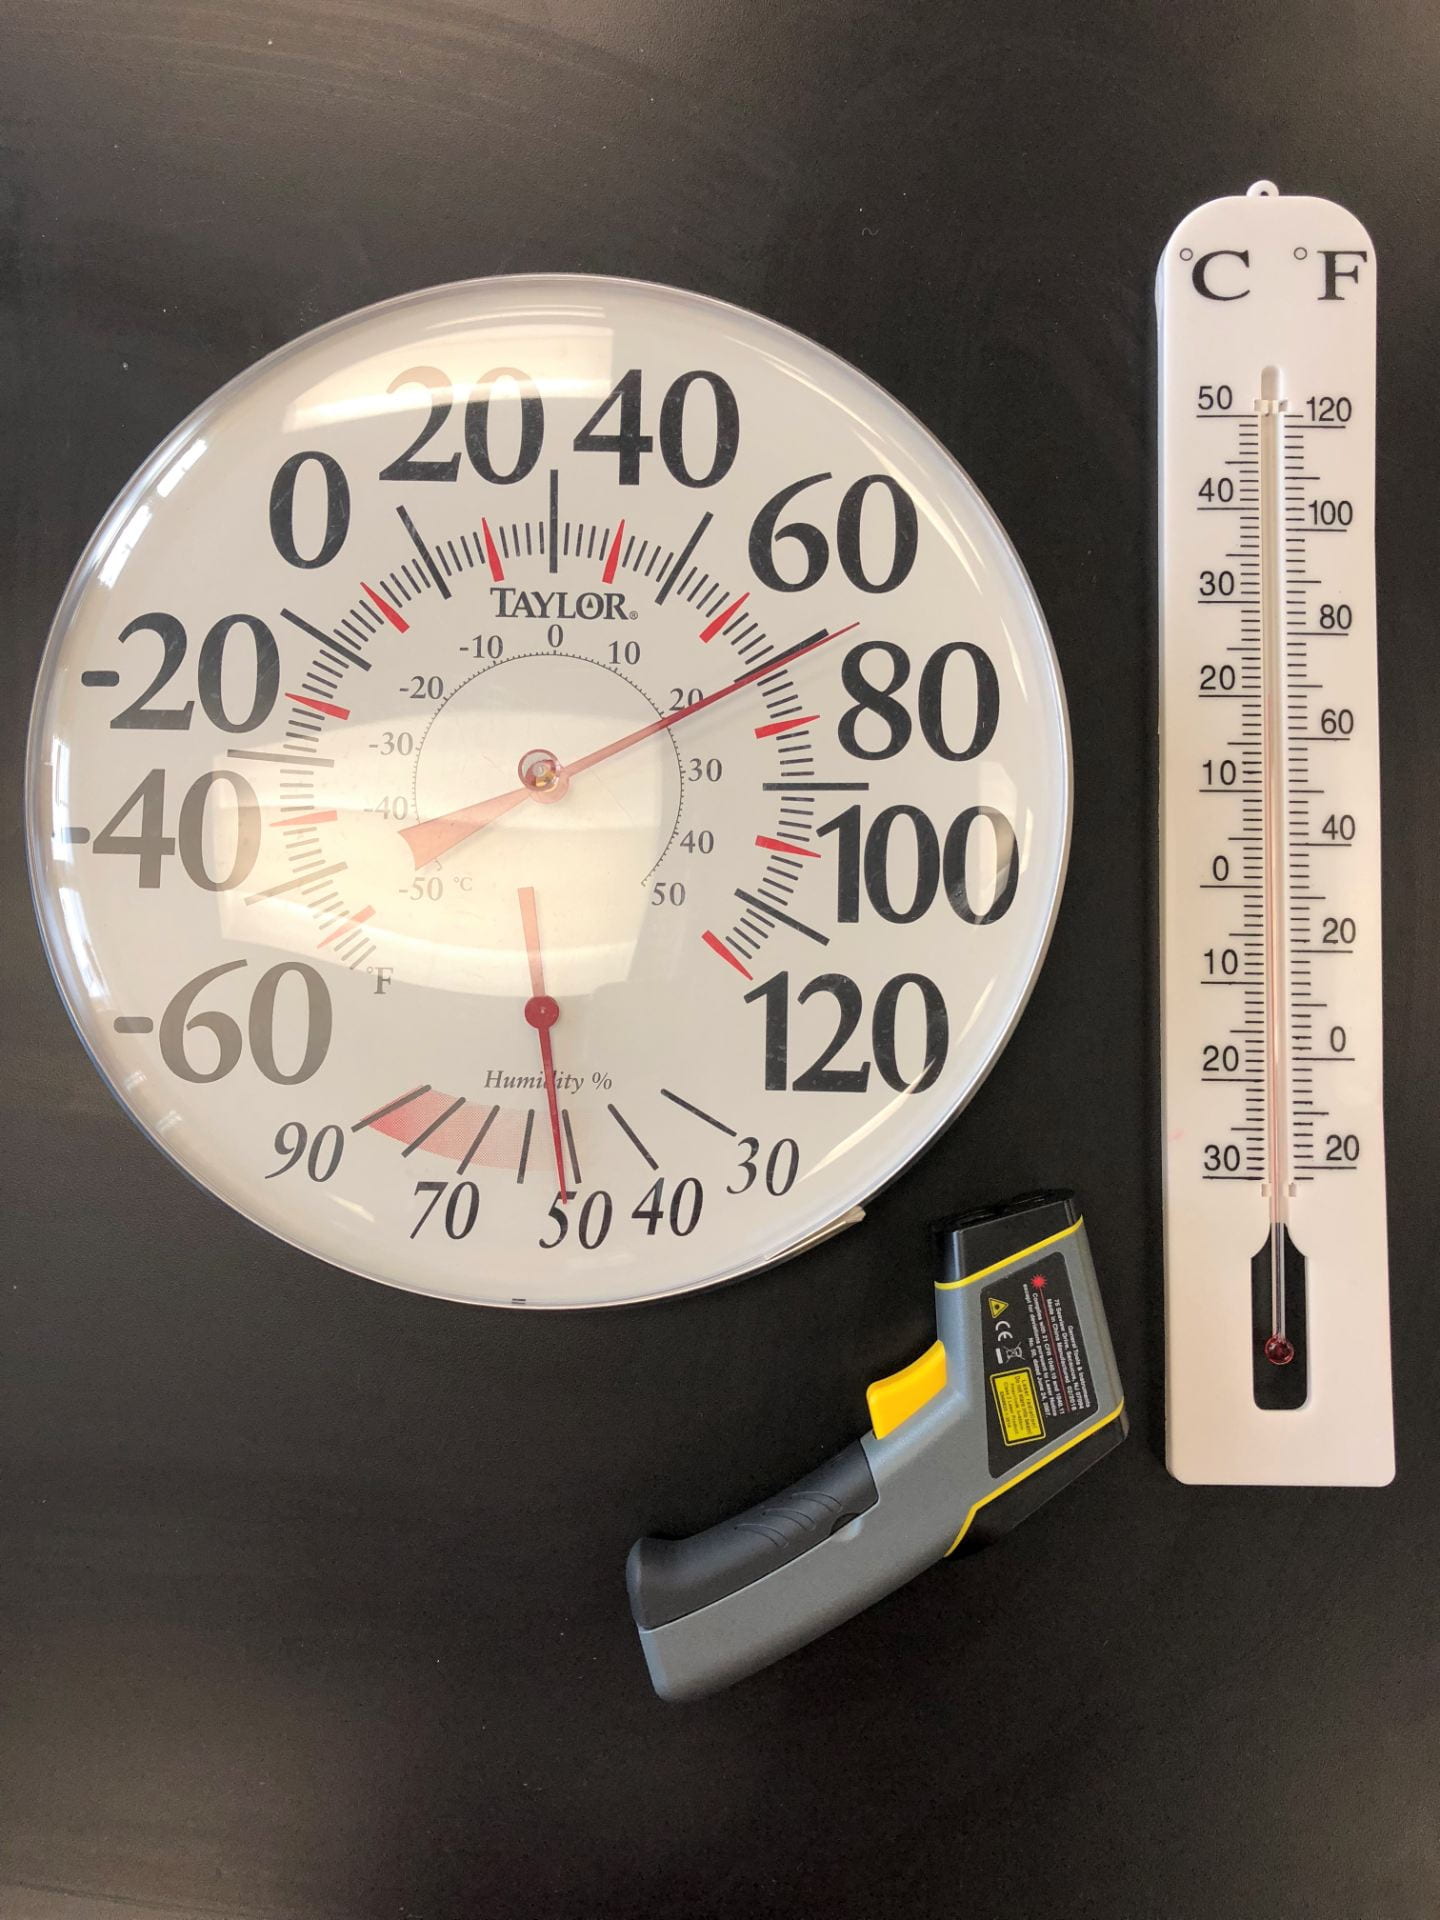
In this lab, there was a strong connection between math and science. We looked at a few types of thermometers and we learned freezing and boiling points.

On cold mornings, look for frost and observe the patterns. Try this experiment at home with different types of salt. How did your results differ?

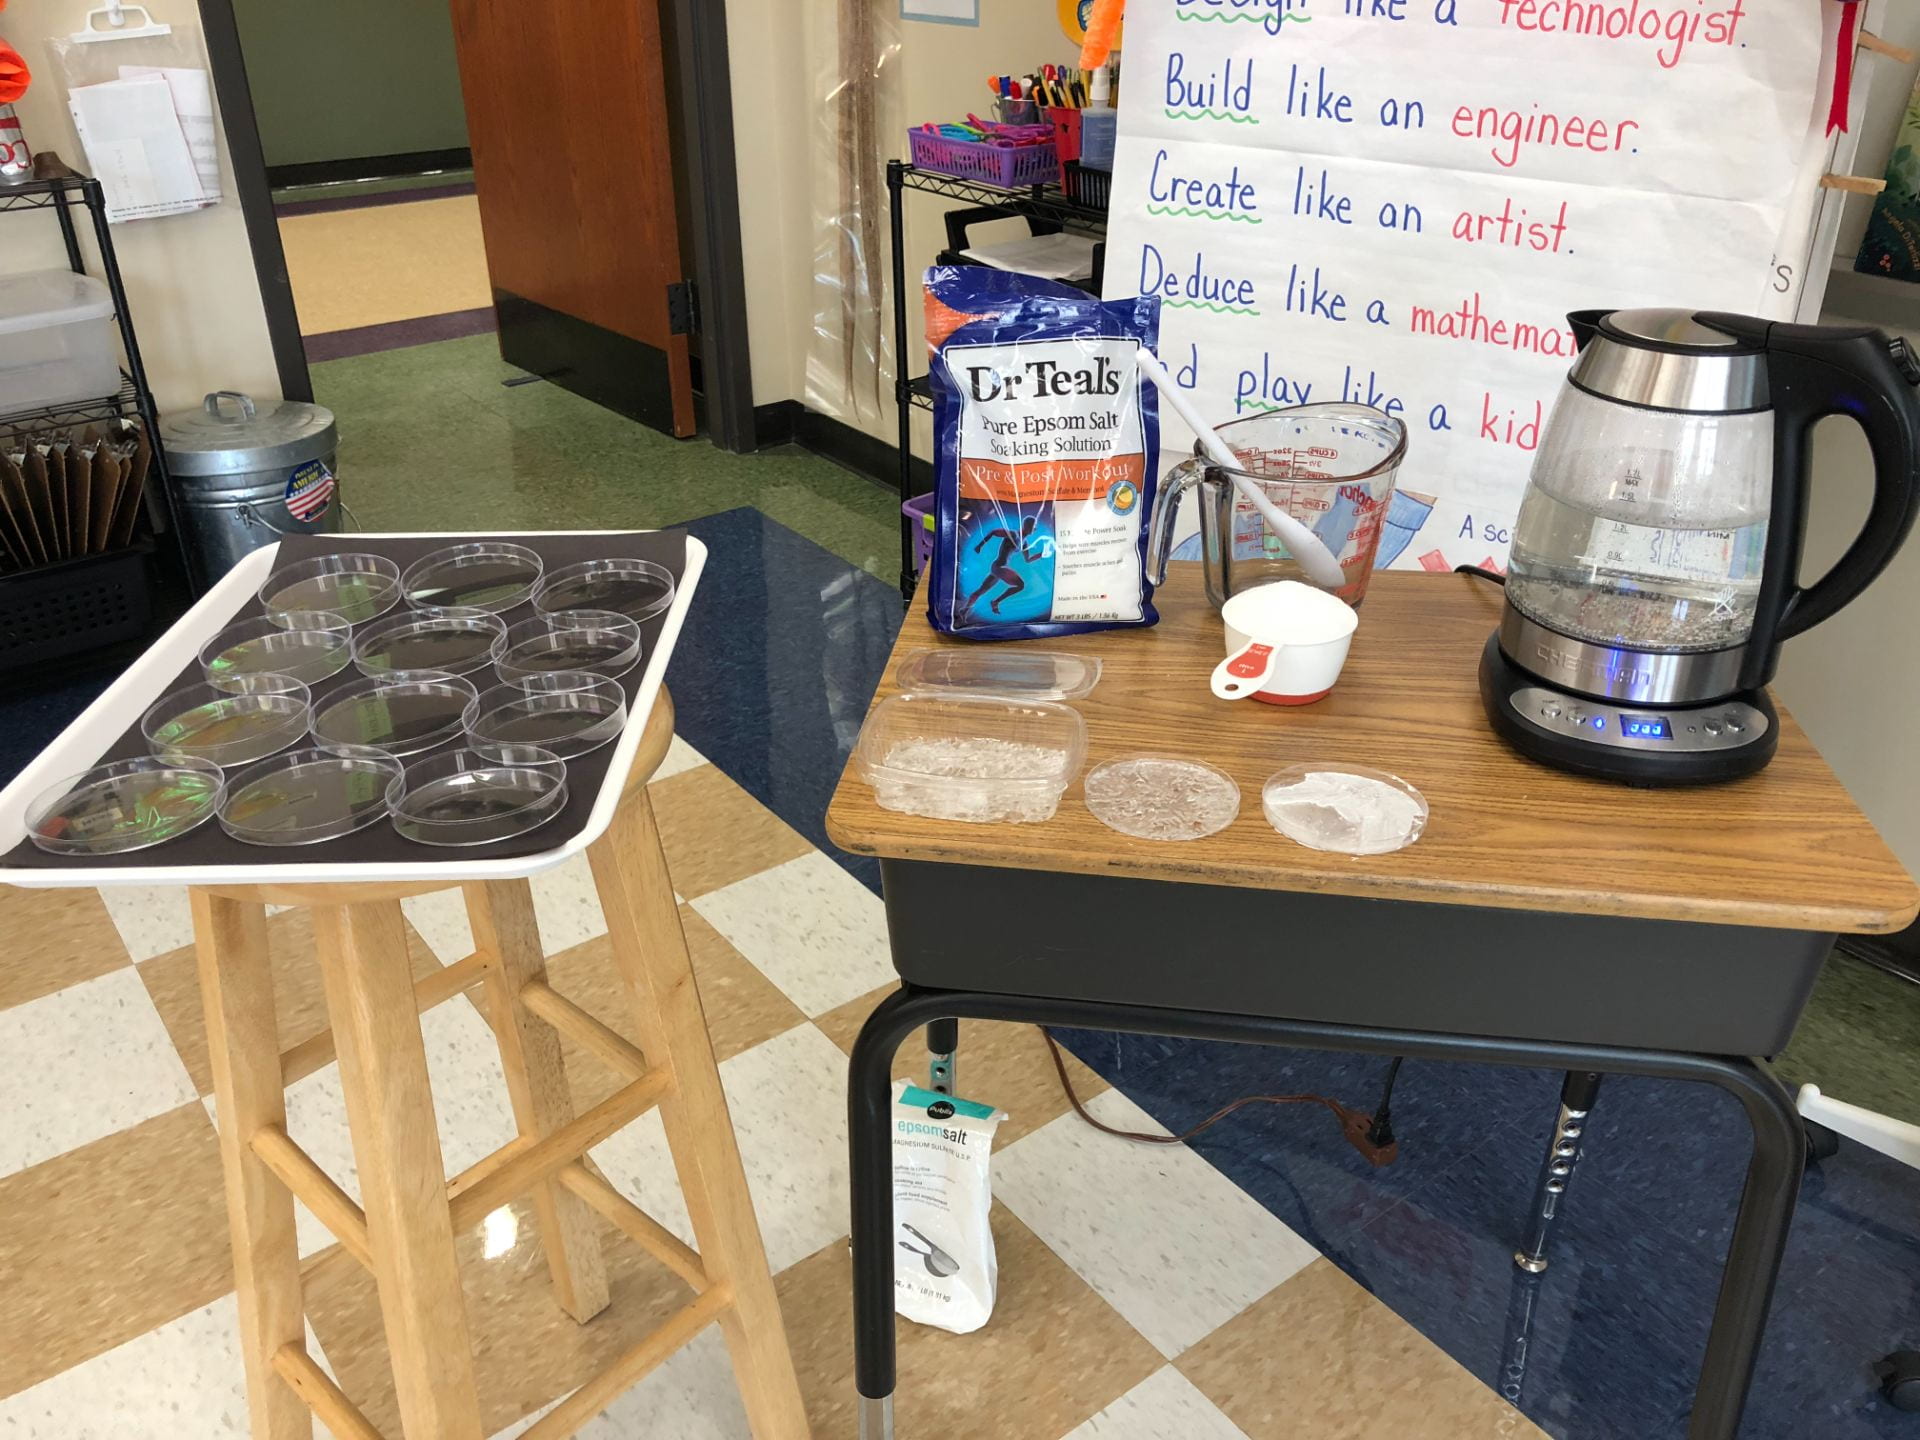
While our frost was forming, we made crystals another way. We mixed 1 cup of Epsom salt (which actually isn’t salt, but magnesium sulfate) with 2 cups of boiling water. We poured the solution into Petri dishes. After the water evaporates, the crystals will be left.

He sends the snow like white wool; he scatters frost upon the ground like ashes. Psalm 147:16

Category: Science | LEAVE A COMMENT
December 4

Santa Ziplines

This lab was all about engineering with a Christmas twist! Second grade engineers learned first hand about the forces of gravity and friction when they constructed ziplines for Santa. Their goal was to send Santa from the second floor to the first safely through the rotunda. We didn’t want him to fall out, turn upside down, or get stuck midway. Although he could have a seatbelt or a chair, he could not be tied to his zipline. Collaborative teams had a choice of four tables filled with possible materials. After constructing the ziplines, we tested them. If there had been additional time, we would have compared design choices, discussed results, improved our designs, and retested them to complete the Engineer Design Process. Our zipline was fishing line, but how might our results have changed if we used a zipline of twine or yarn? Make one at home and send me a photo or video.


Ziplines from Mrs. Harwell’s Class:

December 4

Bubbles Part Two

After reviewing the concepts we learned in our previous bubble lab, Prefirst bubbleologists continued their investigation of bubbles. They were thinking like scientists as they made discoveries! I watched them observe, question, hypothesize, and problem solve. Click here to watch a professional bubbleologist.

We made cube bubbles. (Scroll down to the first grade post for more information.)

Why doesn’t a bubble pop when you are wearing gloves? Click here to learn more.


Bubble snakes are fun to make! Change a variable by trying other materials (sock, cheesecloth, piece of an old T-shirt) on the end of the water bottle. Click here for further instructions.


We put clouds in bubbles with a humidifier, and then we held them! It was interesting to watch the clouds pop and see the condensation escape!


Thanks for taking photos Mrs. Daniel!

Category: Science | LEAVE A COMMENT
December 2

Bubble Cubes

Investigating bubbles is a fun way to learn more about the properties of matter. Our bubble blowers were made by trimming off the ends of pipettes. My scientists were excited to take them home!


First grade bubbleologists discovered that no matter the shape of our wands, the bubbles formed spheres. Why? Click here to learn more. Make your own bubble wands with pipe cleaners.

Bubbles are iridescent. We checked out some other iridescent items that I have collected too. This centripetal spinner looks just like a bubble.

We also blew hemispheres on our trays. Look below for bubbles inside bubbles and bubble mountains. Notice how the bubbles connect with each other. Some scientists discovered that if they smeared bubble solution on their hands, they could hold a bubble.


But is there a way to make a cube bubble? We used cubes to make it happen! Click here and here to watch videos for more information. I made these cubes with pieces of erasers and toothpicks.