Fall Trees with a Twist
This is a traditional fall art project that fosters the development of fine motor skills, the ability to make refined movements using the small muscles in hands and wrists. These skills are foundational for writing, as well as for many self-help tasks. In the following photos, you will see different options for this project for home or school. I demonstrate the technique, but I never show students a finished product, so that they will use their imaginations.
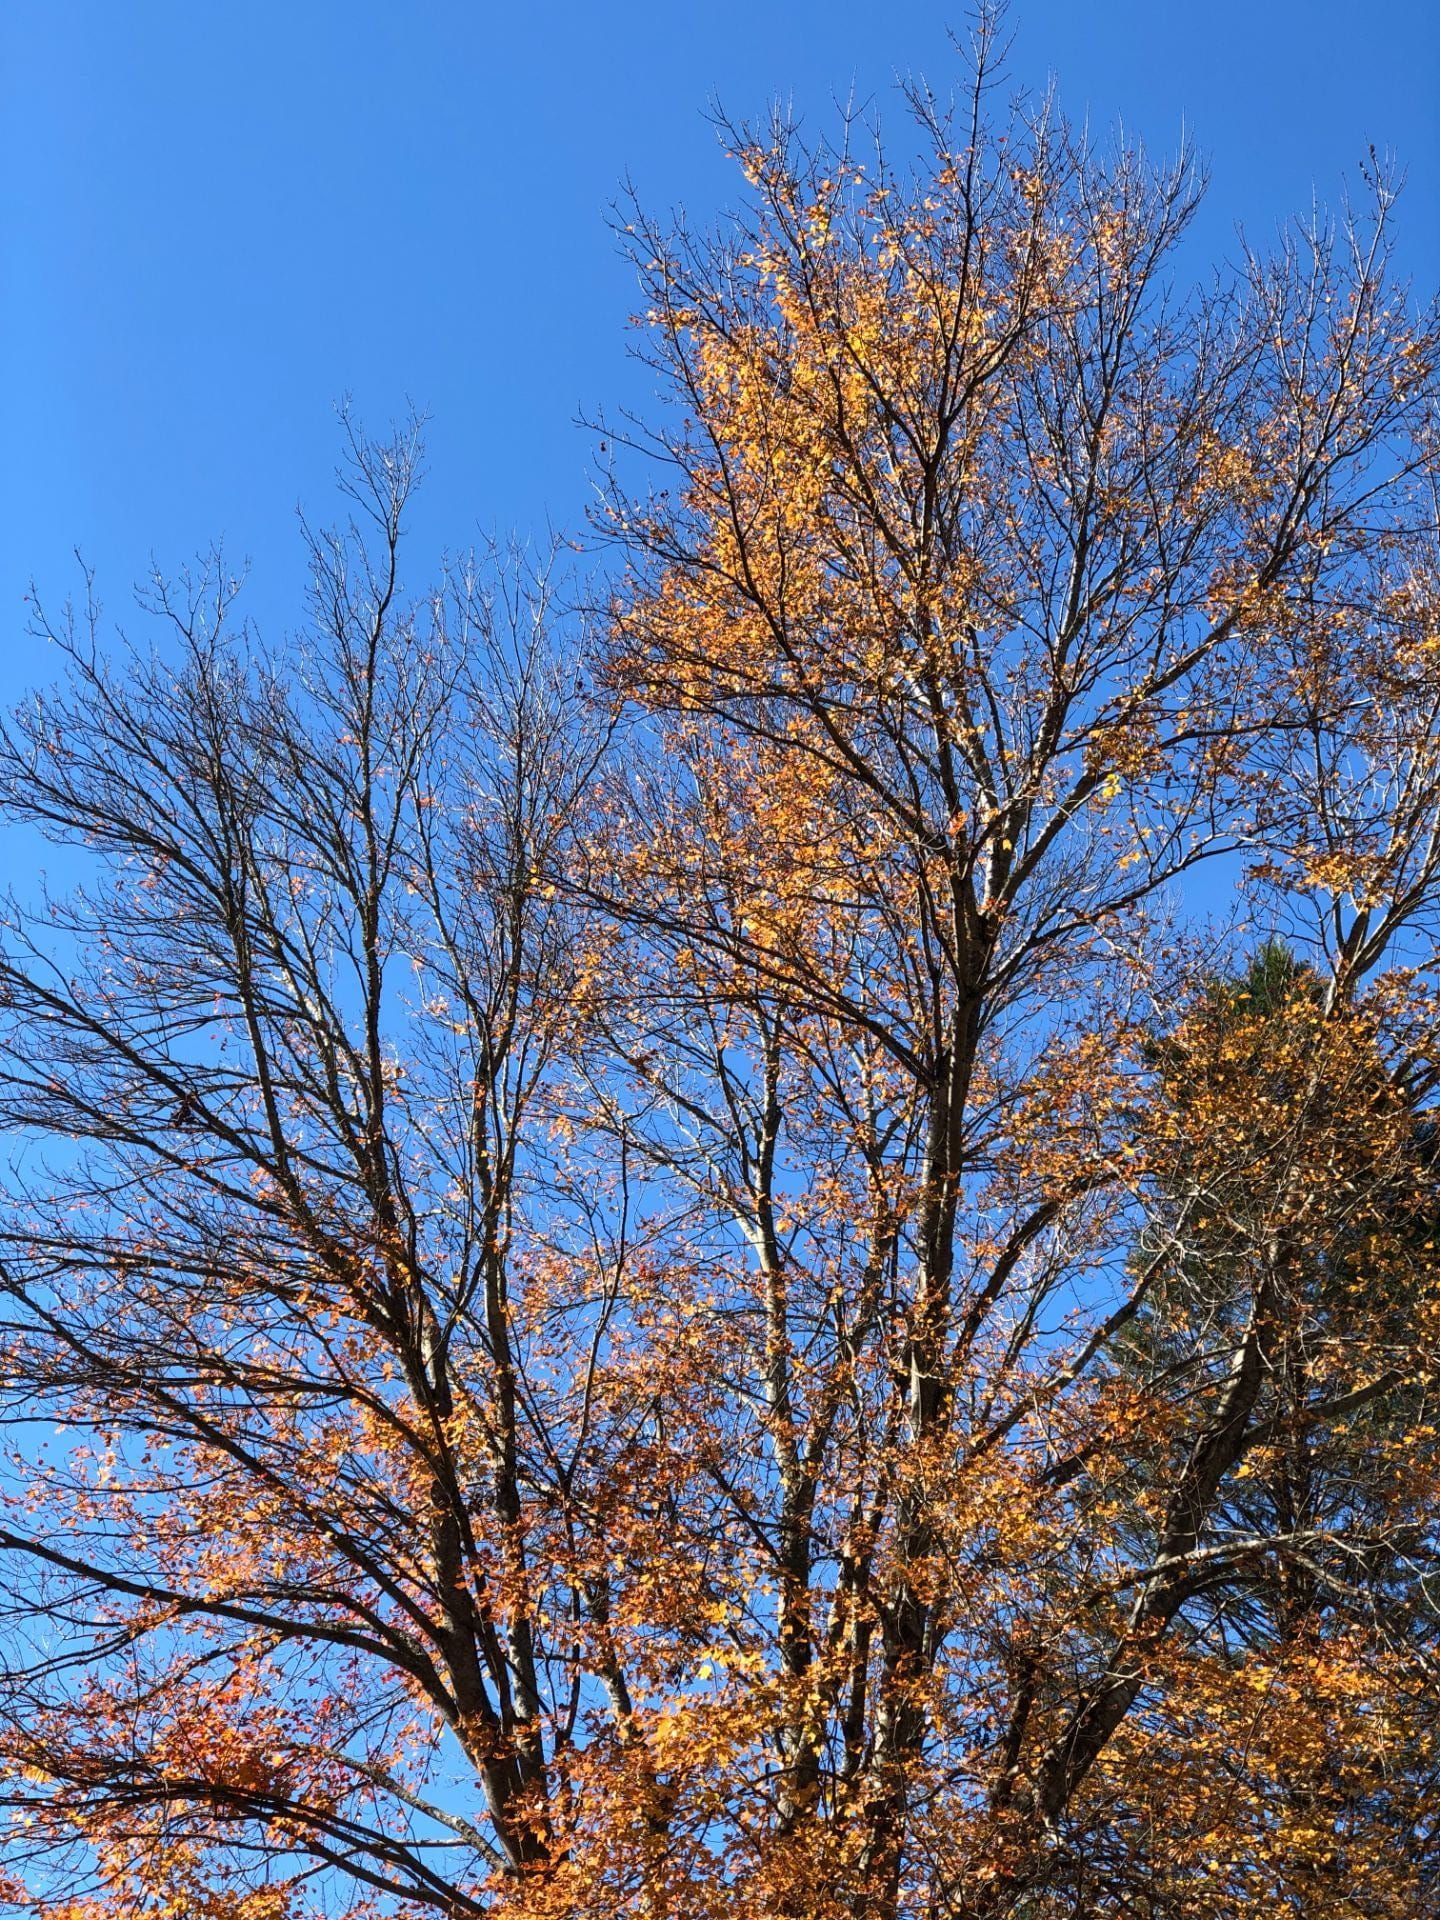
Don’t miss the connection with science! Before you begin, take a walk and observe the growth of deciduous trees which are trees that lose their leaves each fall. Notice how the branches are reaching toward the sky and how they are thicker near the trunk and thinner near the end of the branches. Observe how smaller twigs grow out of larger branches. Are the twigs and branches straight or curved? Compare the overall shapes of the trees. Touch the bark. Is the texture the same on every tree? Use the terms trunk, branch, limb, twig, and bark. Notice and compare the colors of fall leaves.
Begin with tearing a trunk from a sheet of brown construction paper. This is more difficult than cutting because of the need for self-control and the use of both hands. You will probably witness some frustration. Glue the trunk on the background paper. Then begin to tear branches and add them to the trunk. Your artist(s) could add smaller twigs and bark texture with a Crayola maker.
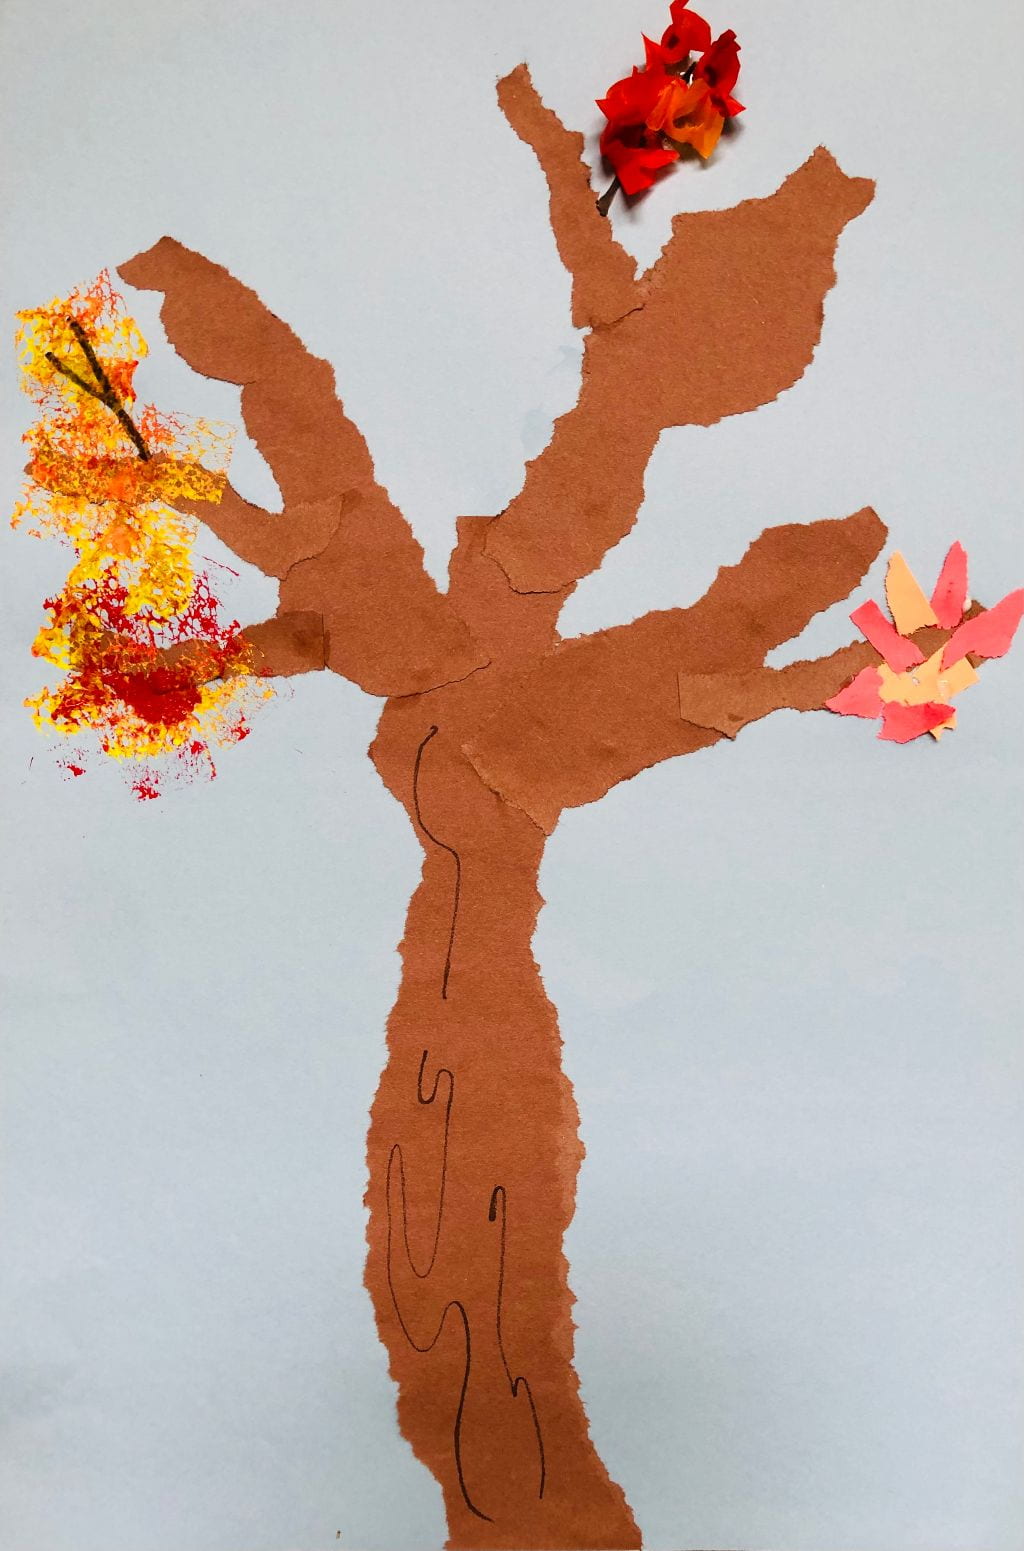
There are three ways to add the fall foliage: torn paper, tissue paper, or sponge paint in fall colors. You can also combine these materials which makes your tree 3D. I used one tree below to demonstrate all three choices.
Torn paper: Tear small pieces of paper and glue them on the branches. Use glue sticks or place a dot of glue (dot, dot, not a lot) on the branch and place the torn leaf on top.
Paint: Cut sponges into strips. Dip the end of the sponge into the paint and explain how to dab the sponges (using an up and down motion) to create the appearance of leaves. This requires self-control.

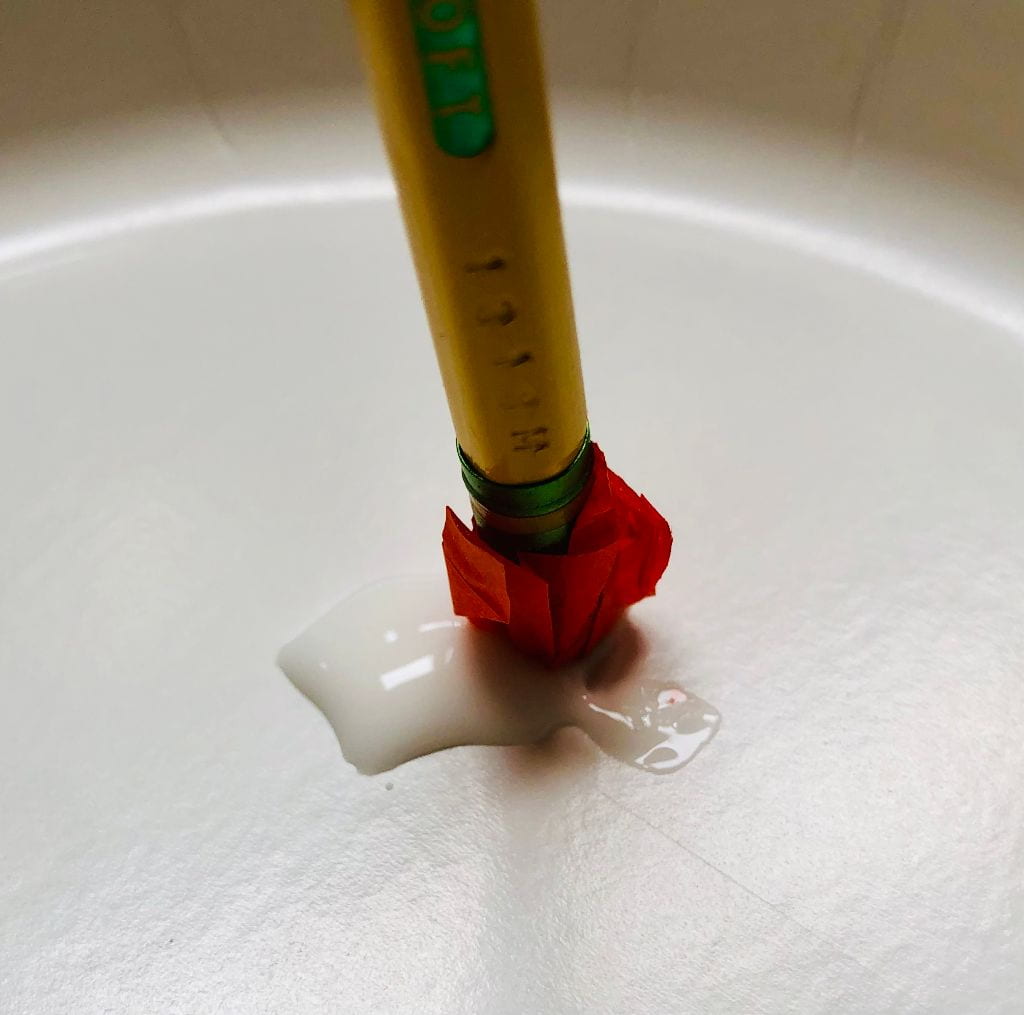
Tissue Paper: Cut tissue paper into squares. Place the eraser end of a pencil in the middle of the square and wrap the tissue around the eraser. Hold the tissue in place, dip it into glue, and place it onto a branch.
Example of all three techniques:
Of course, students can add a ground covering, animals, or objects in the sky to complete their masterpieces. Remember, it’s the process, not the product!
A tree is always lifting its arms in praise!