October 17

Be Kind to Spiders!

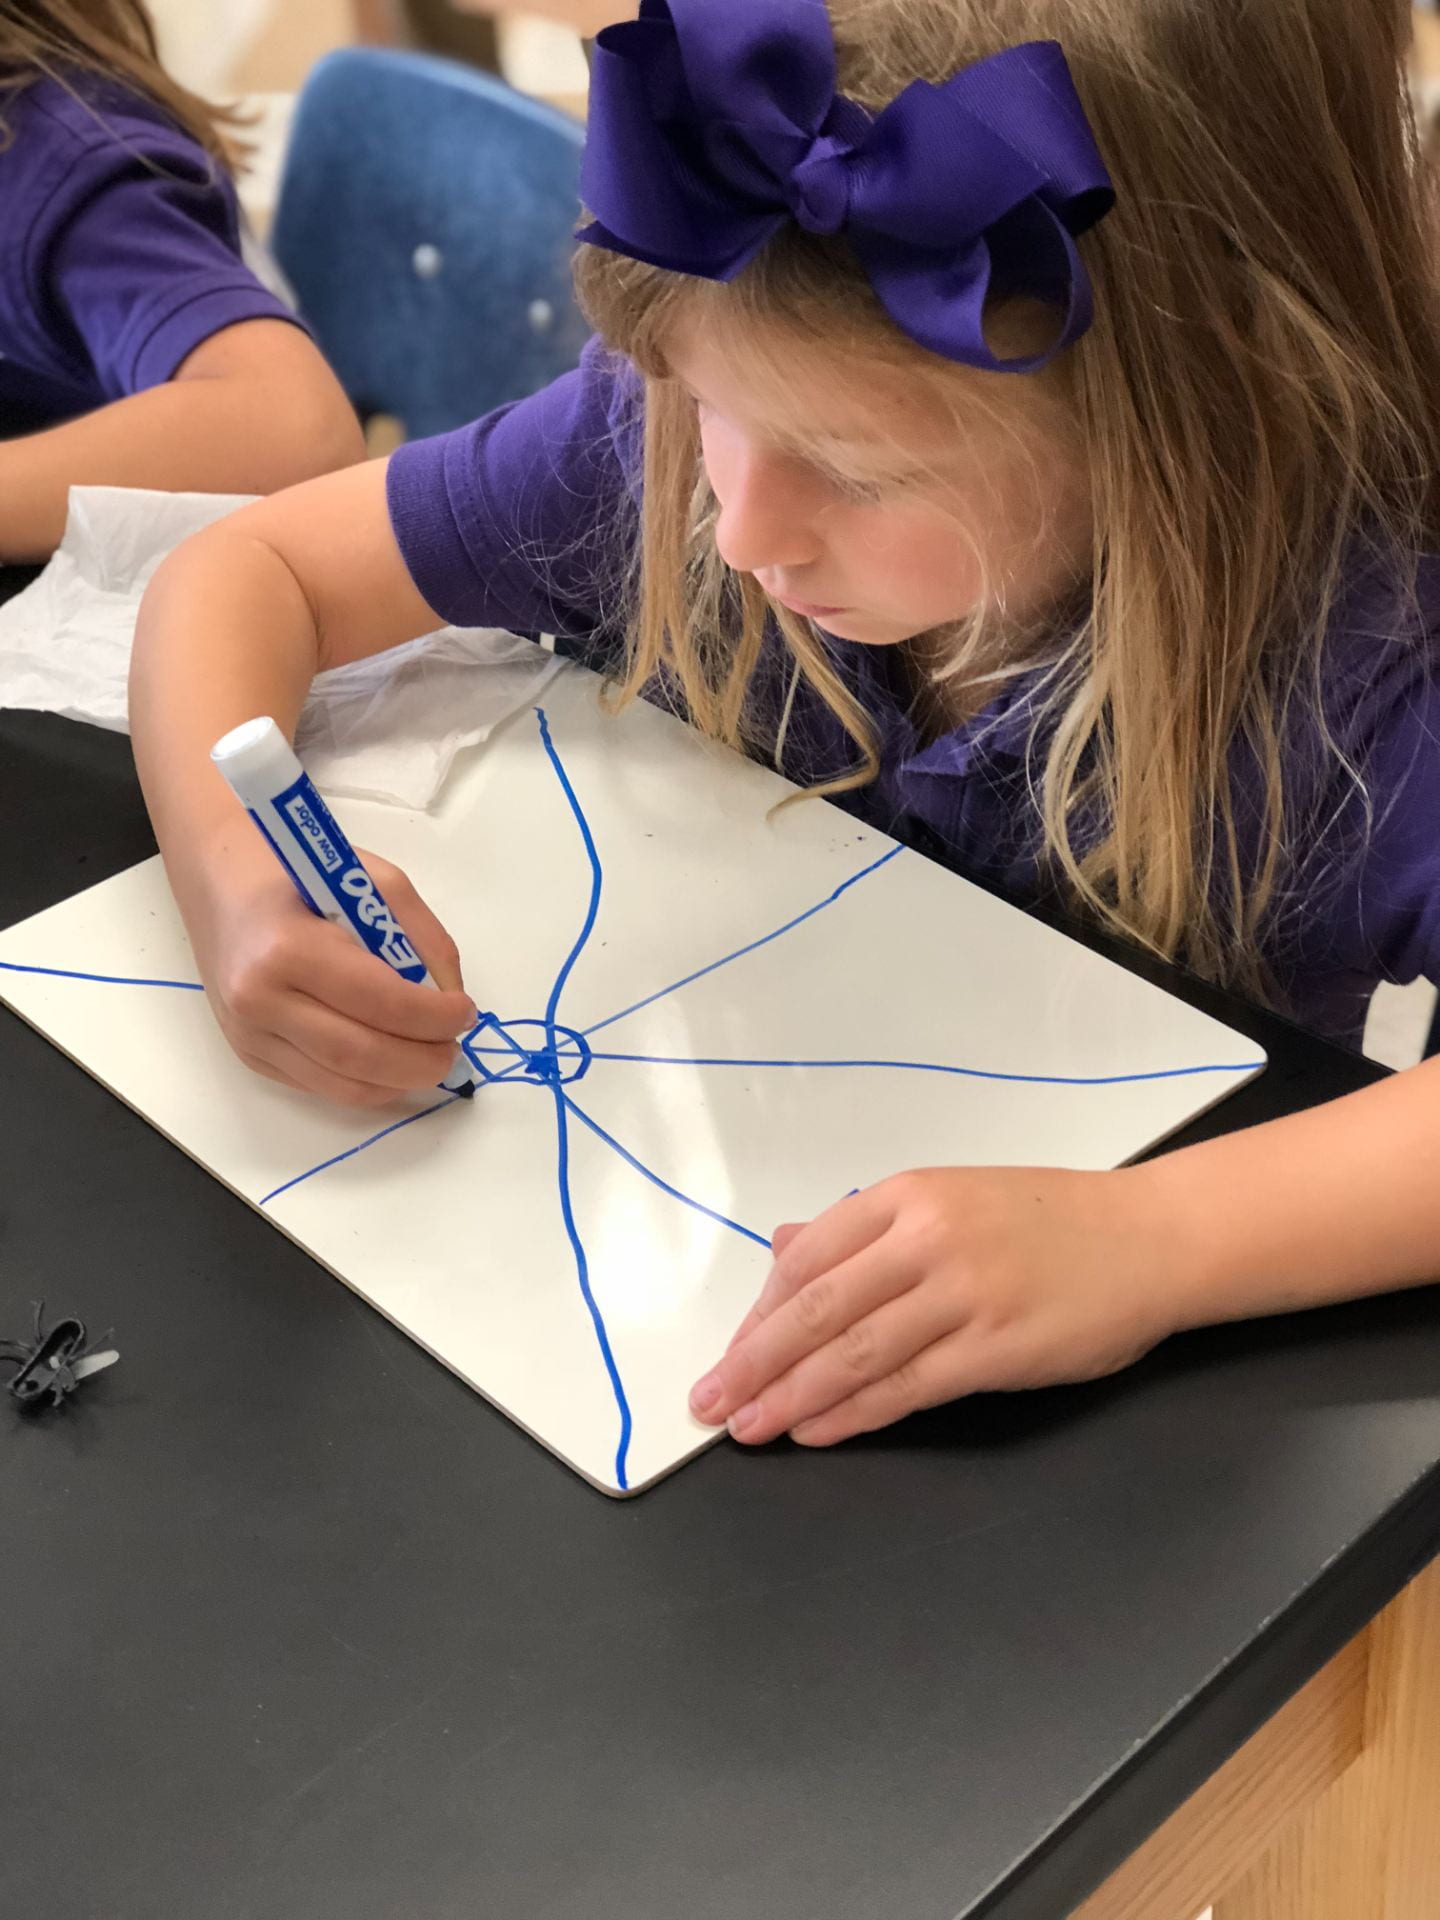
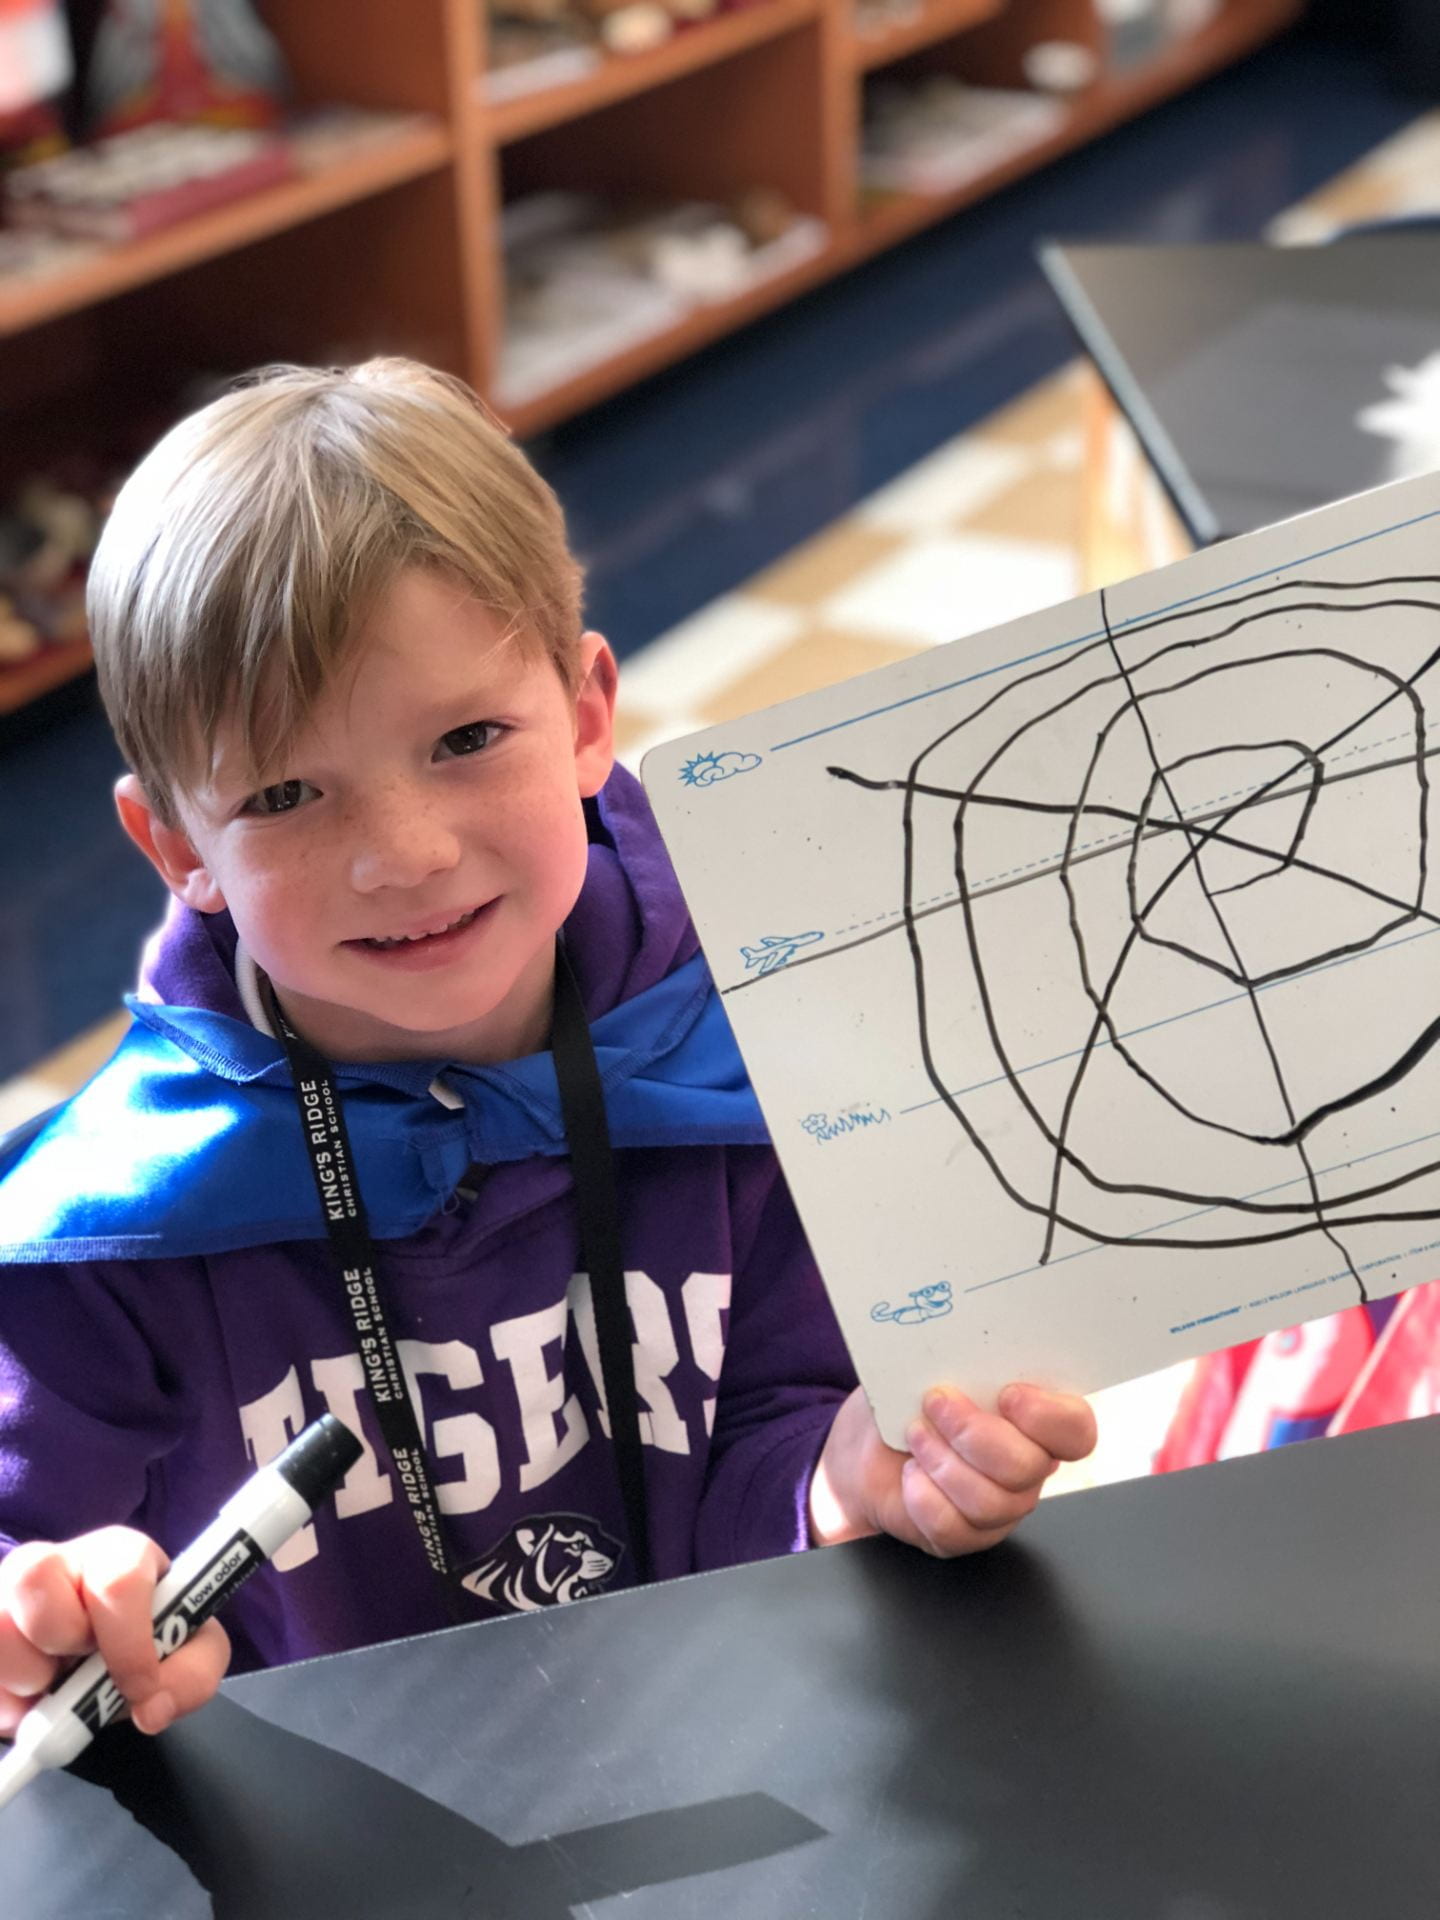
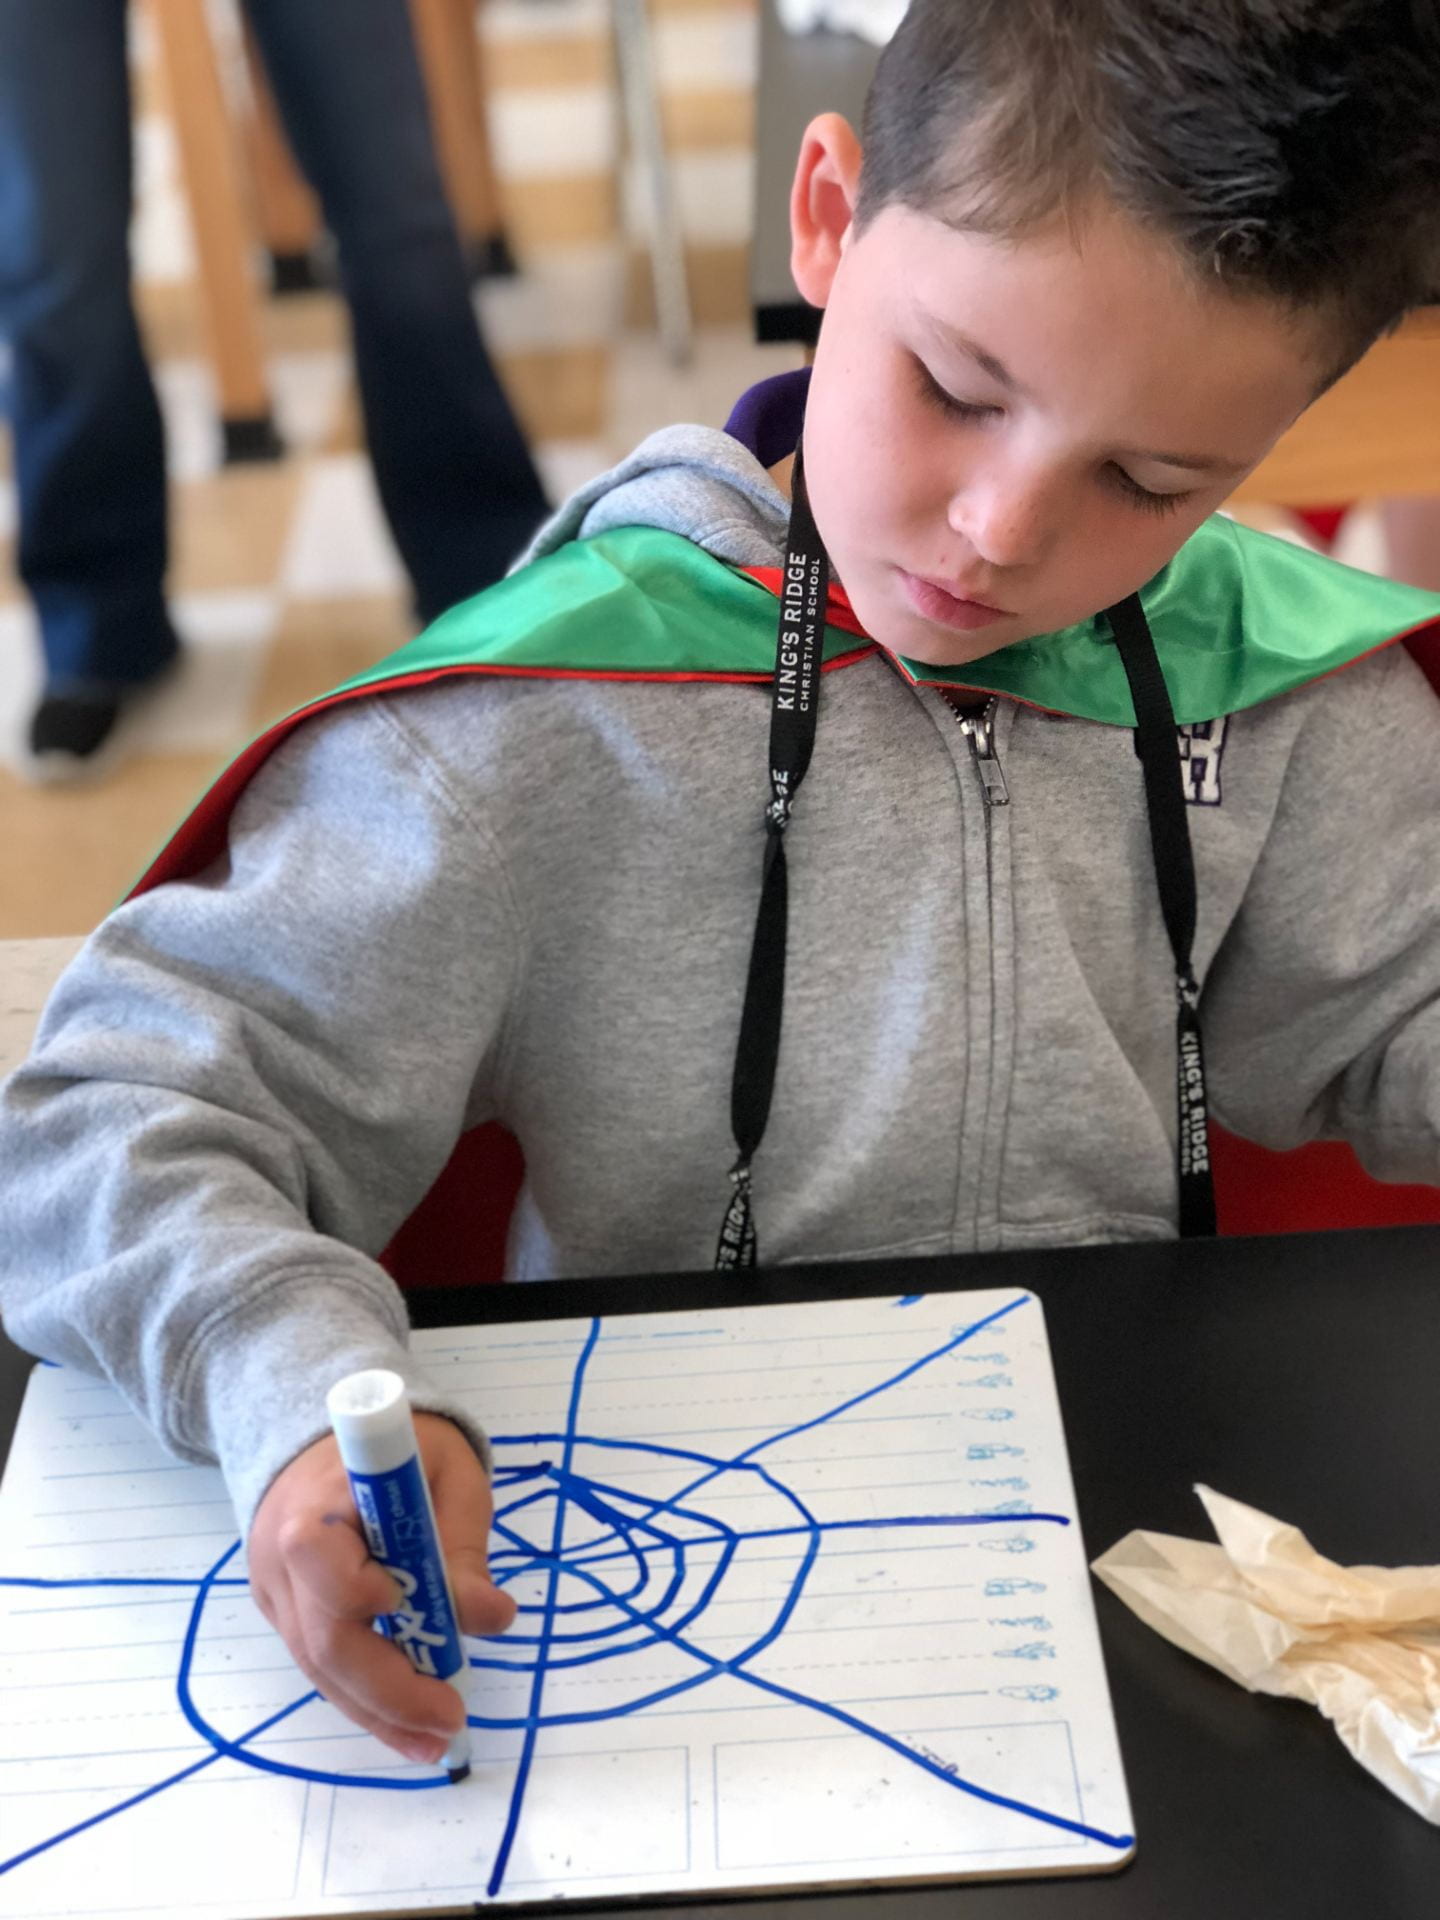
Kindergarten arachnologists learned more about spiders and their amazing webs. We drew a spider’s body, careful to draw two body parts (cephlothorax and abdomen), eight jointed legs attached to the cephlothorax, two helper legs (pedipalps), eight eyes, fangs, and spinnerets. Spiders are arachnids, not insects. Insects have six legs, three body parts, antennae, and often wings.


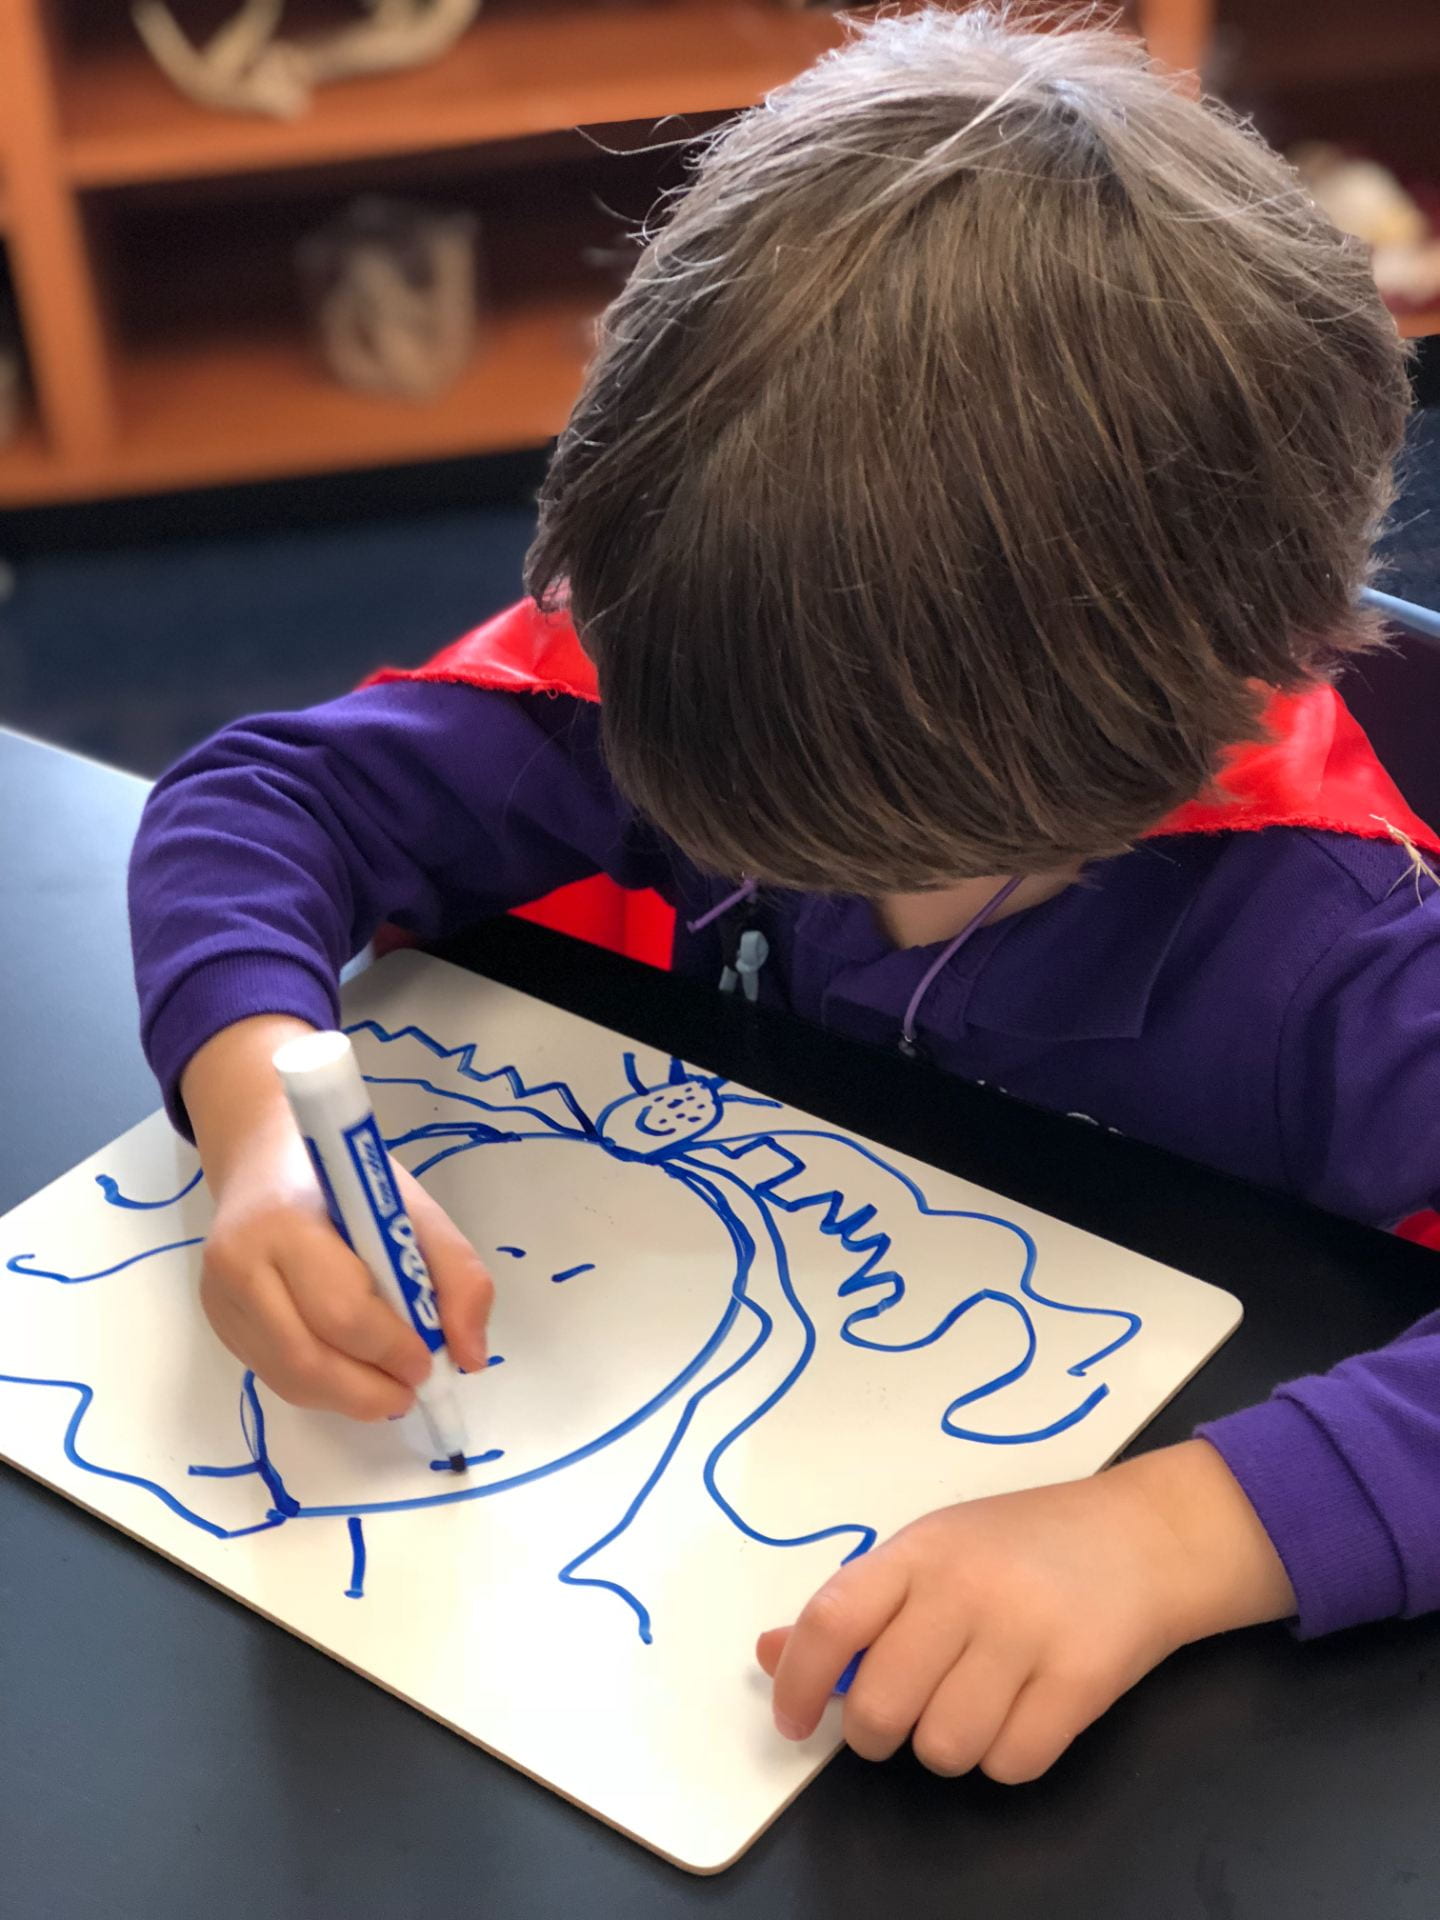
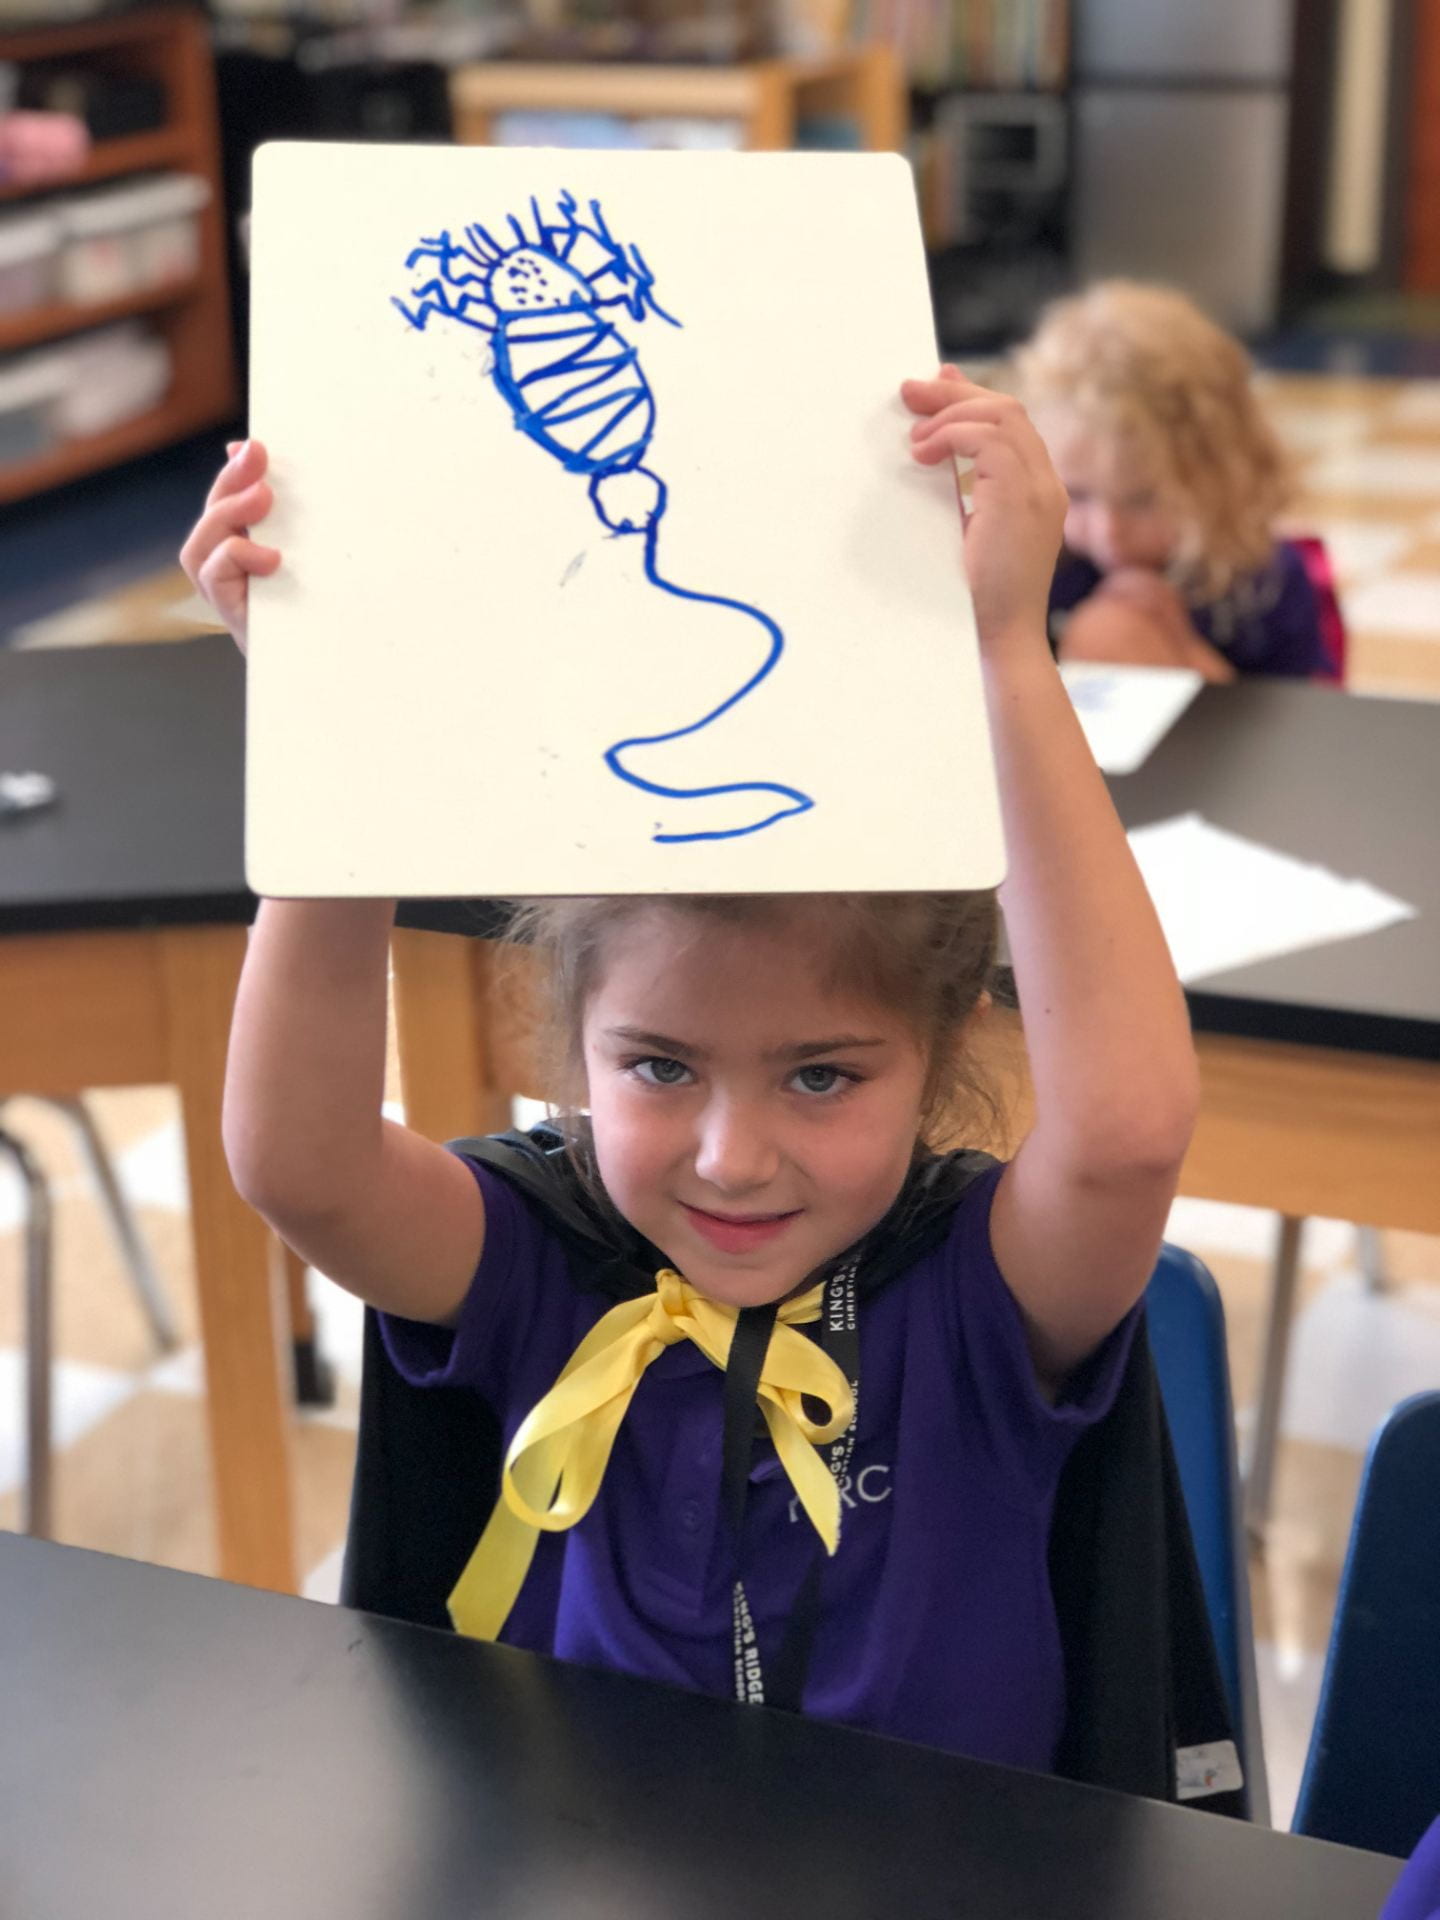
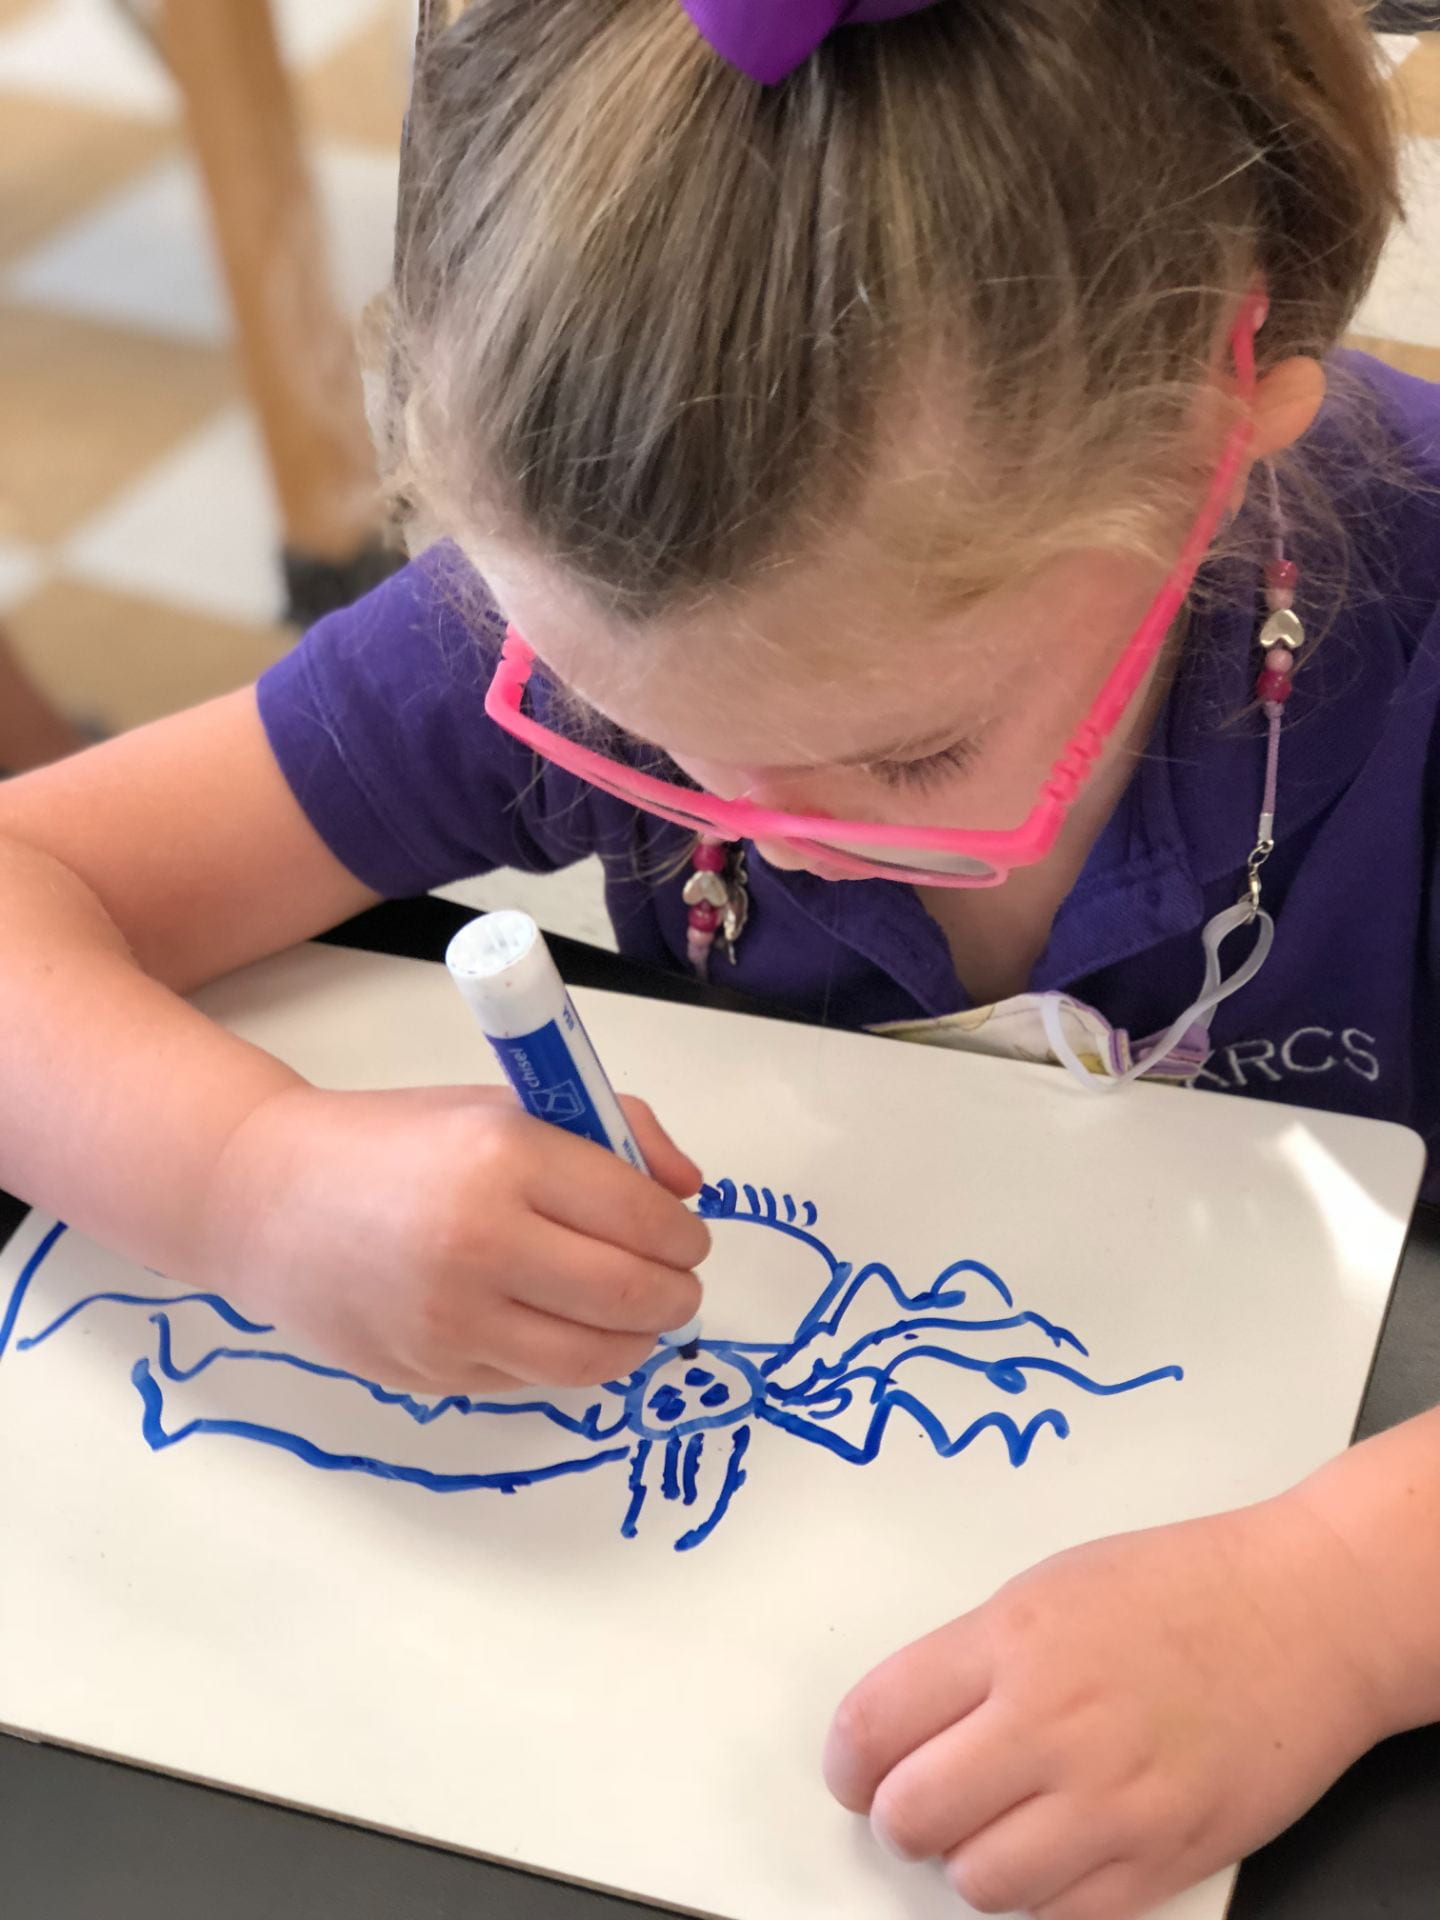
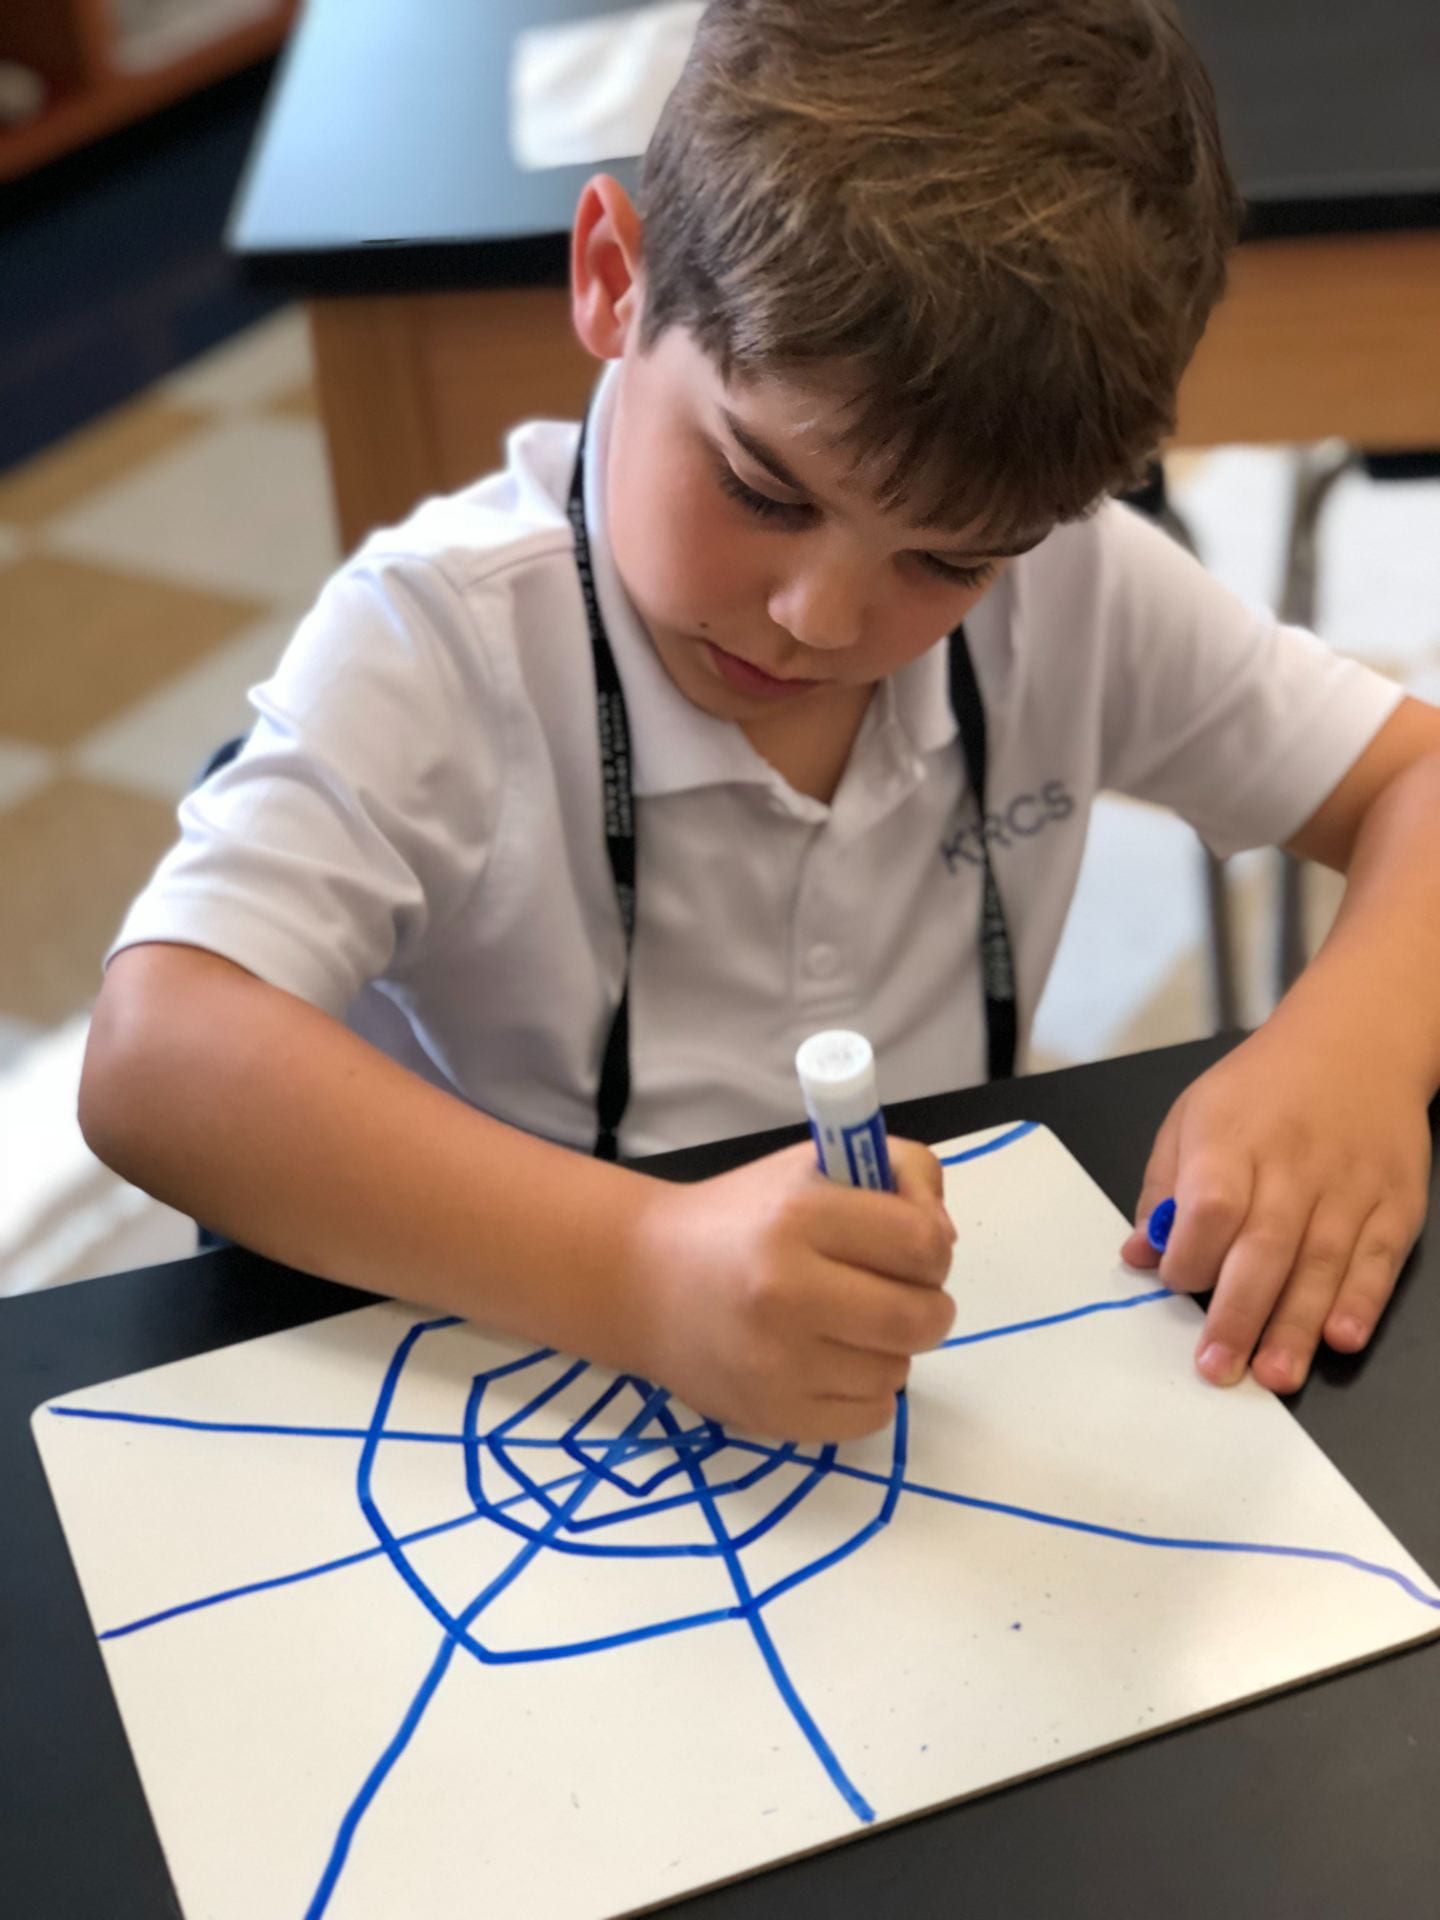
We practiced drawing orb webs. When I think about orb webs, I picture the planets orbiting the sun. It was fun to place our spider in the web and pretend it was catching flies. Imagine if there weren’t spiders to catch all the insects which make up at least 90% of the animal population!


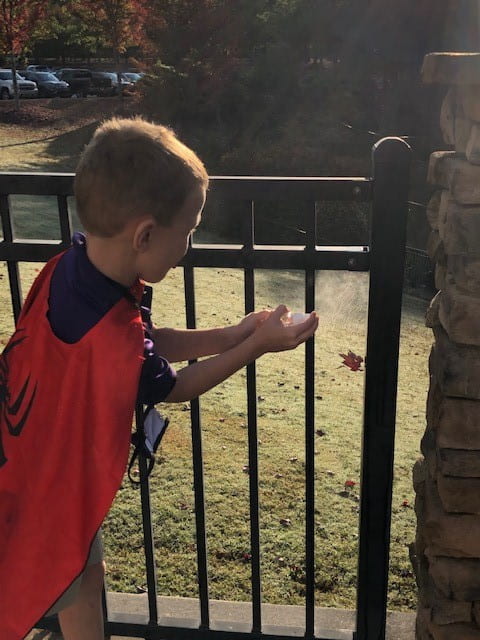
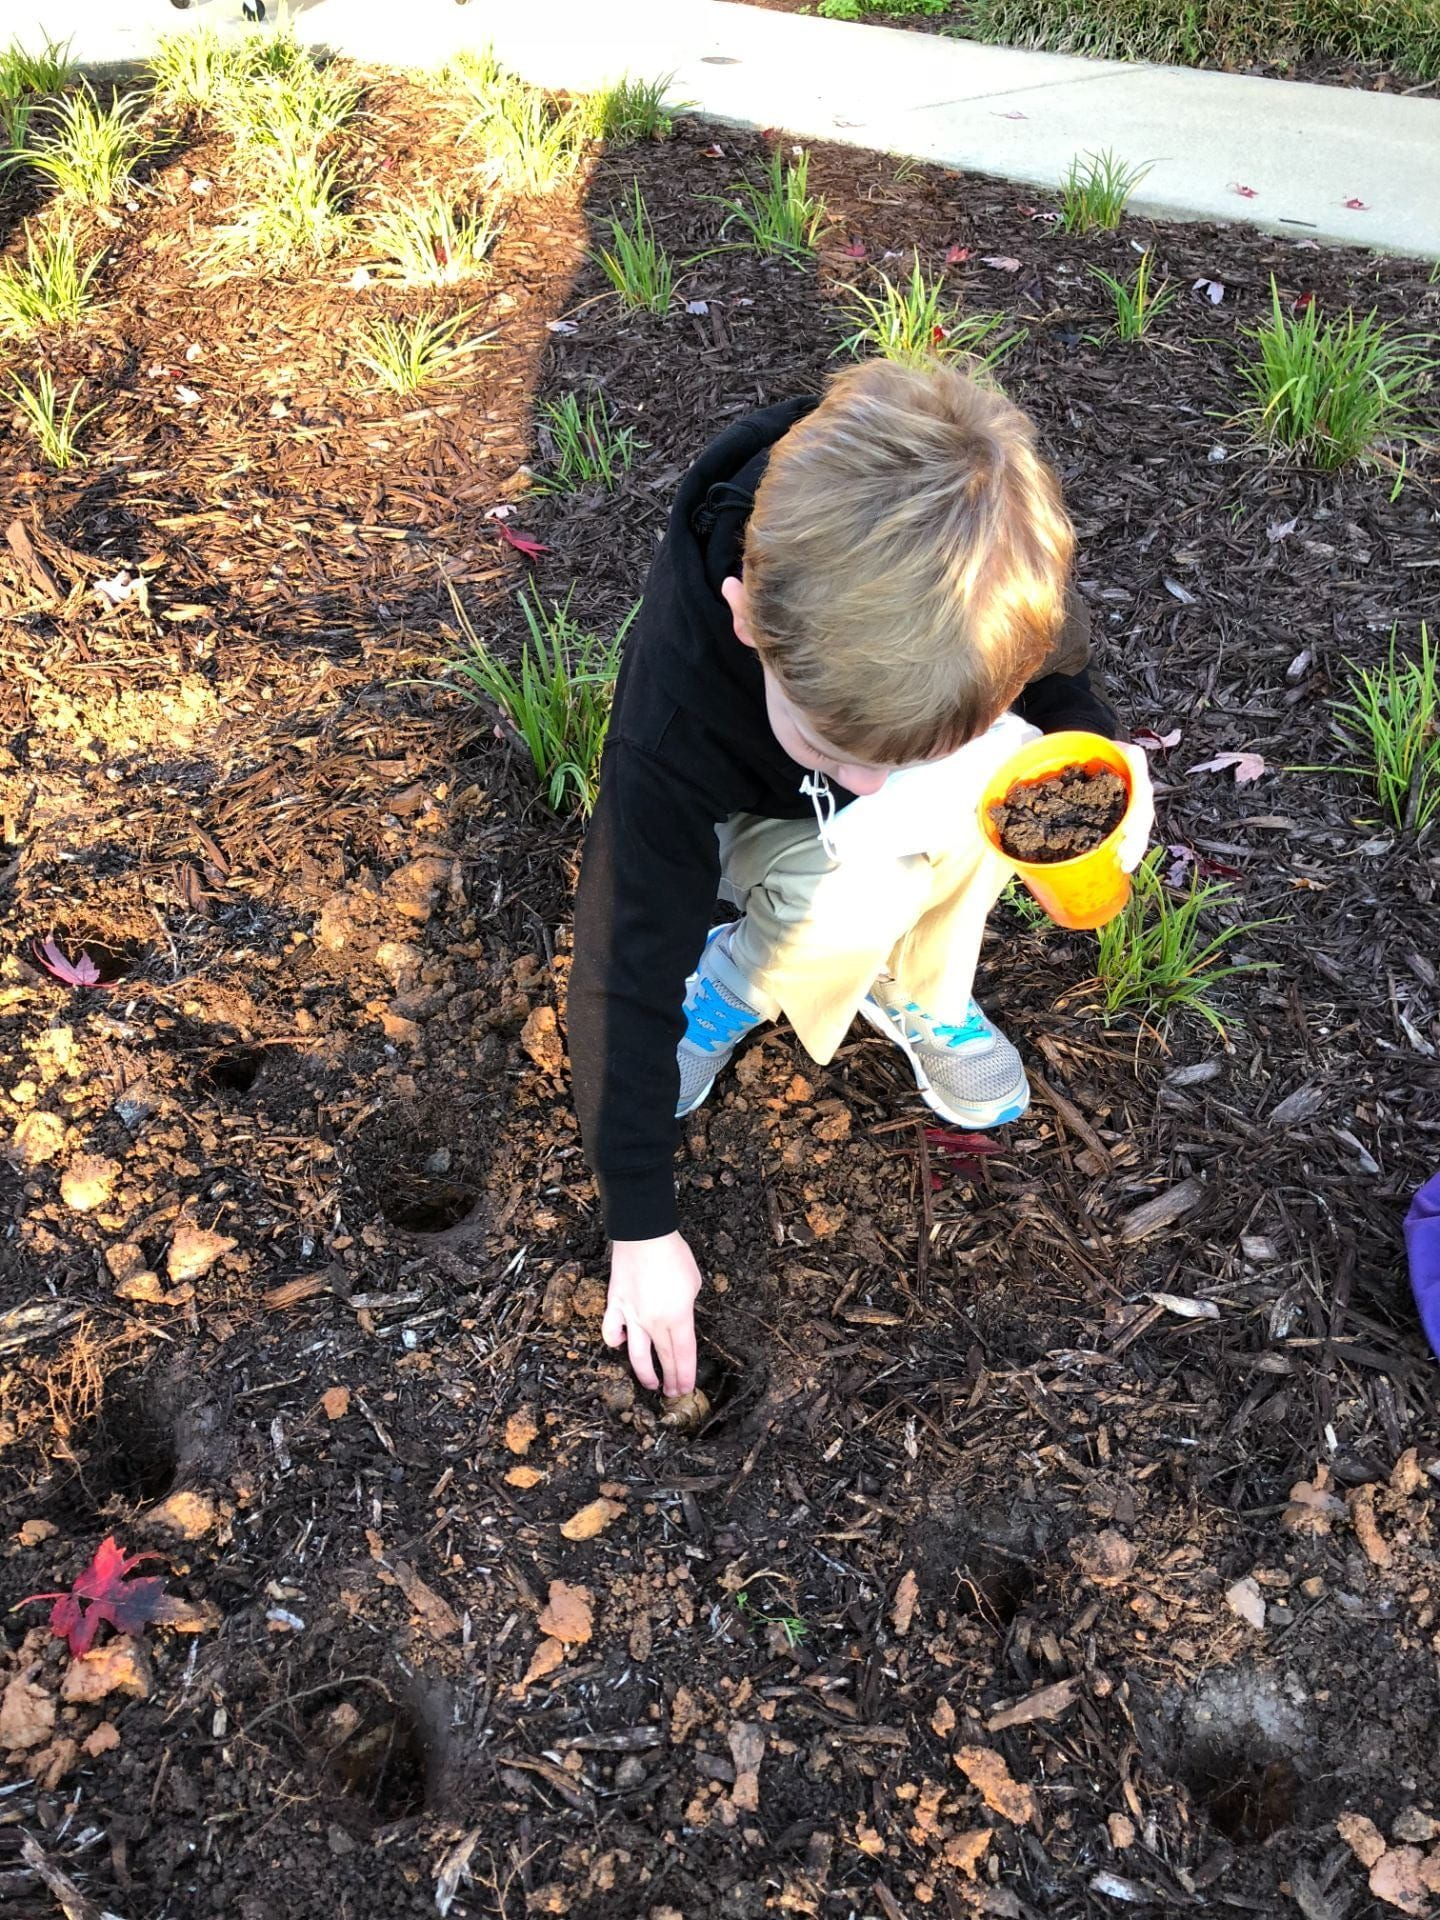
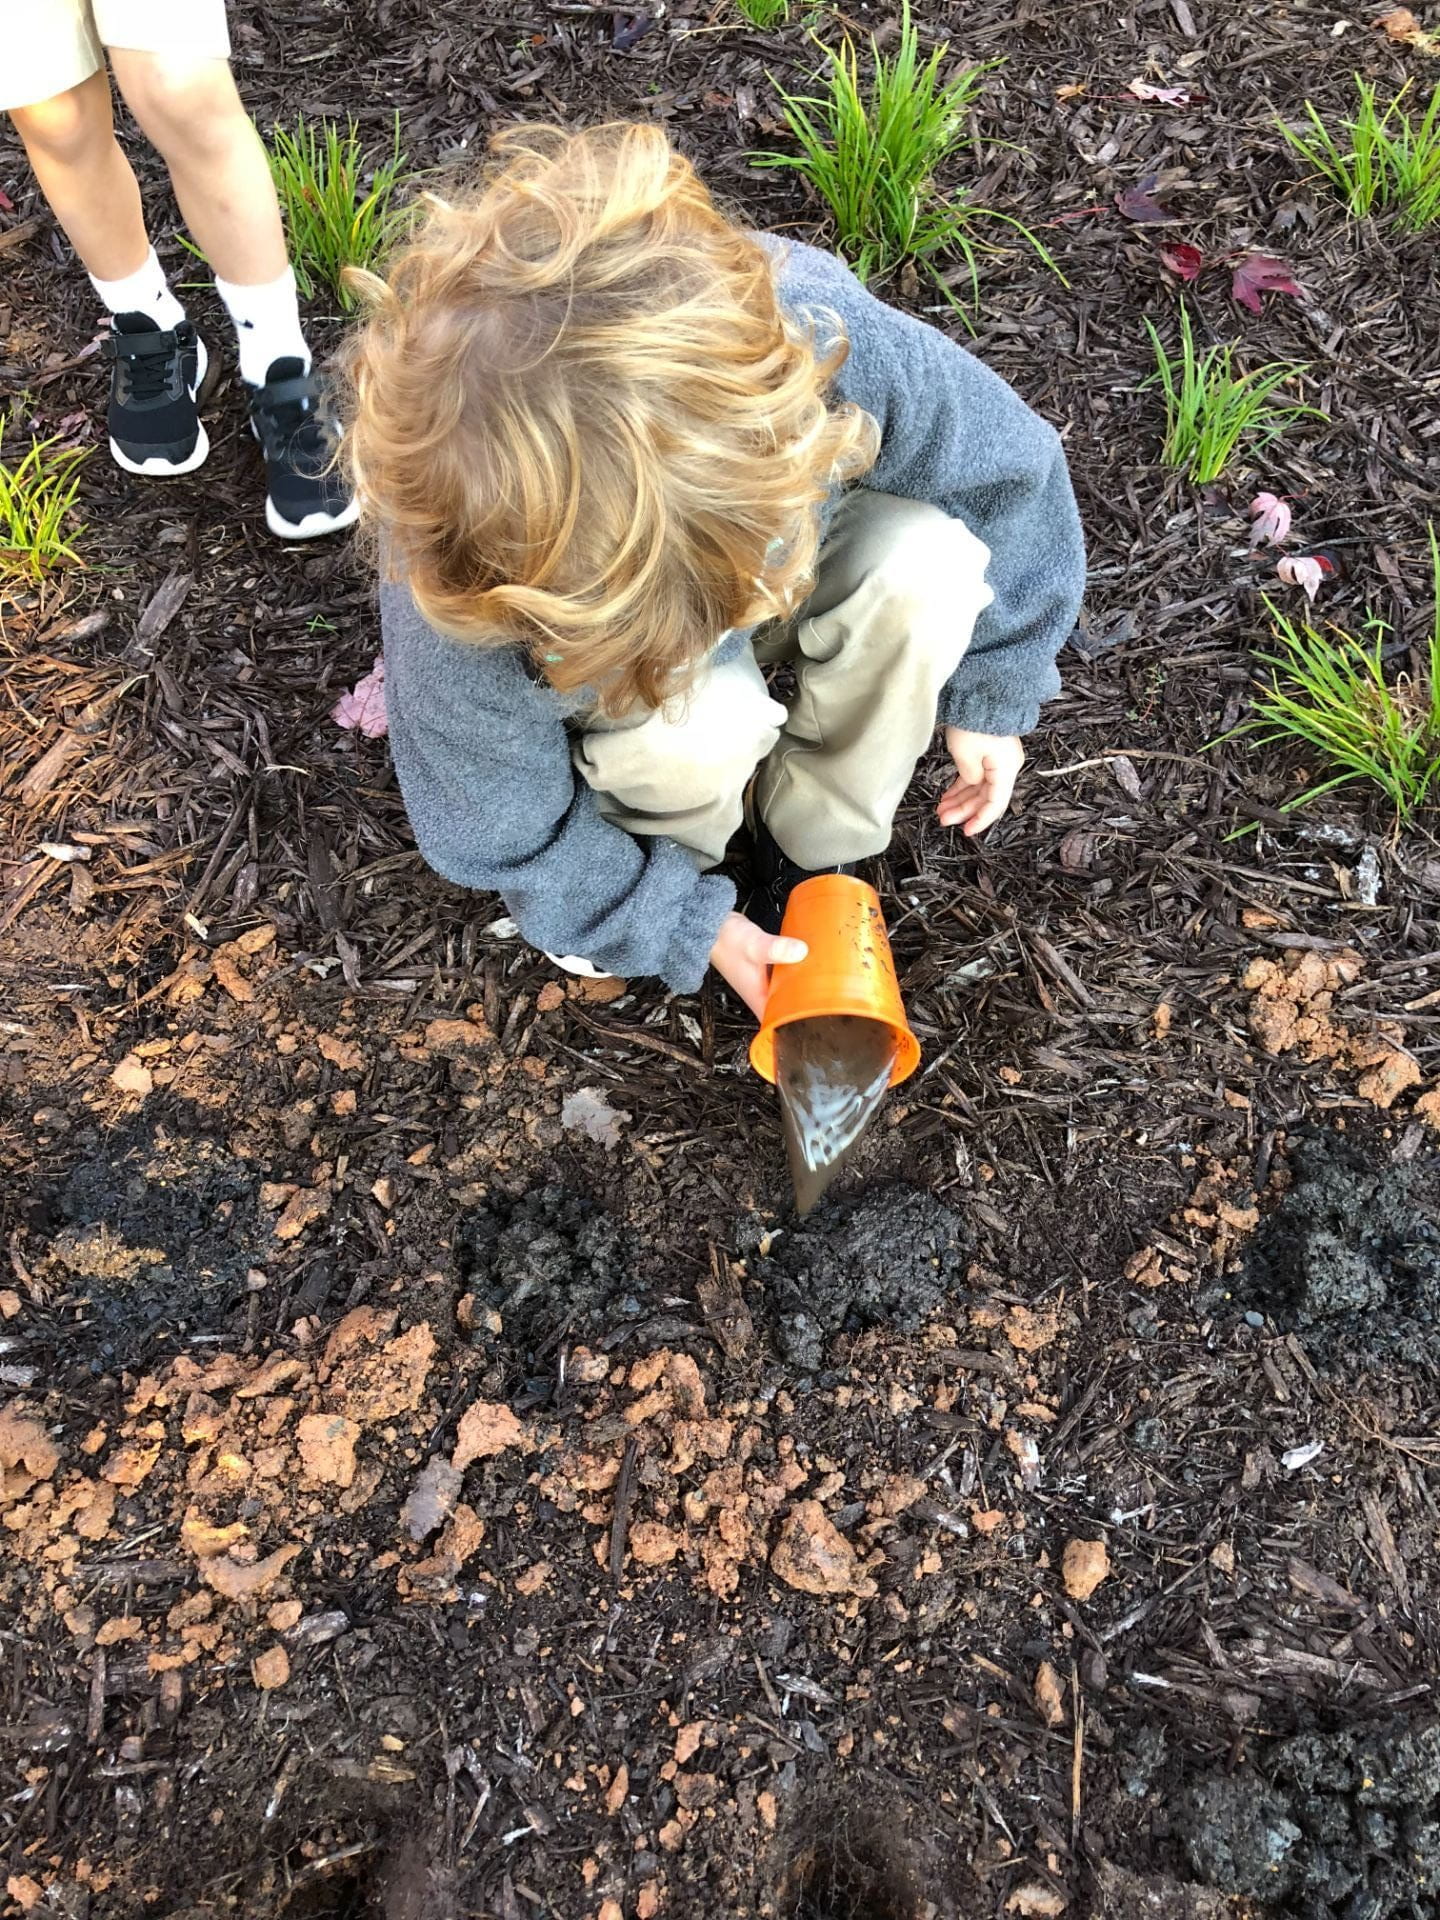
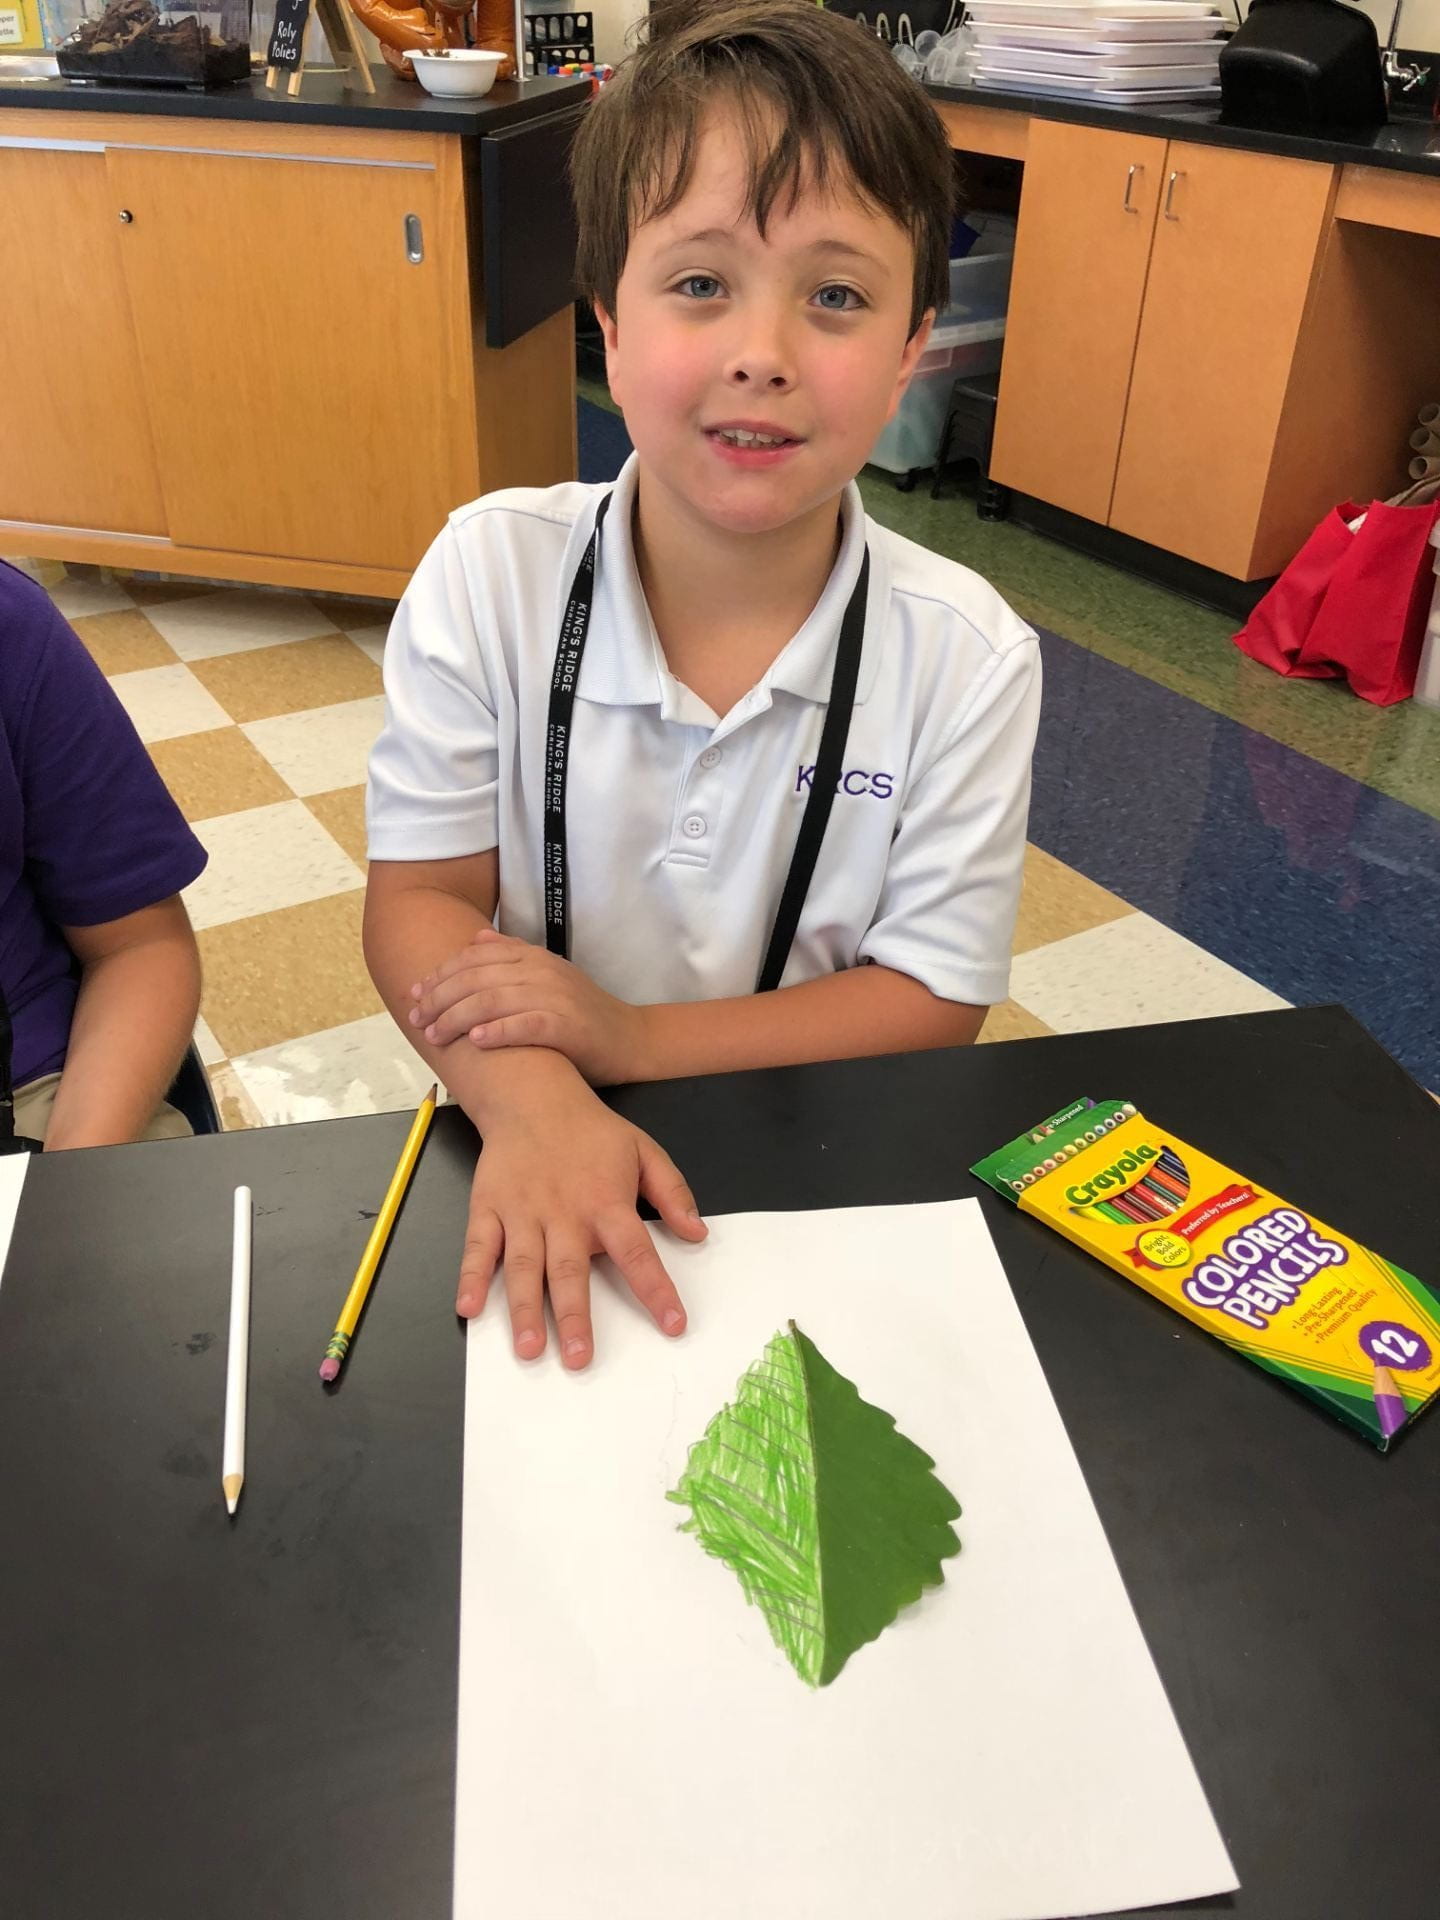
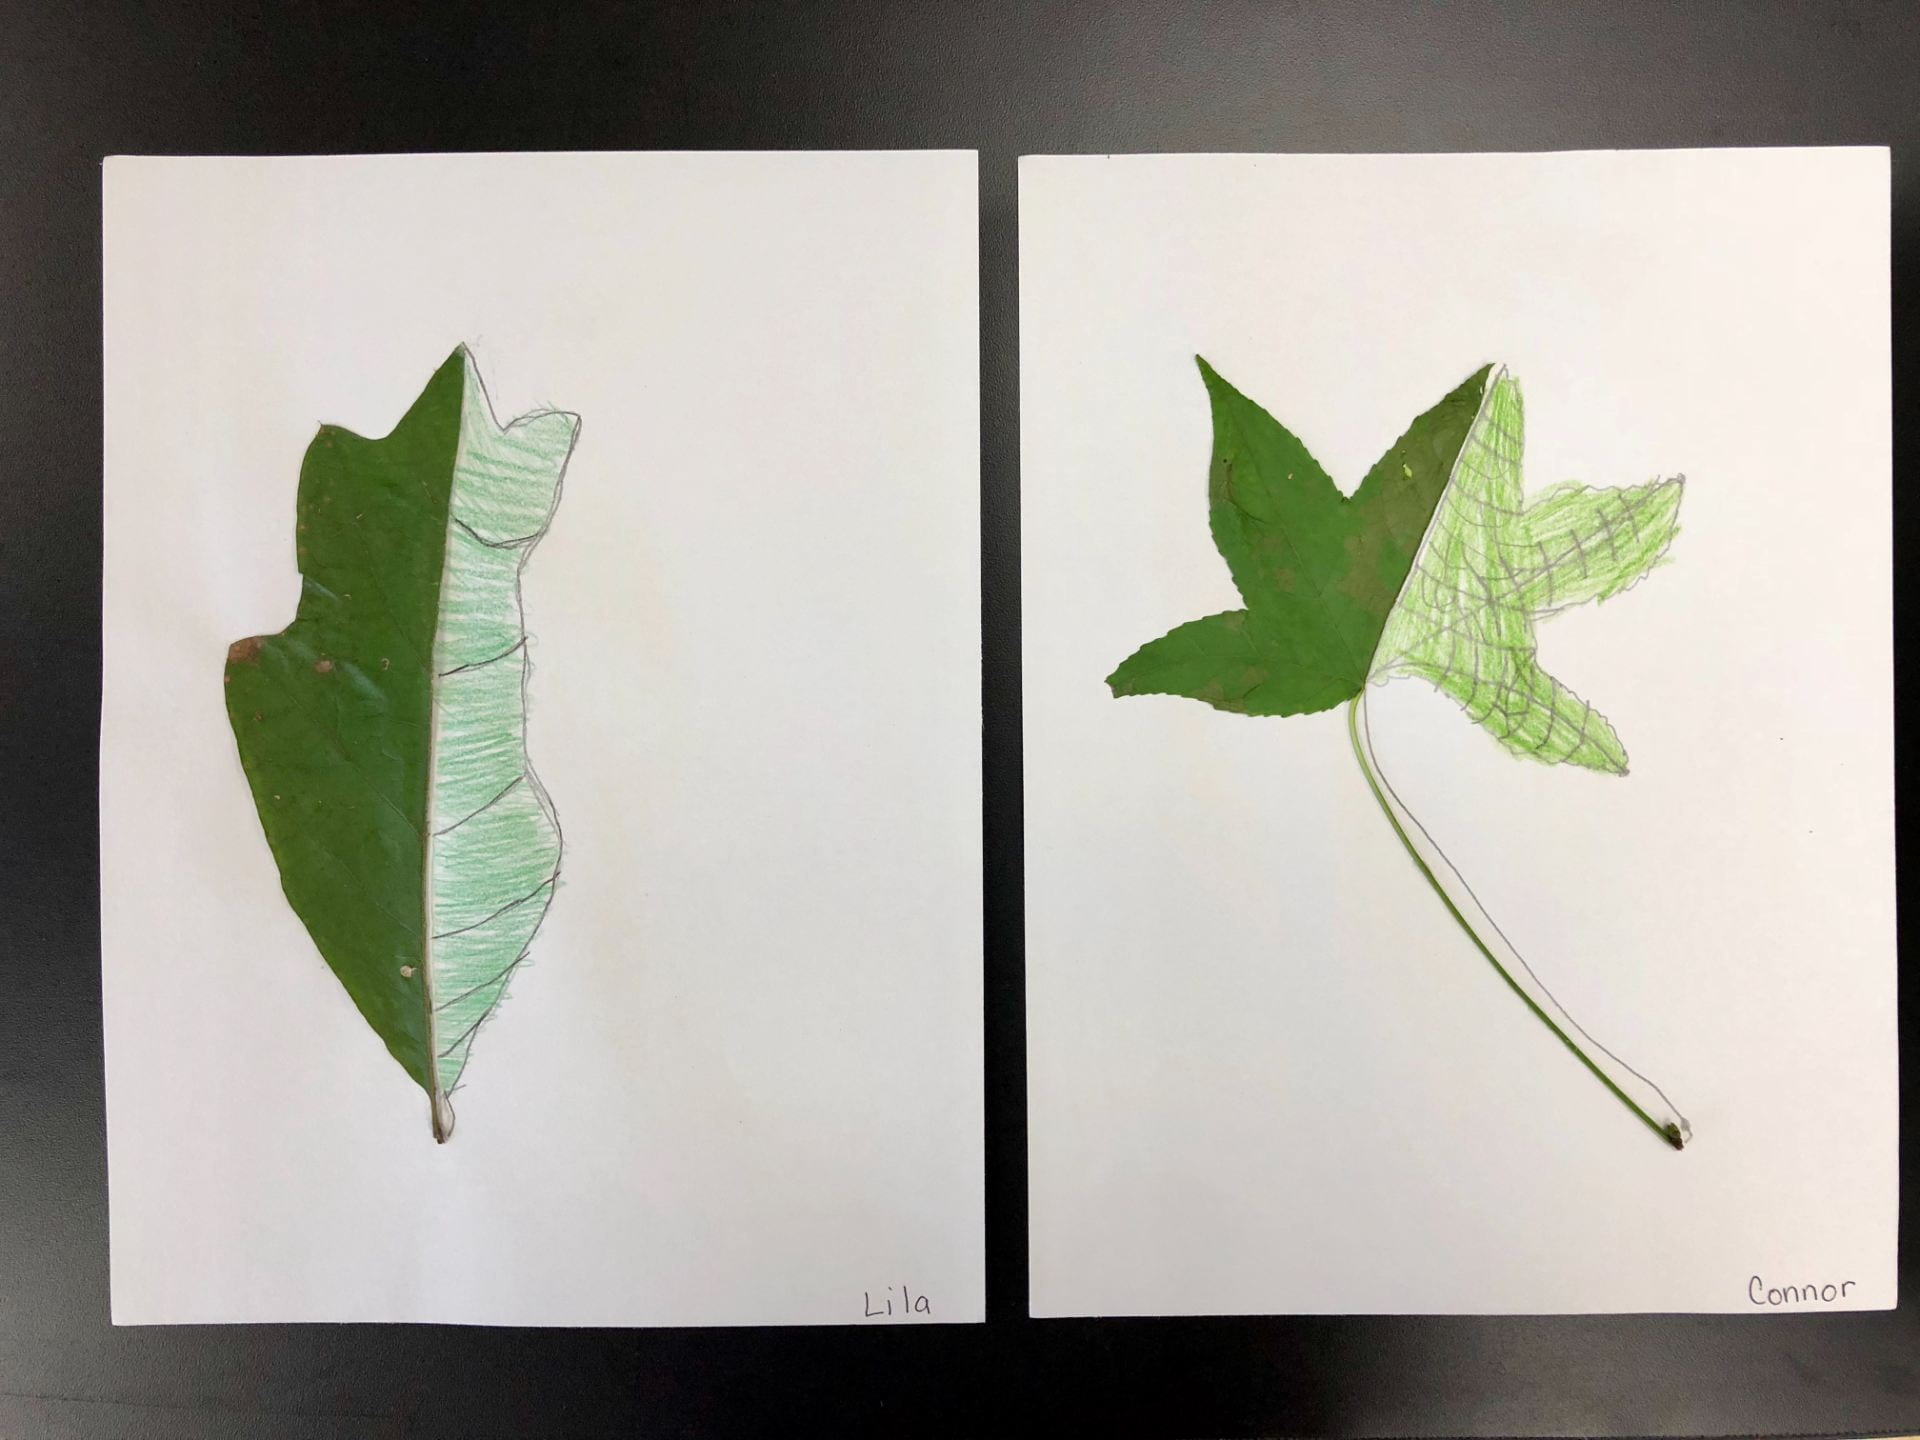
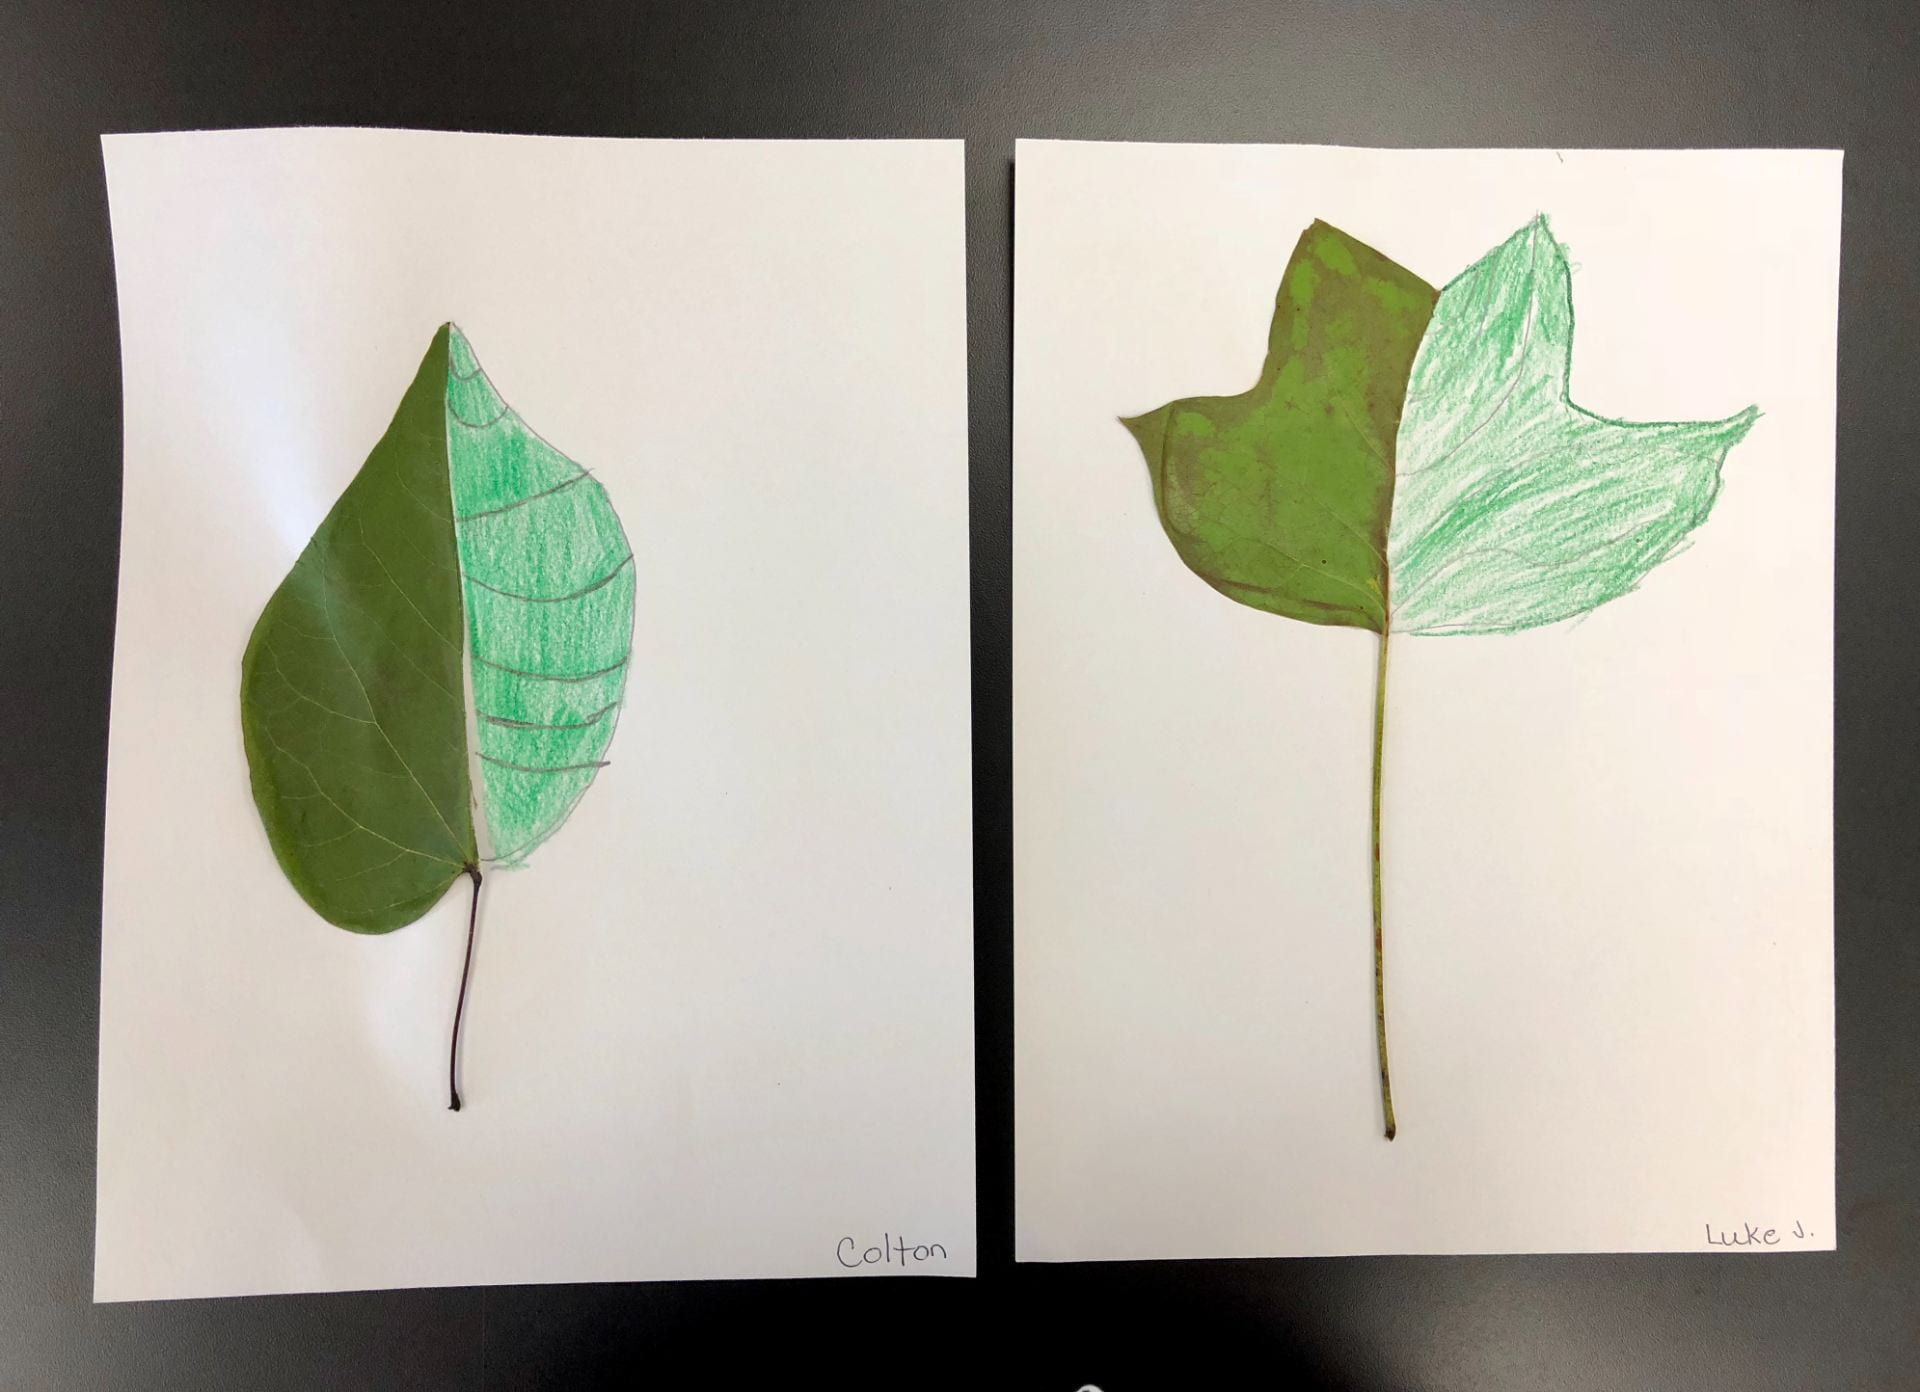
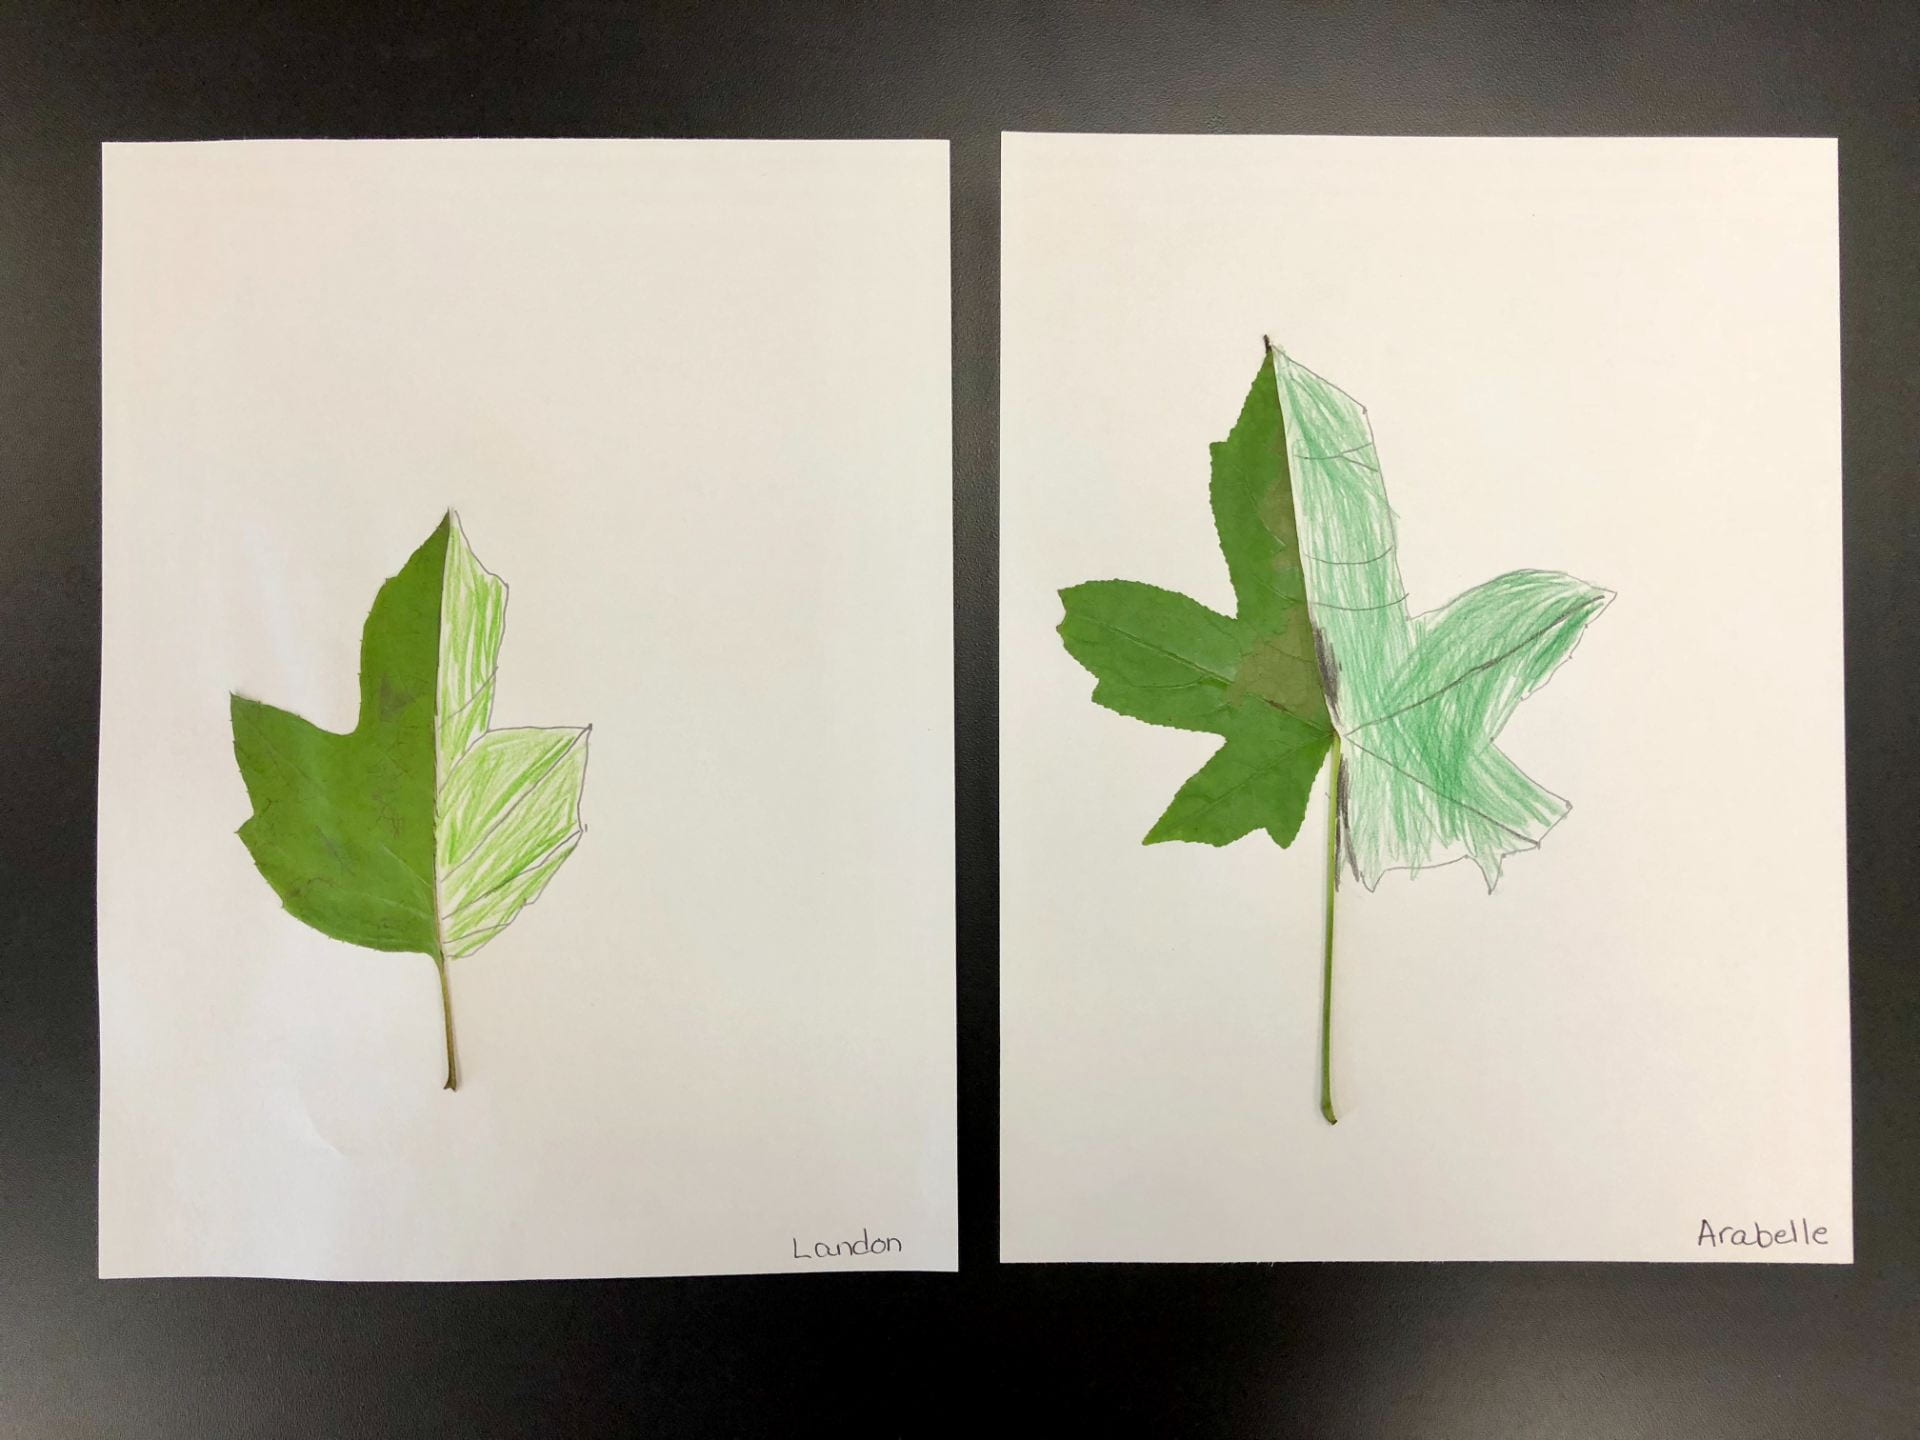
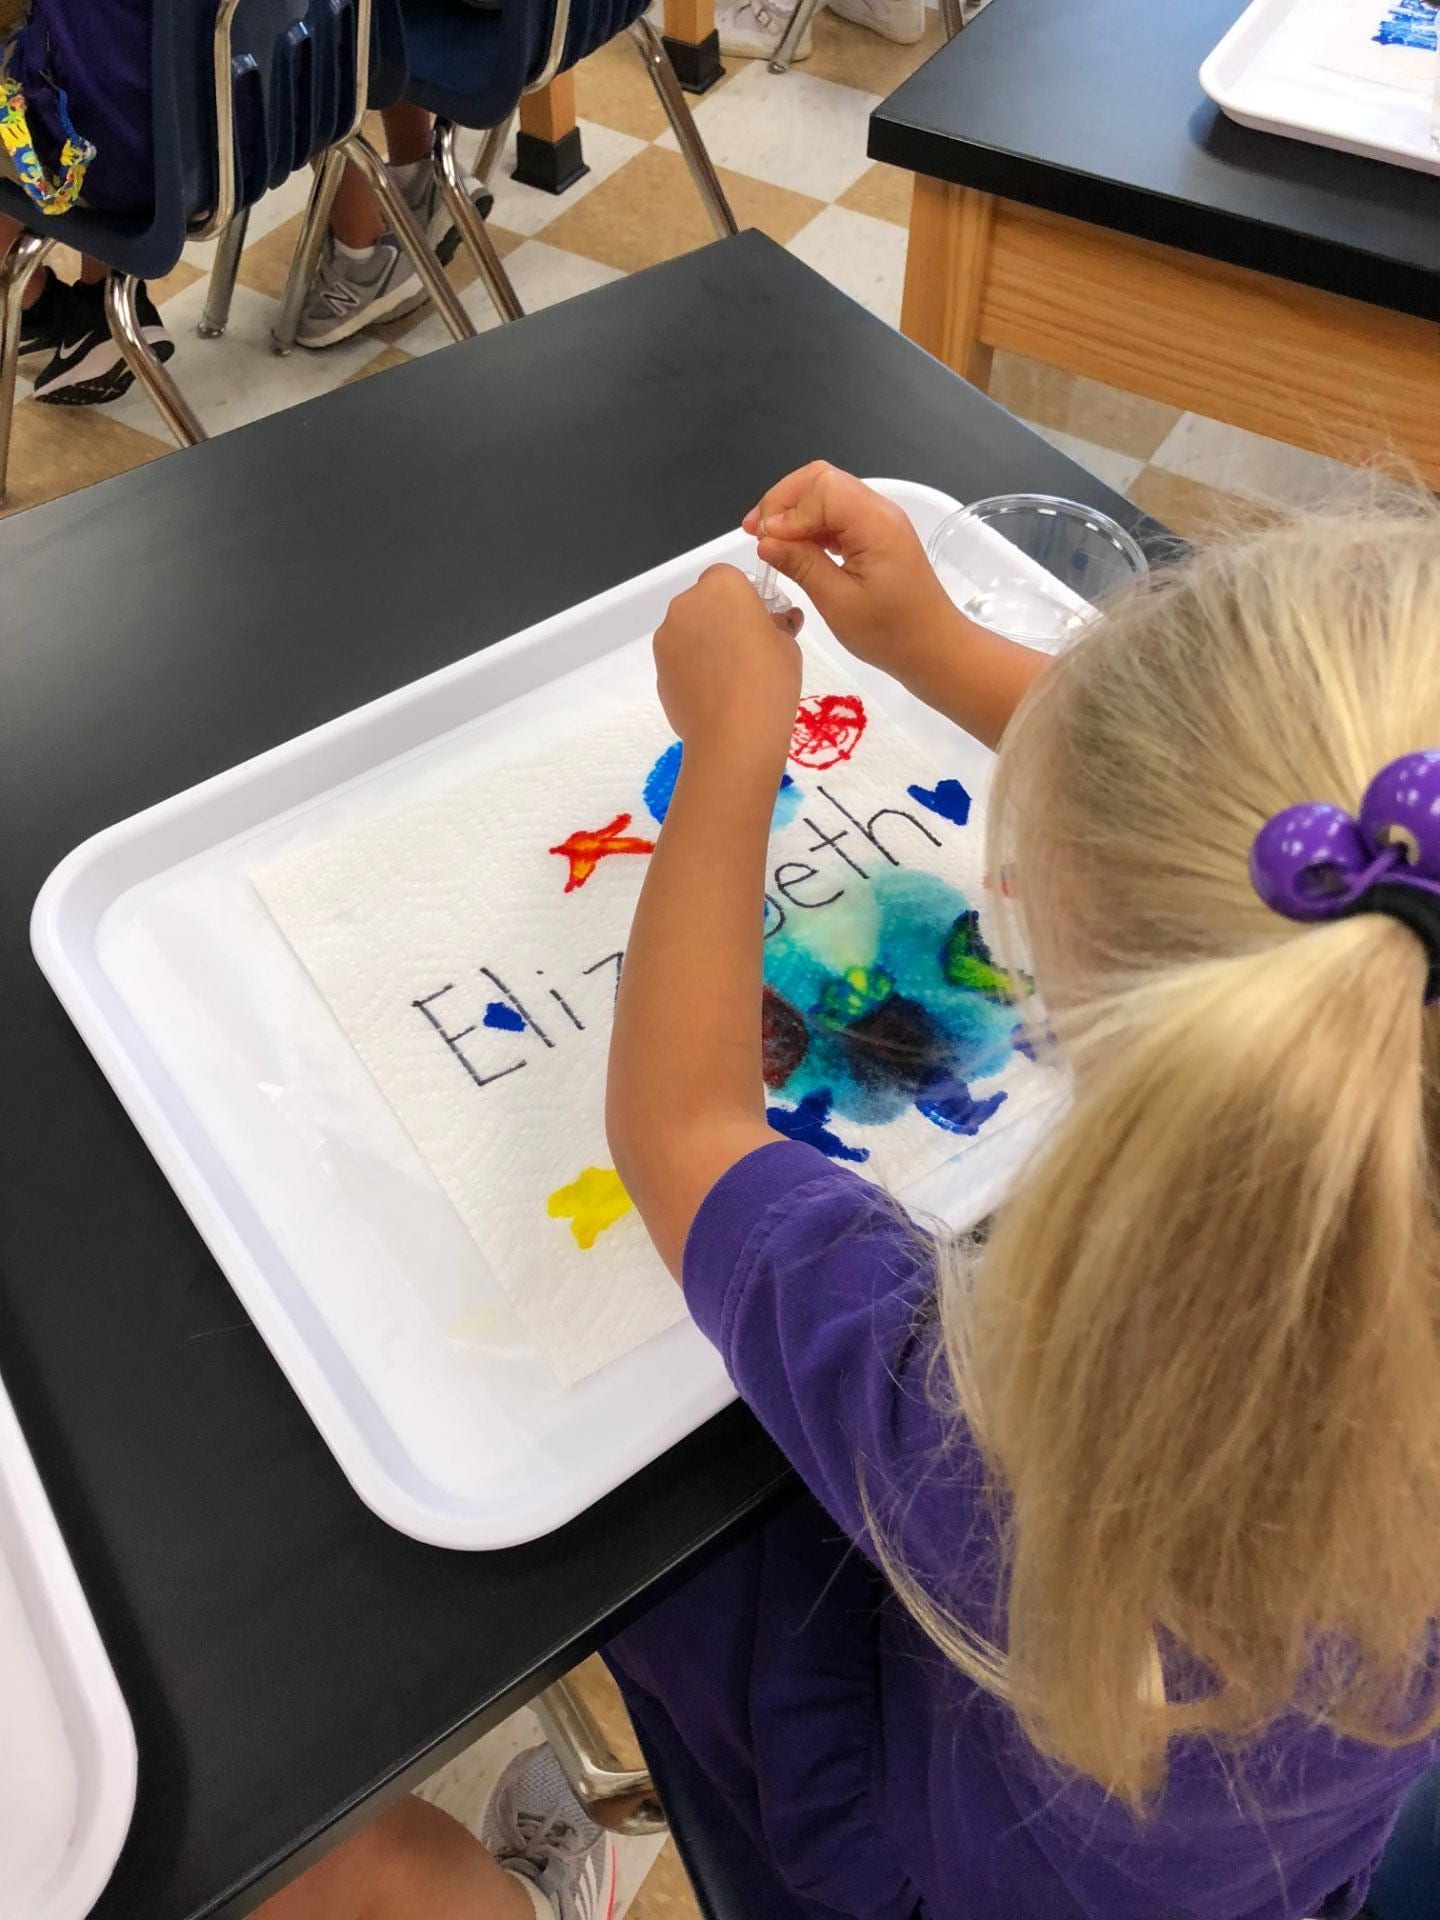
We moved our lab outside and searched for spider webs by spraying them with a fine mist. (This turned out to be great exercise for our finger muscles.) The water sticks to the web, like dew, and makes the webs visible. I also threw some leaves into the web, and we observed how they stick to the  strands. Sometimes, a spider will crawl down and realize the leaf is not food, and throw it out of the web.


Today was Cape Day benefiting Children’s Healthcare of Atlanta. Click here to learn more.


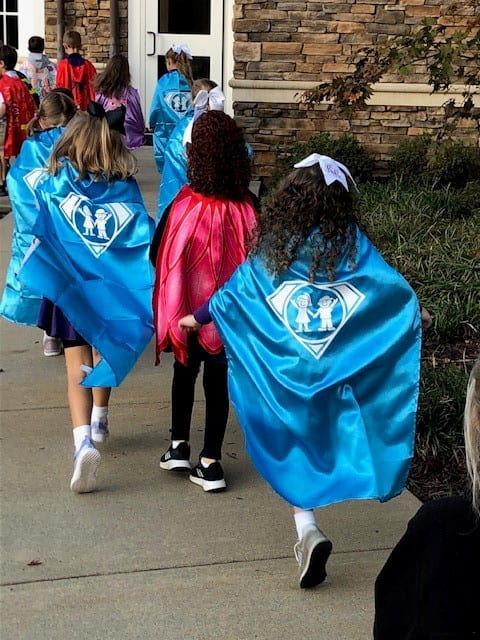
The perfect cape for the day!

Category: Art, Science | LEAVE A COMMENT
October 7

Bulbs

My youngest scientists learned that bulbs are one way plants reproduce or make more of their own kind. Before we went outside, we looked at the life cycle of a bulb and read Bloom by Diessen. Click here to peek inside this book.

I chose a beautiful spot overlooking the pond for our garden. We planted the bulbs three inches under the ground with the pointed sides up, covered them with soil, and watered them. We’ll have to wait until spring for them to bloom. It is hard to wait, but it’s good to practice!


As we waited for our classmates to finish planting their bulbs, we drew chalk pictures of what we think the flowers will look like when they bloom.

September 19

Skeletons

From PreK on, I refer to the body parts using bones. As my scientists enter the lab, I ask them to sit on their pelvis and place their phalanges in their laps. Third grade students study the skeletal system and are introduced to all the major bones.

Some of the facts we’ve learned about bones:
Bones give us structure and help us stand.
Bones help us move because they work together with muscles.
We are born with 300 bones, but we have 206 bones when we are adults because some fuse together.
Bone marrow is the spongy tissue inside bones that produces blood cells.
The femur is the largest bone and the stapes, in the middle ear, is the smallest bone.
More than half the bones in our body are in our hands and feet.

Creating a pasta skeleton diagram was a fun way to practice the names of the bones! A diagram is one of the non-fiction elements. We will label the following bones next: skull, mandible, clavicle, ribs, humerus, ulna, radius, carpals, phalanges, pelvis, femur, patella, tibia, fibula, and backbone.

Click here to watch an informative video about our skeleton. Click here and here to learn the bones.

I praise you because I am wonderfully and fearfully made. Psalm 139:14

Category: Art, Science | LEAVE A COMMENT
September 17

Leaves

Second grade botanists studied leaves. Then, we applied what we previously learned about symmetry to complete the leaf. Connecting art and science always improves observational and visual perception skills.


Category: Art, Science | LEAVE A COMMENT
September 5

Skeleton Hand

My third grade biologists continued their study of the skeletal system. Our emphasis in this lab was on the bones and joints in the hand. We used Mystery Science, a great online resource, to lead us through the investigation. The bones appear translucent because we painted them with vegetable oil and therefore, our drawings resemble x-rays.


I also shared pictures of prosthetic and robotic hands. I explained engineers use the knowledge they learn in science and math to solve problems. This is an example of a STEAM activity. We aren’t completing the project below, but I challenged my scientists to try it at home.

Category: Art, Science | LEAVE A COMMENT
September 2

Fizzy Fun

PreK and Pre-First chemists used pipettes to drop colored vinegar (red, yellow, and blue) onto plates of baking soda. A chemical reaction occurred as the colors mixed. Why did bubbles form? It looked as if mini volcanoes were erupting. Do you see the craters? How did the other colors appear? Click here to watch a fun story about mixing colors. We did not have time to watch this in lab.

Children wore their face coverings when they entered my room. At the lab tables, they removed them. I took photos from over six feet away while I was wearing my face covering and shield.

Category: Art, Science | LEAVE A COMMENT
August 27

Chromatography

Lab began with the questions: How would you make the color black if you didn’t have a black crayon or marker? Is the color black all black?

Second grade chemists used chromatography to separate the colors (pigments) in black ink. We tested two water-soluble markers and discovered that black ink is a blend of other colors. Why are the bands of colors in the same order? Click here to learn more about this investigation.

Each scientist drew black circles in the center of his/her filter paper. They inserted a wet pipe cleaner into the center of the filter paper and placed the paper on top of a cup of water. The colors were revealed almost immediately.

I demonstrated with some non-soluble markers, like Sharpie and Expo, and the pigments did not separate. Click here to watch a humorous story about a little girl who learned the difference between permanent and water-soluble markers!

Category: Art, Science | LEAVE A COMMENT
August 23

Syringes and Color

Last week, kindergarten chemists used pipettes to learn about the properties of air and water. (See previous post.) When we dropped the water on foil and wax paper, the water droplets clung together and remained on top of both materials. The children noticed that the water droplets formed what appeared to be a half bubble in a dome shape.

During this week’s lab, we expanded on those concepts and used air to pull water into syringes. I explained that the numbers on our syringes measured the liquid in mL.

Prior to using the syringes, we used Crayola primary color markers (red, yellow, and blue) to add designs or pictures around names that I had previously written on paper towels. This material had a different texture than the foil and wax paper.

As my scientists colored, we discussed the structure of their names. Who has the shortest name? Does anyone have a double letter? Who has five letters in his/her name? How many classmates have an “a” in their names?


Then, we pulled the water into our syringes and dropped it on the colors we had drawn on our paper towels. The water did not stay on top of this material which led us to a discussion of absorbency. The colors also expanded (as one of my scientists exclaimed.) What a fun way to explore diffusion. But wait, we only used red, yellow, and blue markers! How did green, orange, and purple appear? Another scientist, noticed that the colors stopped moving when they reached the edge of the paper towel. Why didn’t our names change?

We thought our work looked like sunsets and tie dye.

Some of my young scientists have dreams about going into medical fields one day, so they were excited to learn how to use syringes.

Category: Art, Science | LEAVE A COMMENT