January 30

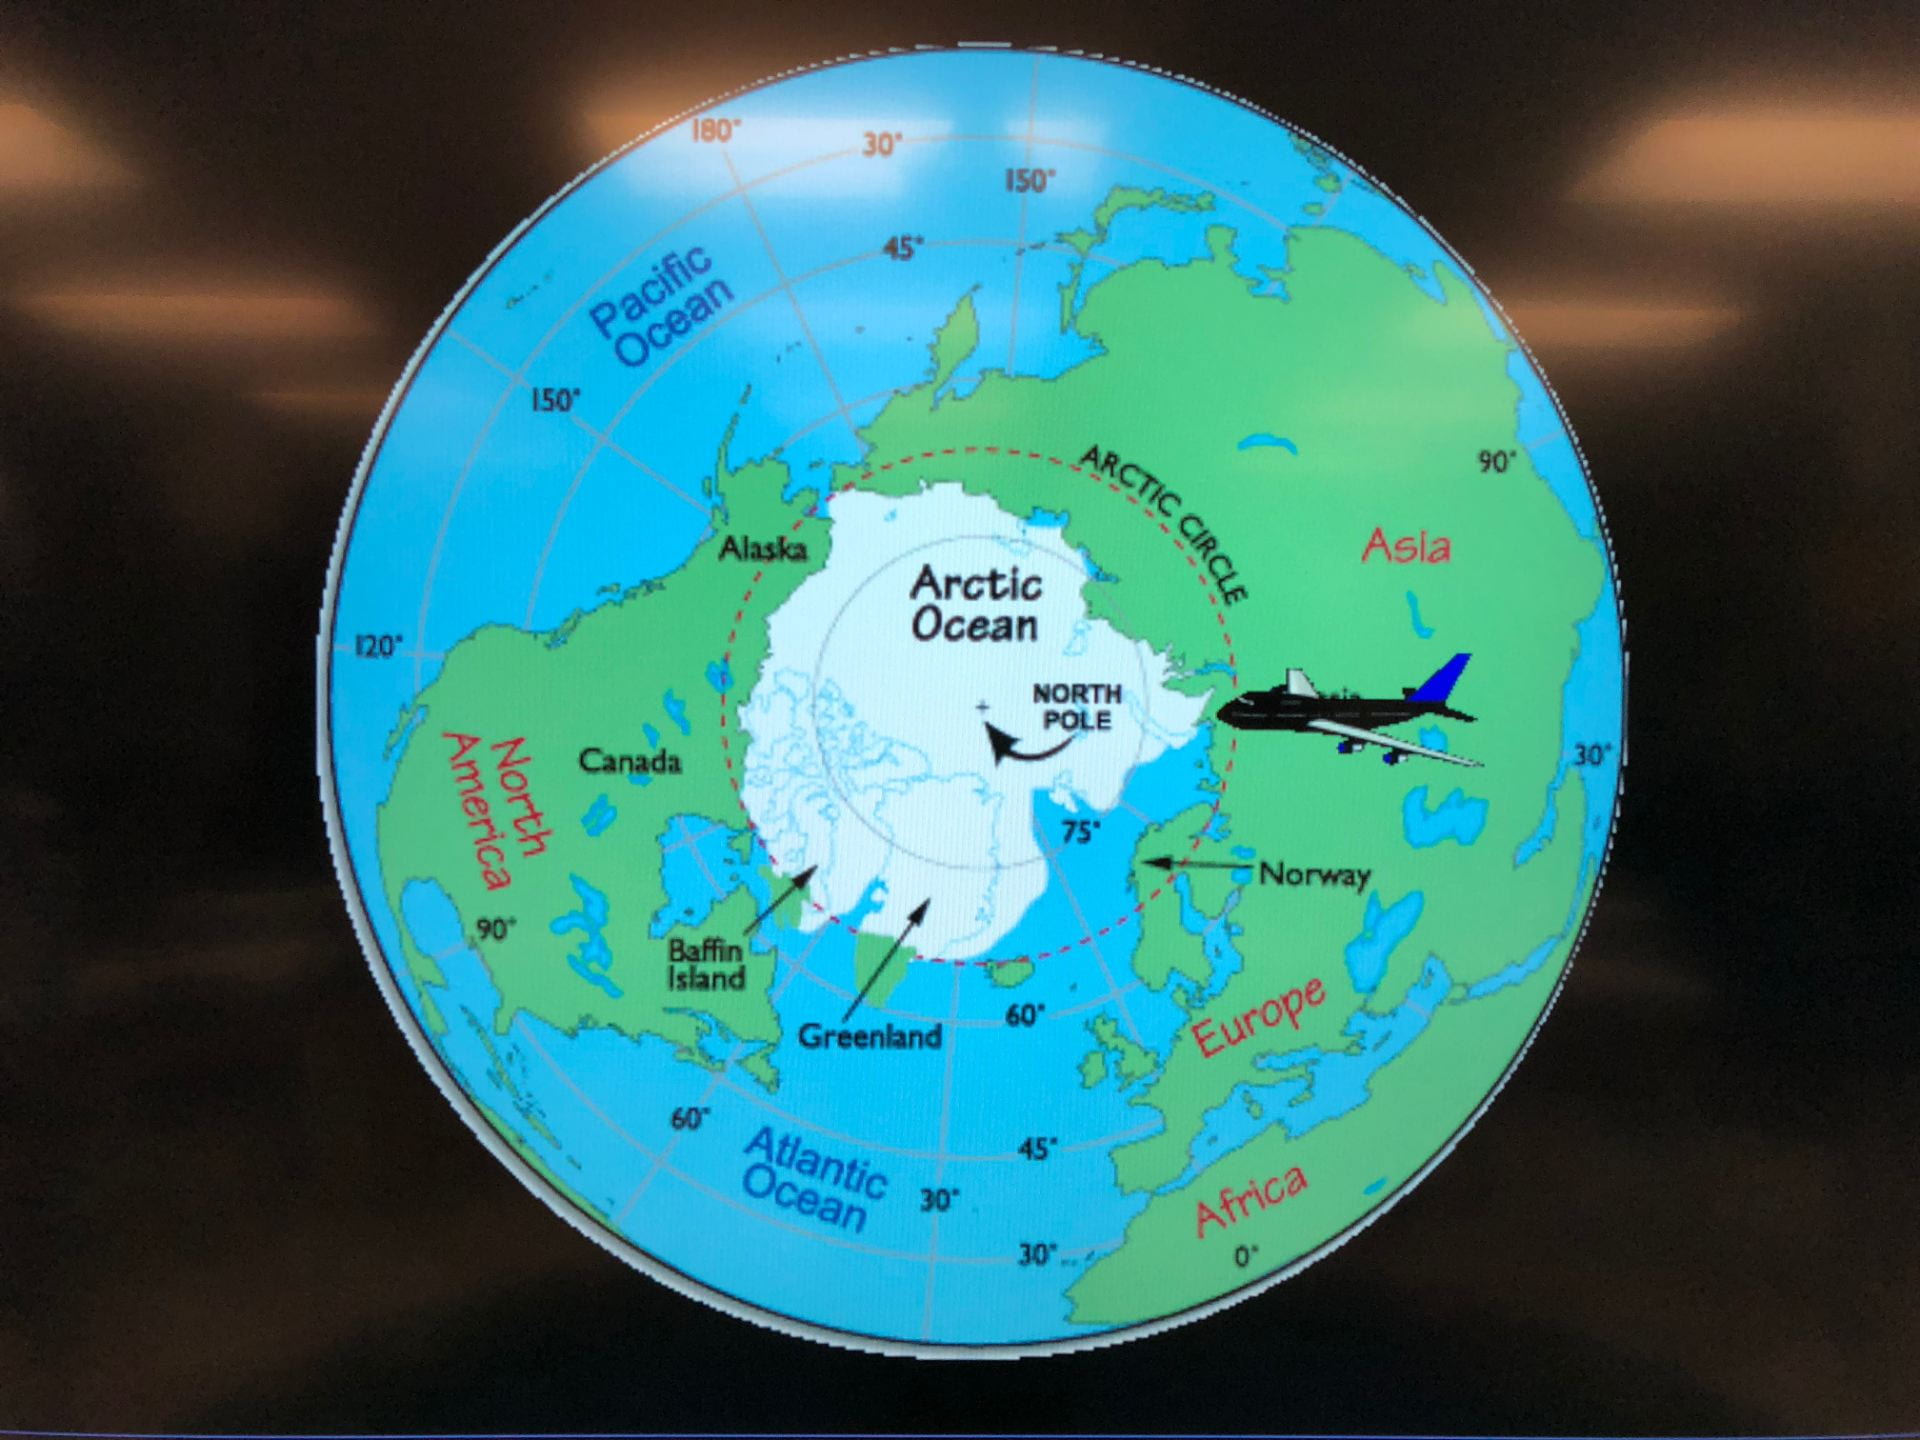
Melting and Freezing

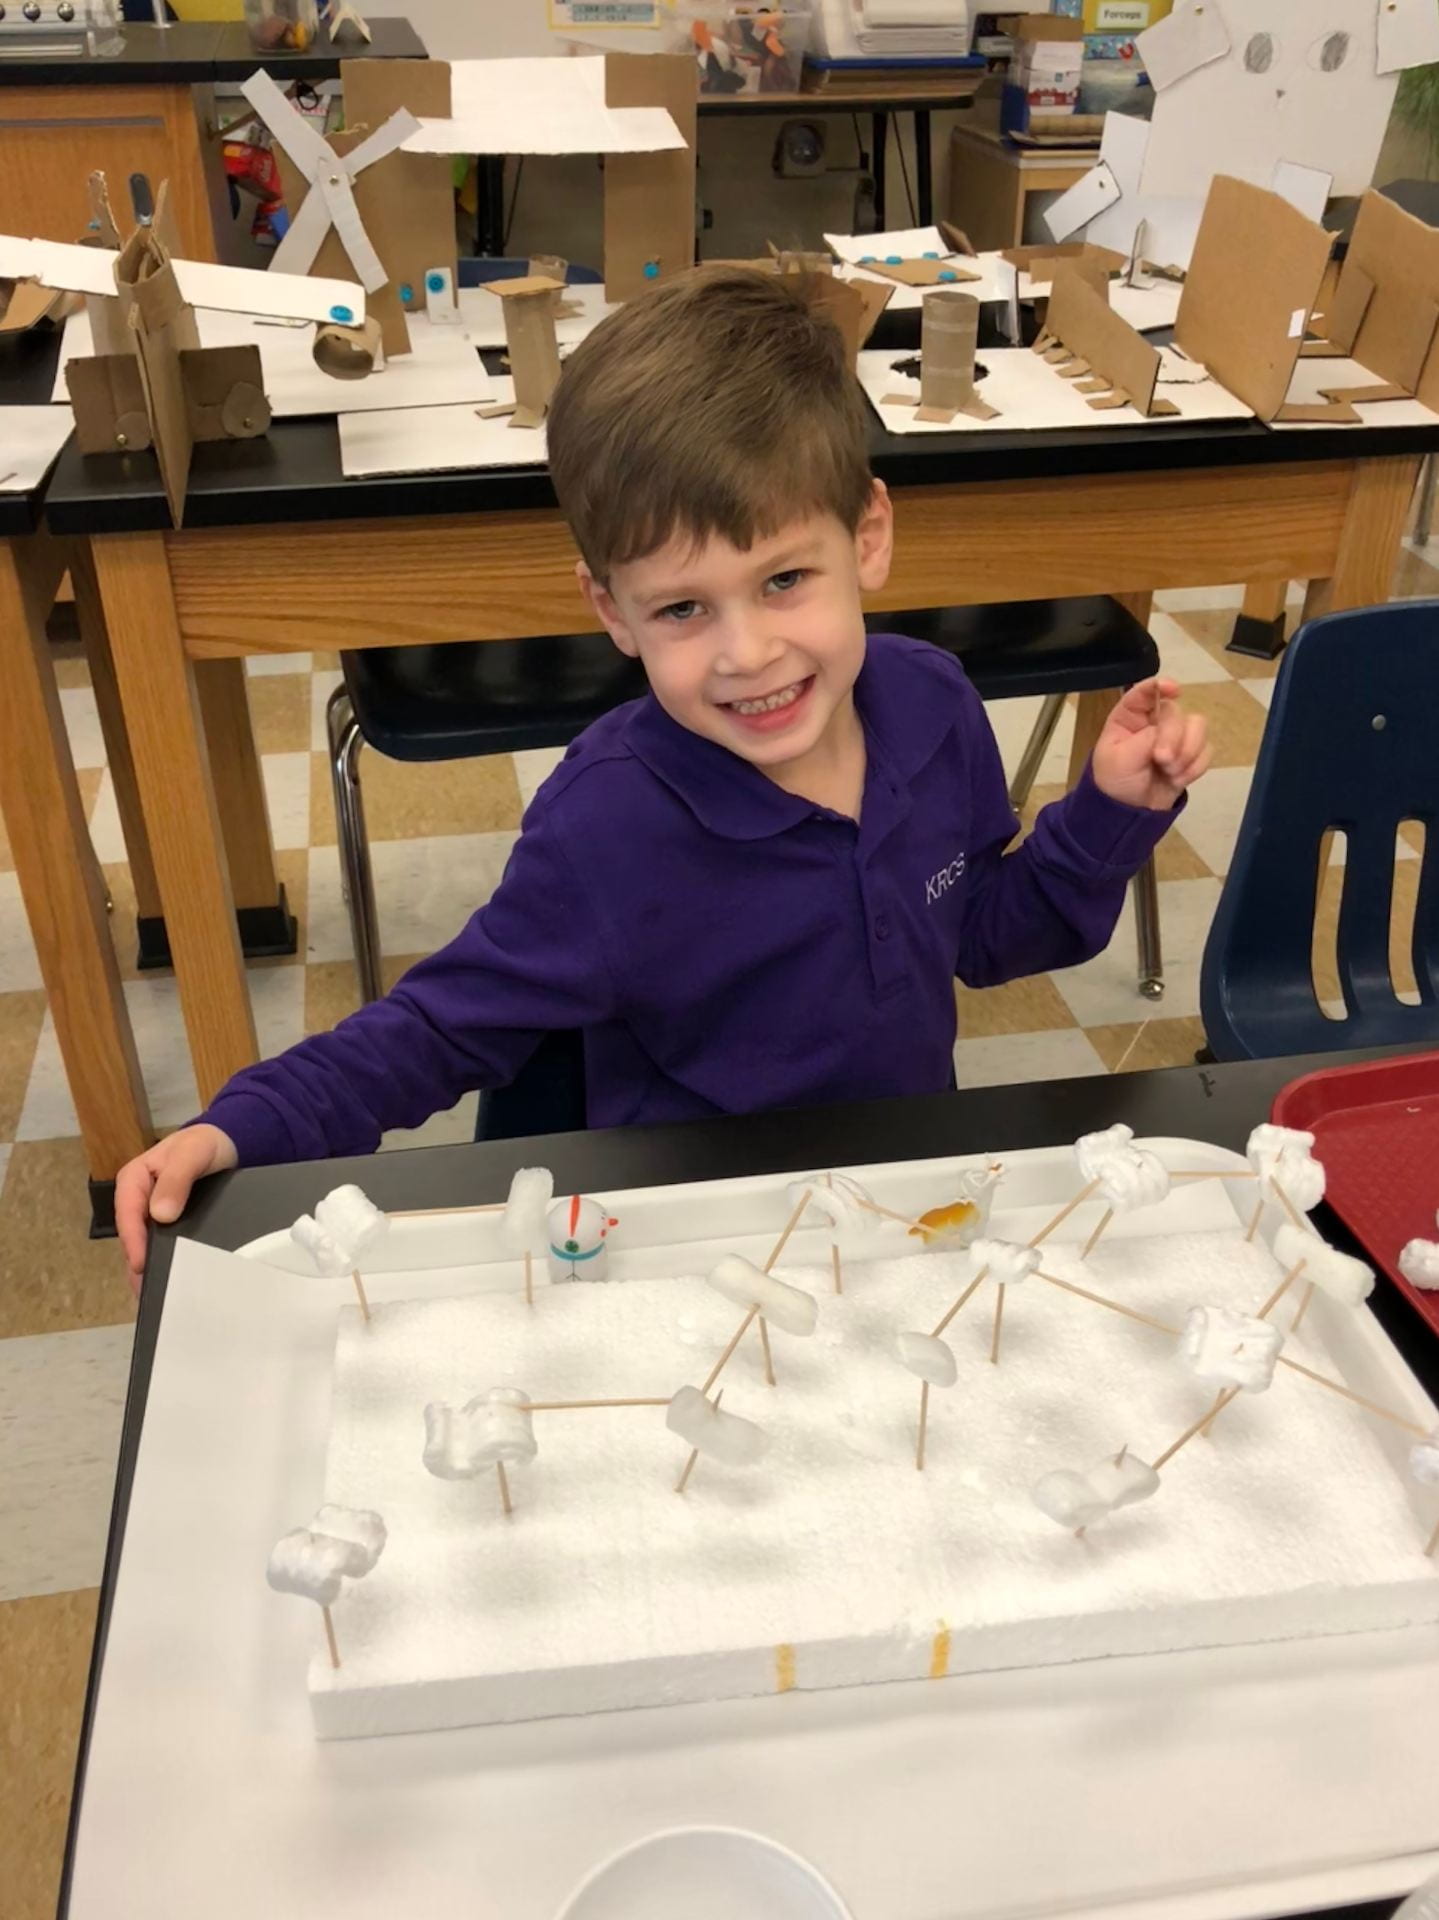
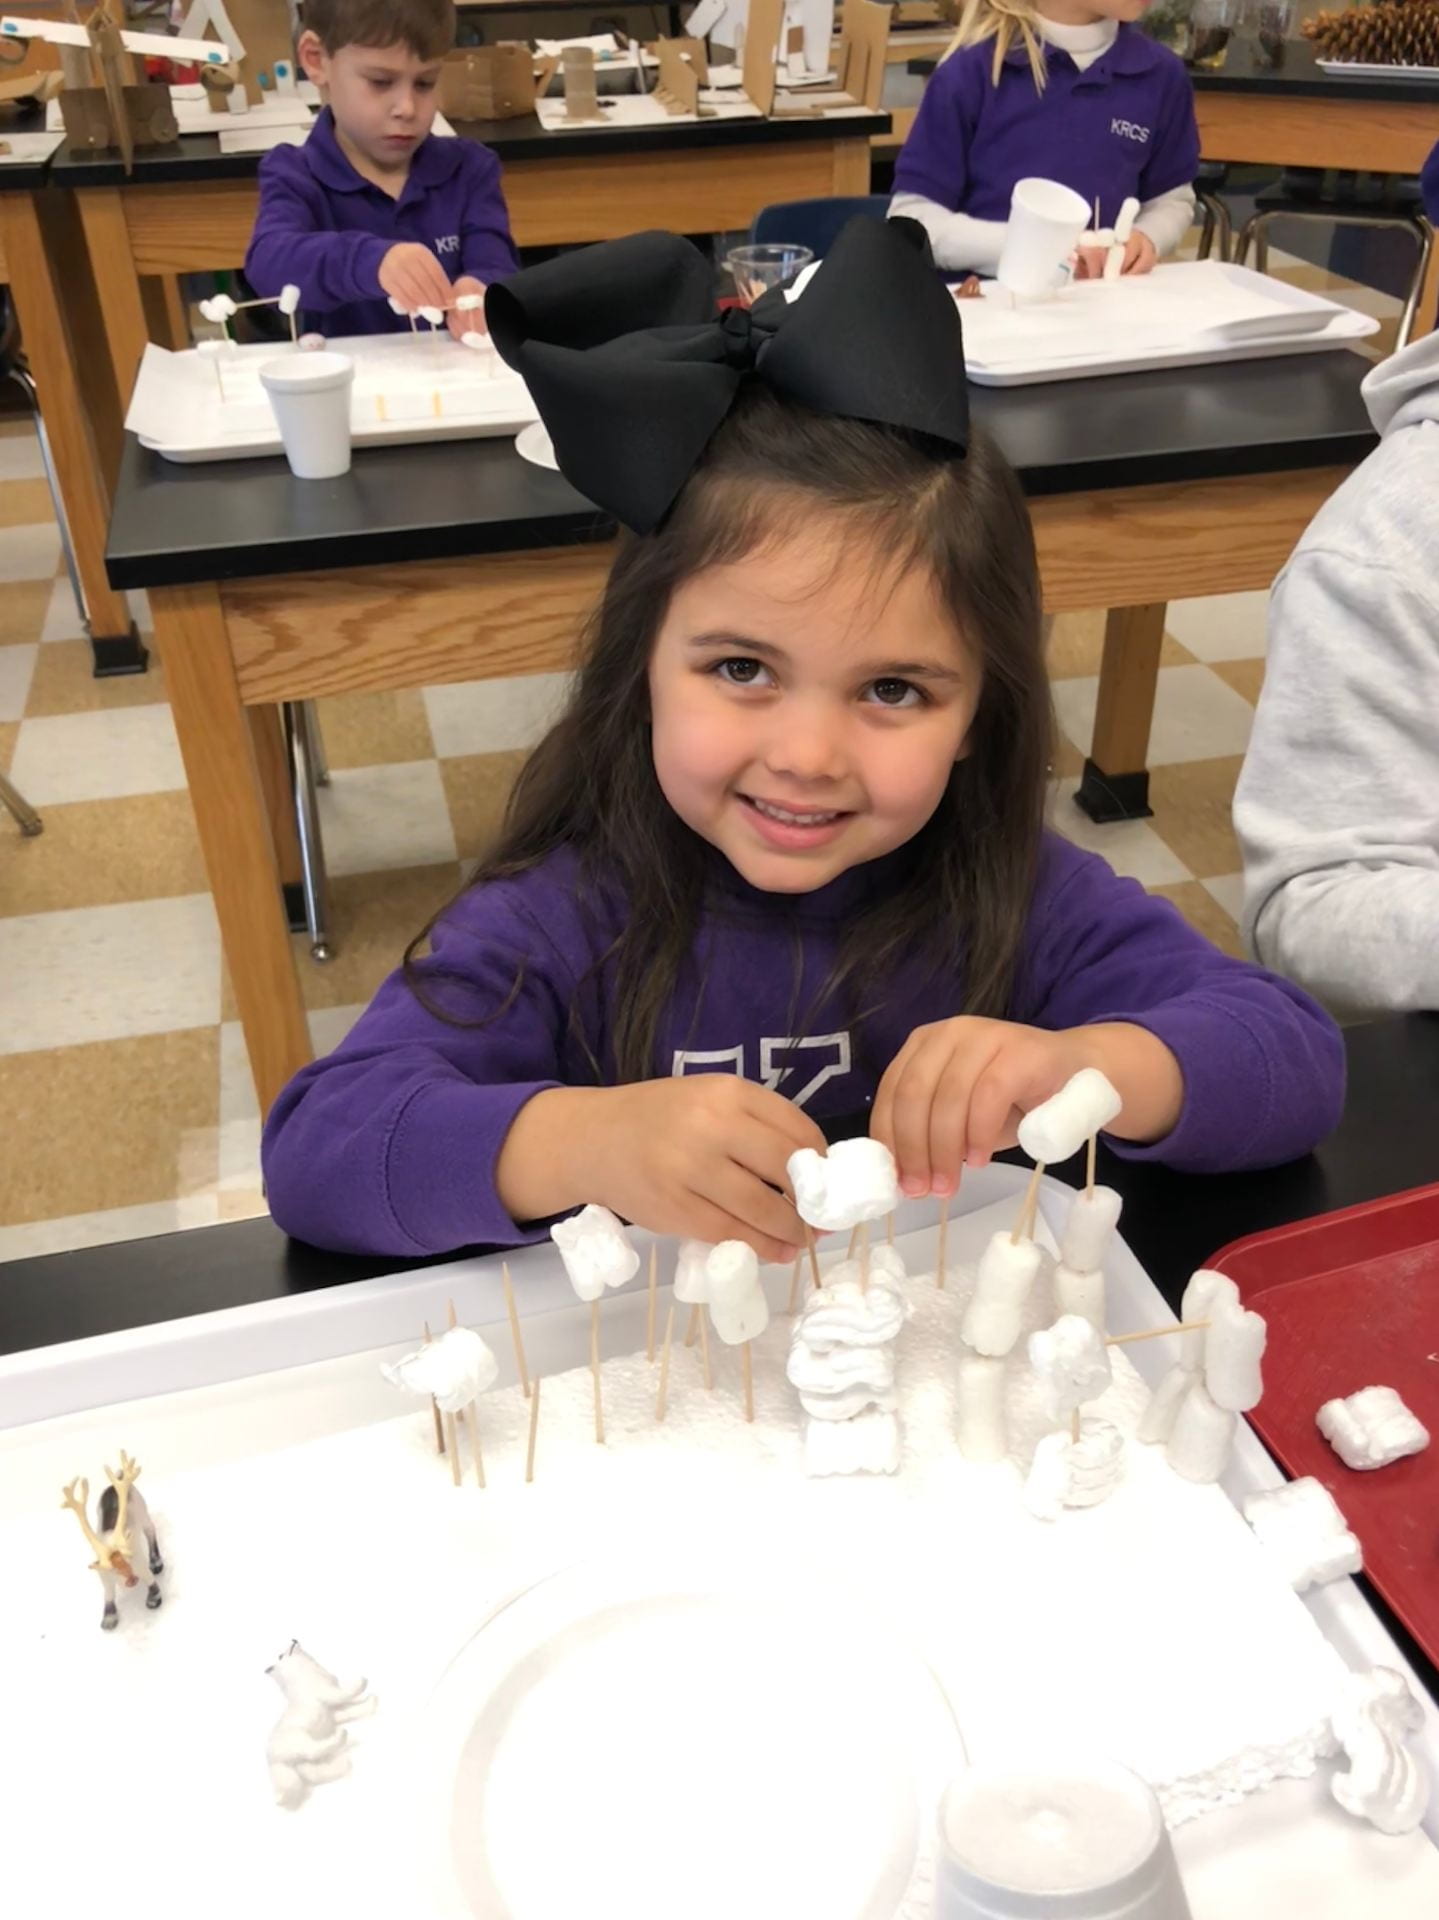
We began lab, by sorting beanie baby animals that do and do not live in the forest.

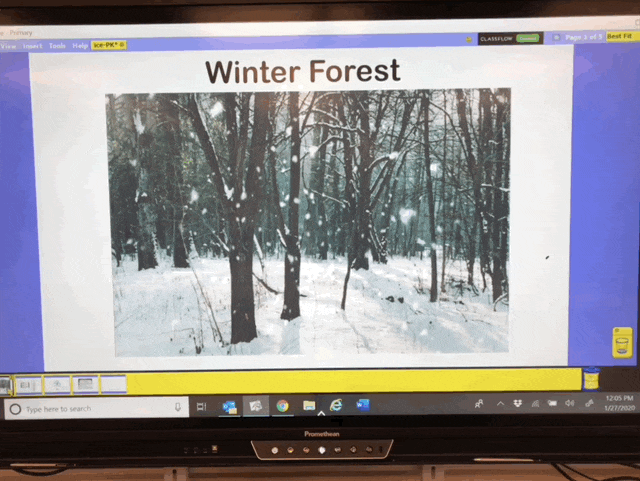
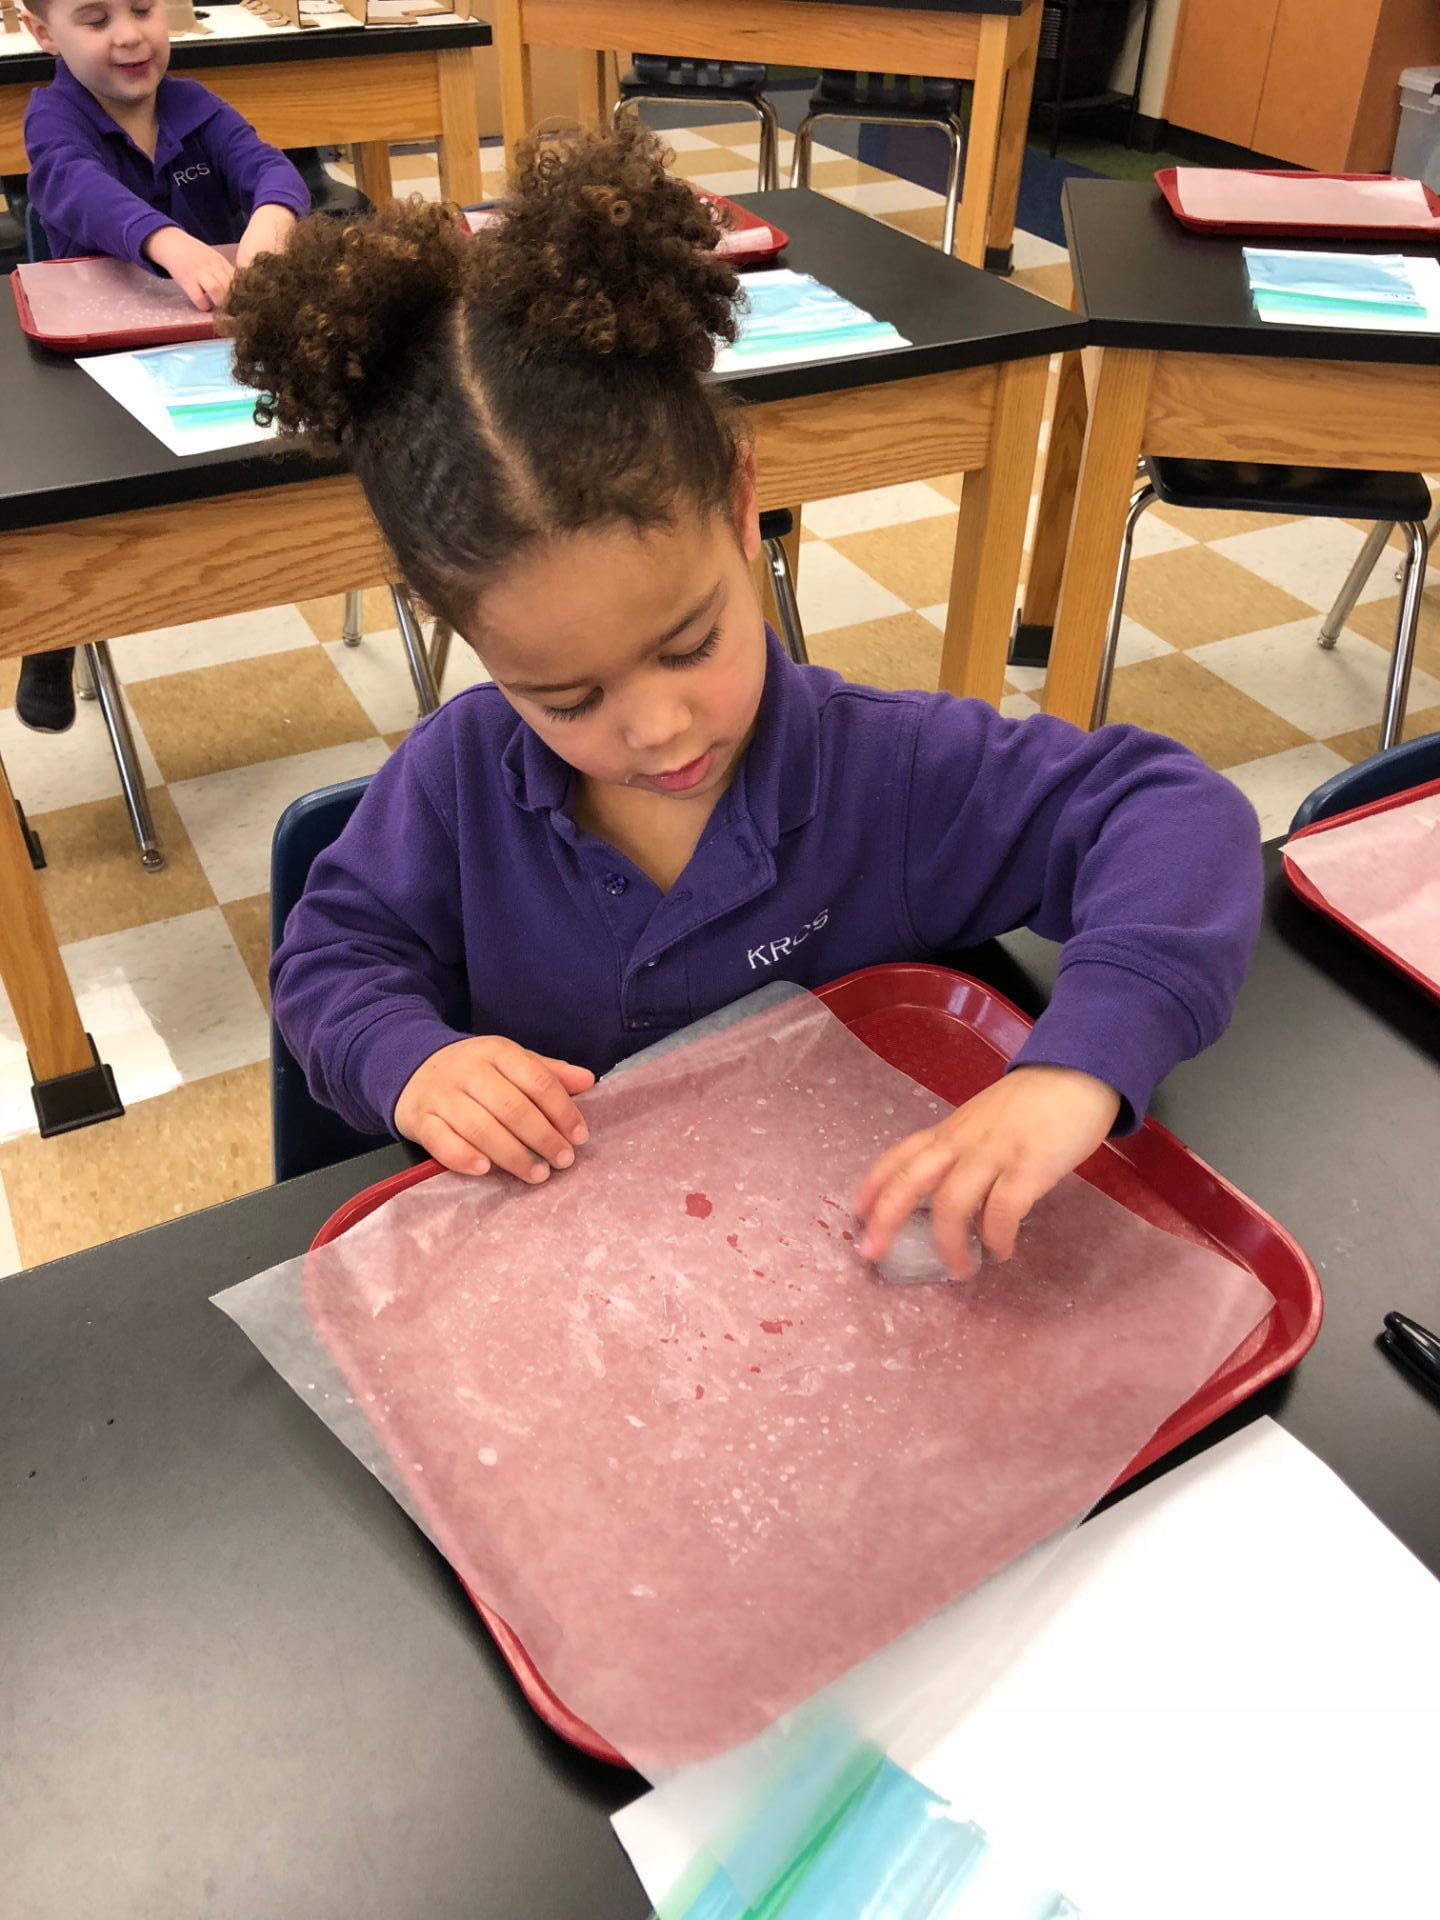
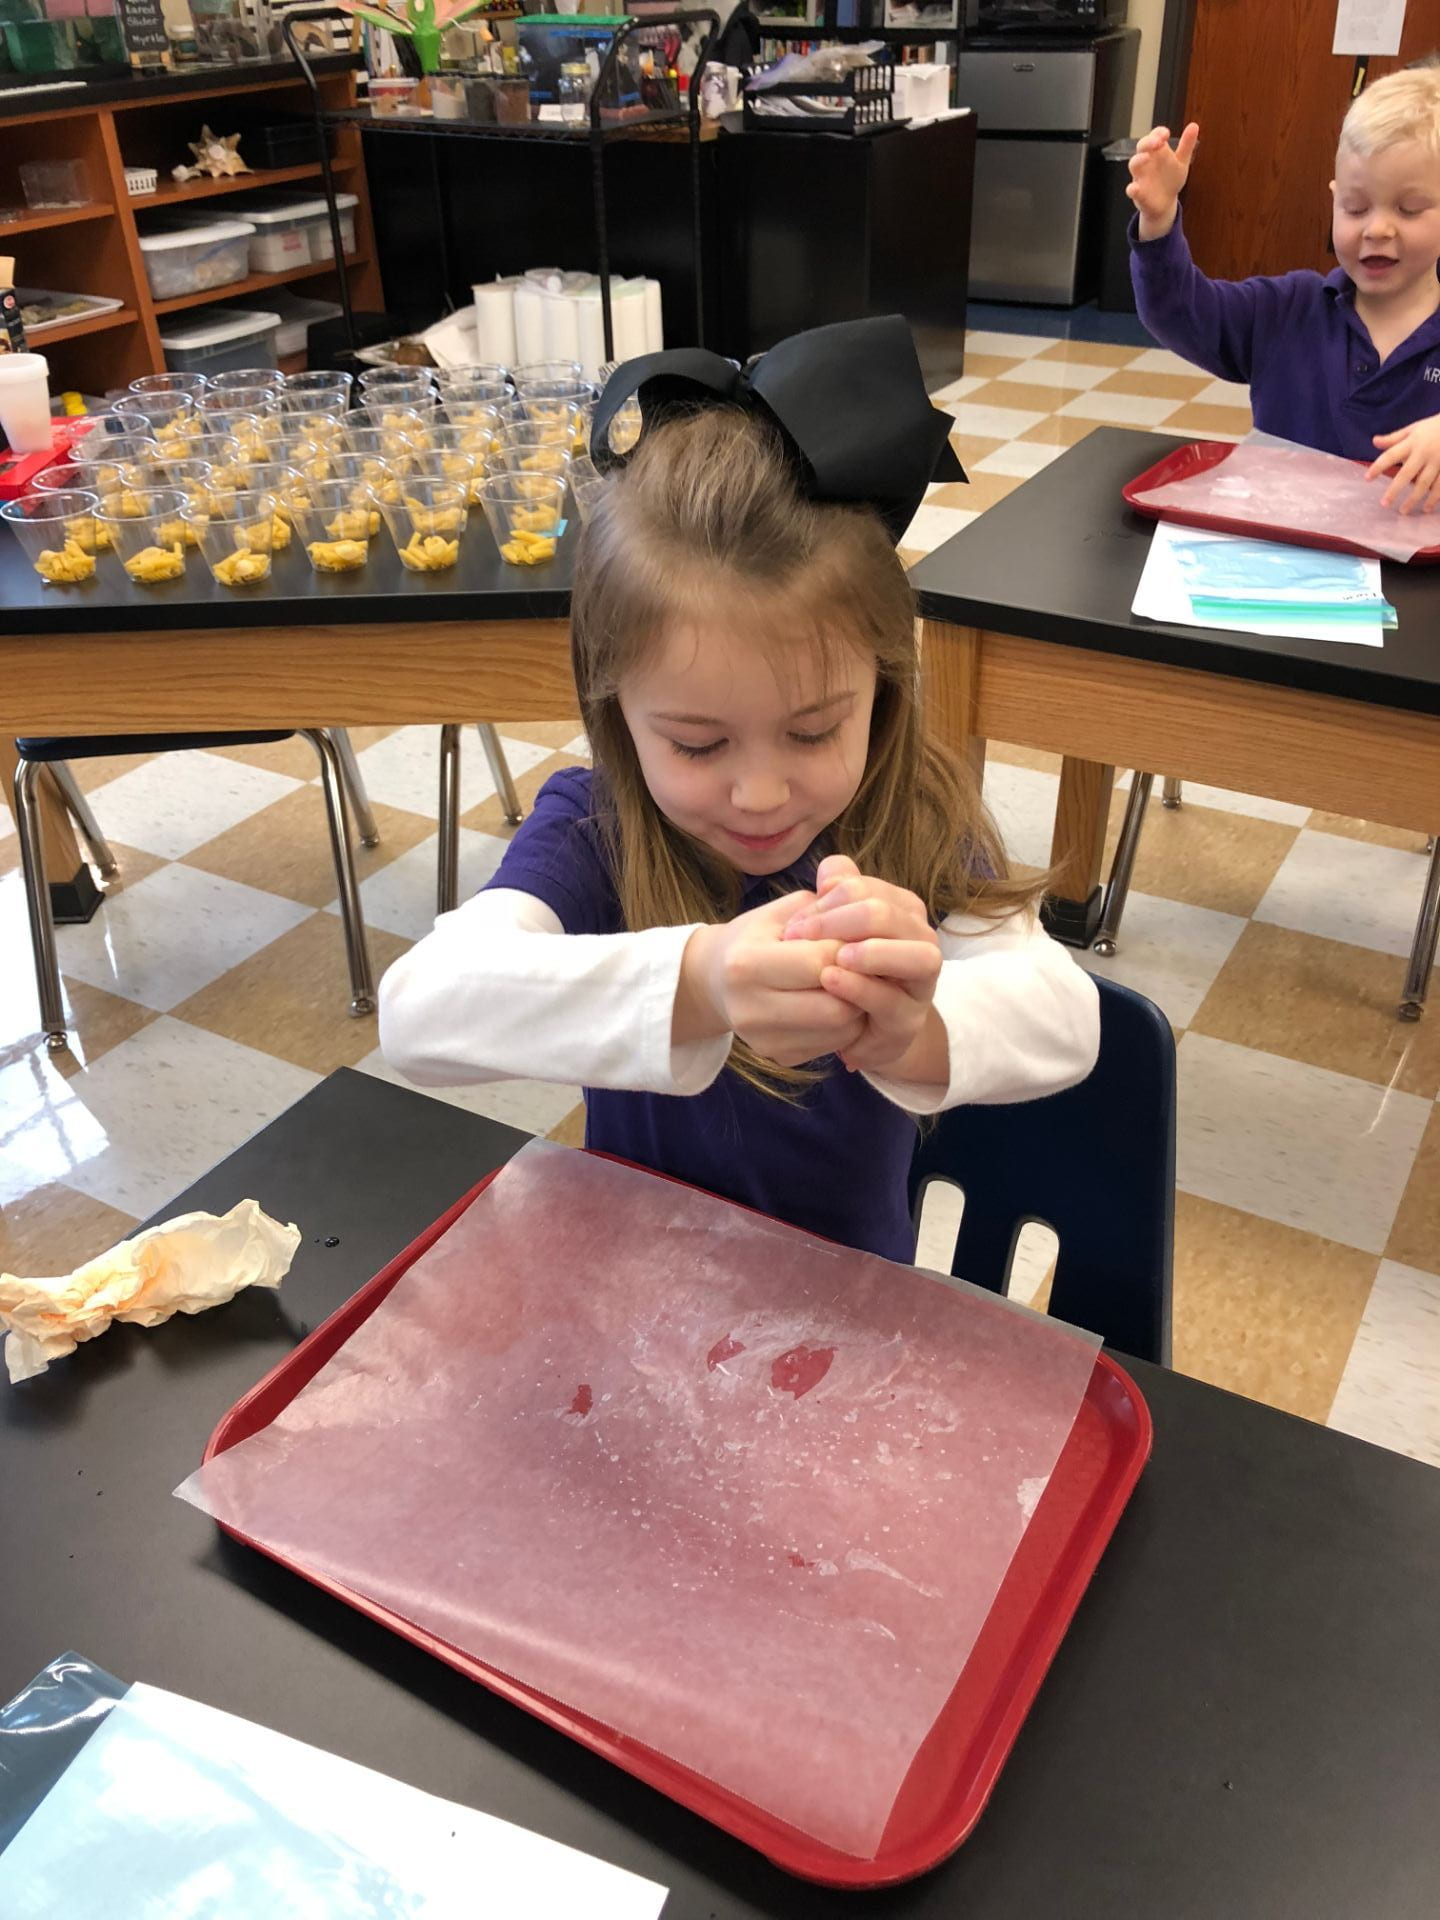
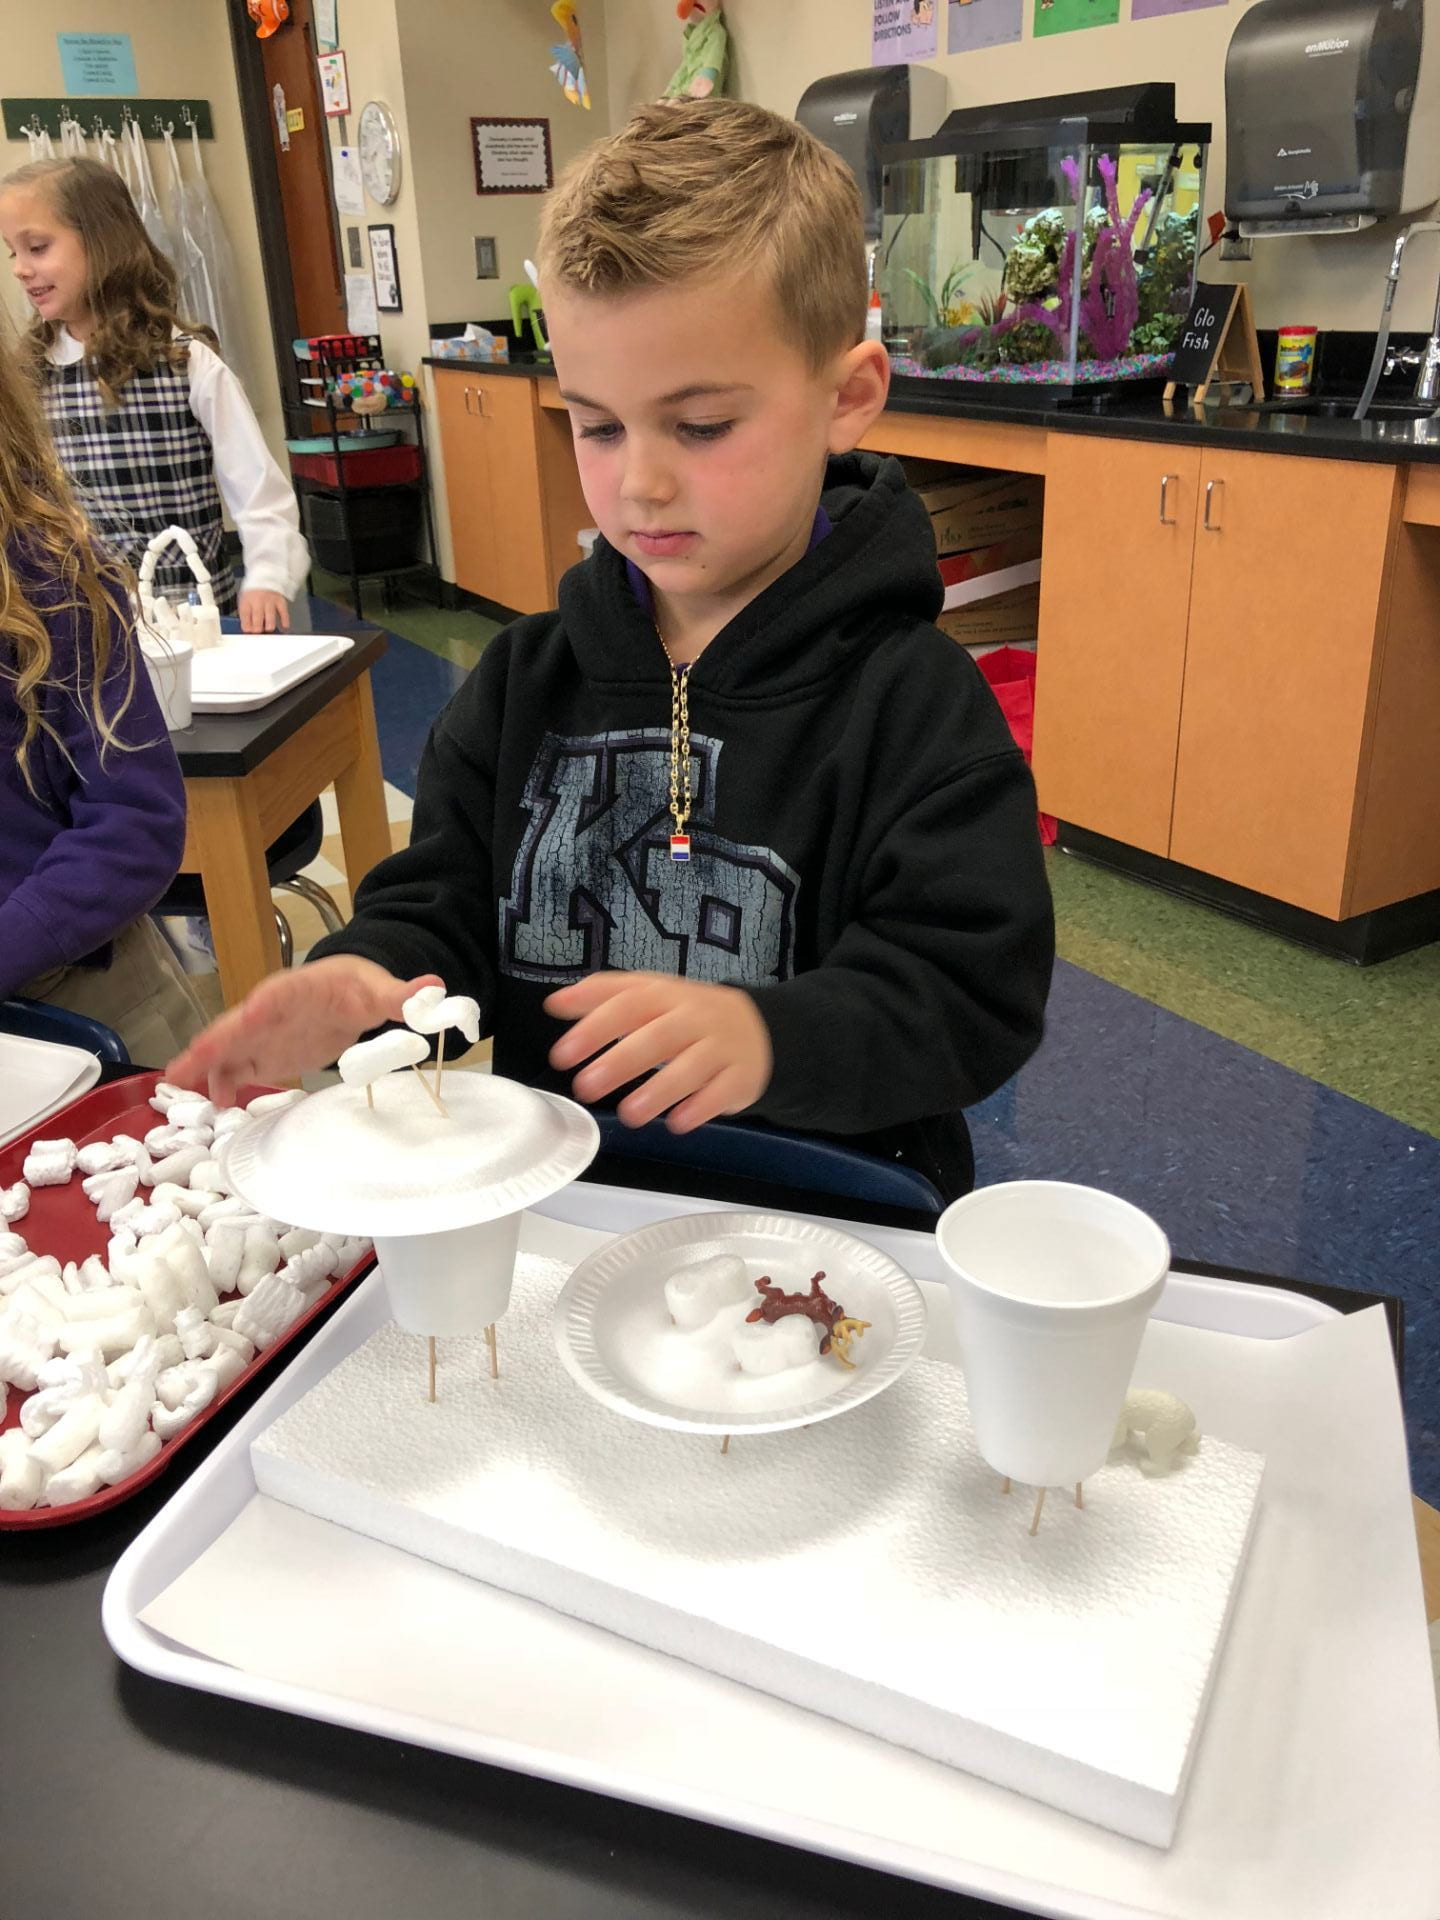
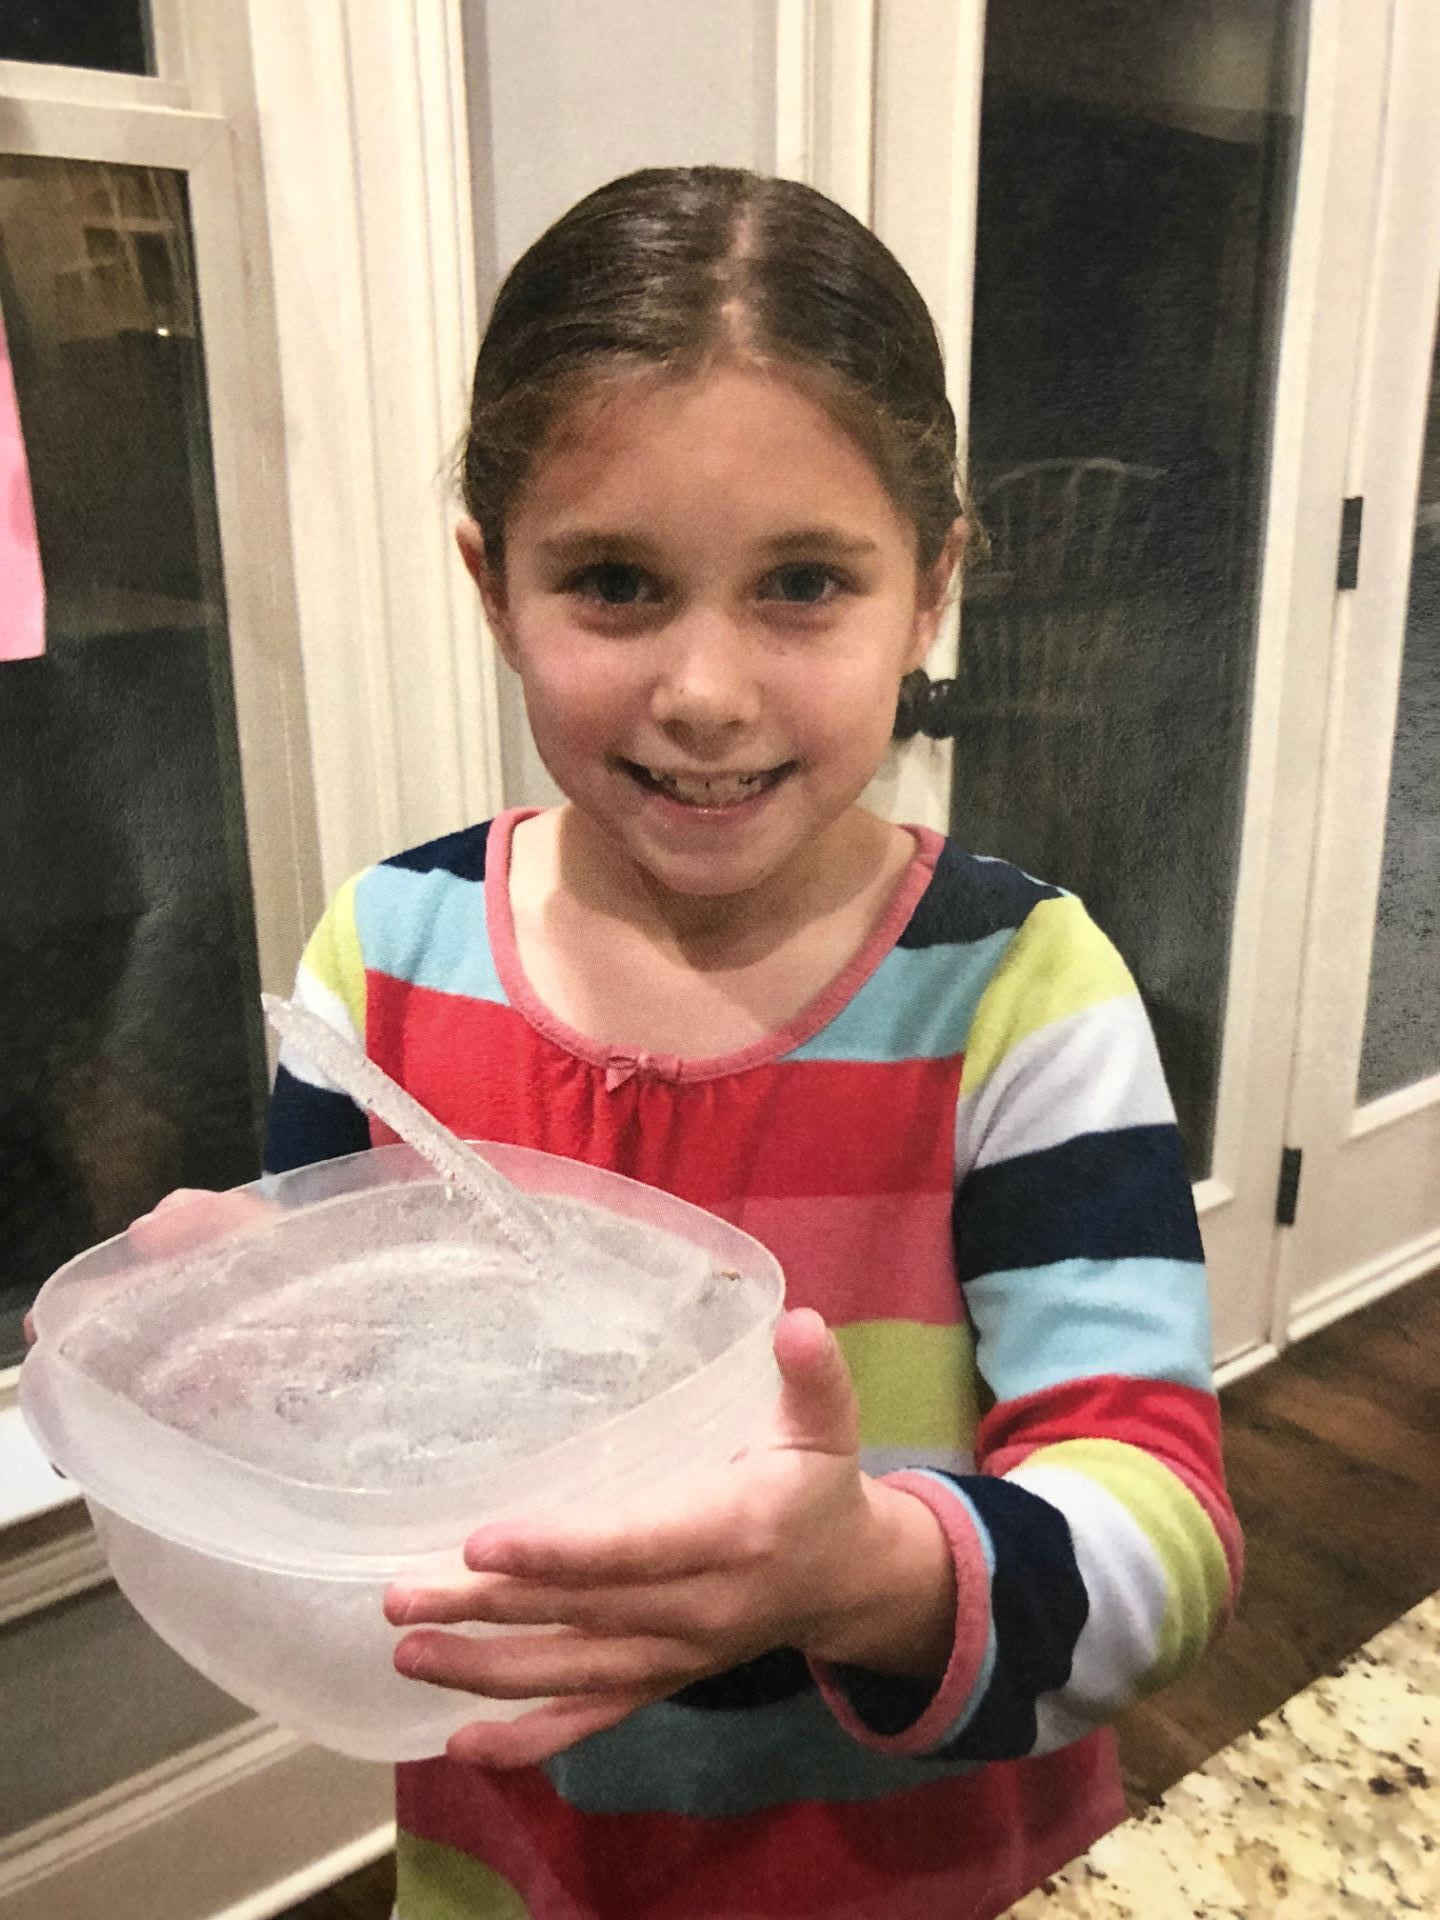
Sometimes, there is ice and snow in the forest, I gave each of my PreK scientists an ice cube and as they pushed them around the table, they began to melt. Why? I explained that our hands don’t feel cold because the cold is going into our hands, but rather, we feel cold because the heat is leaving our hands to warm up the ice.

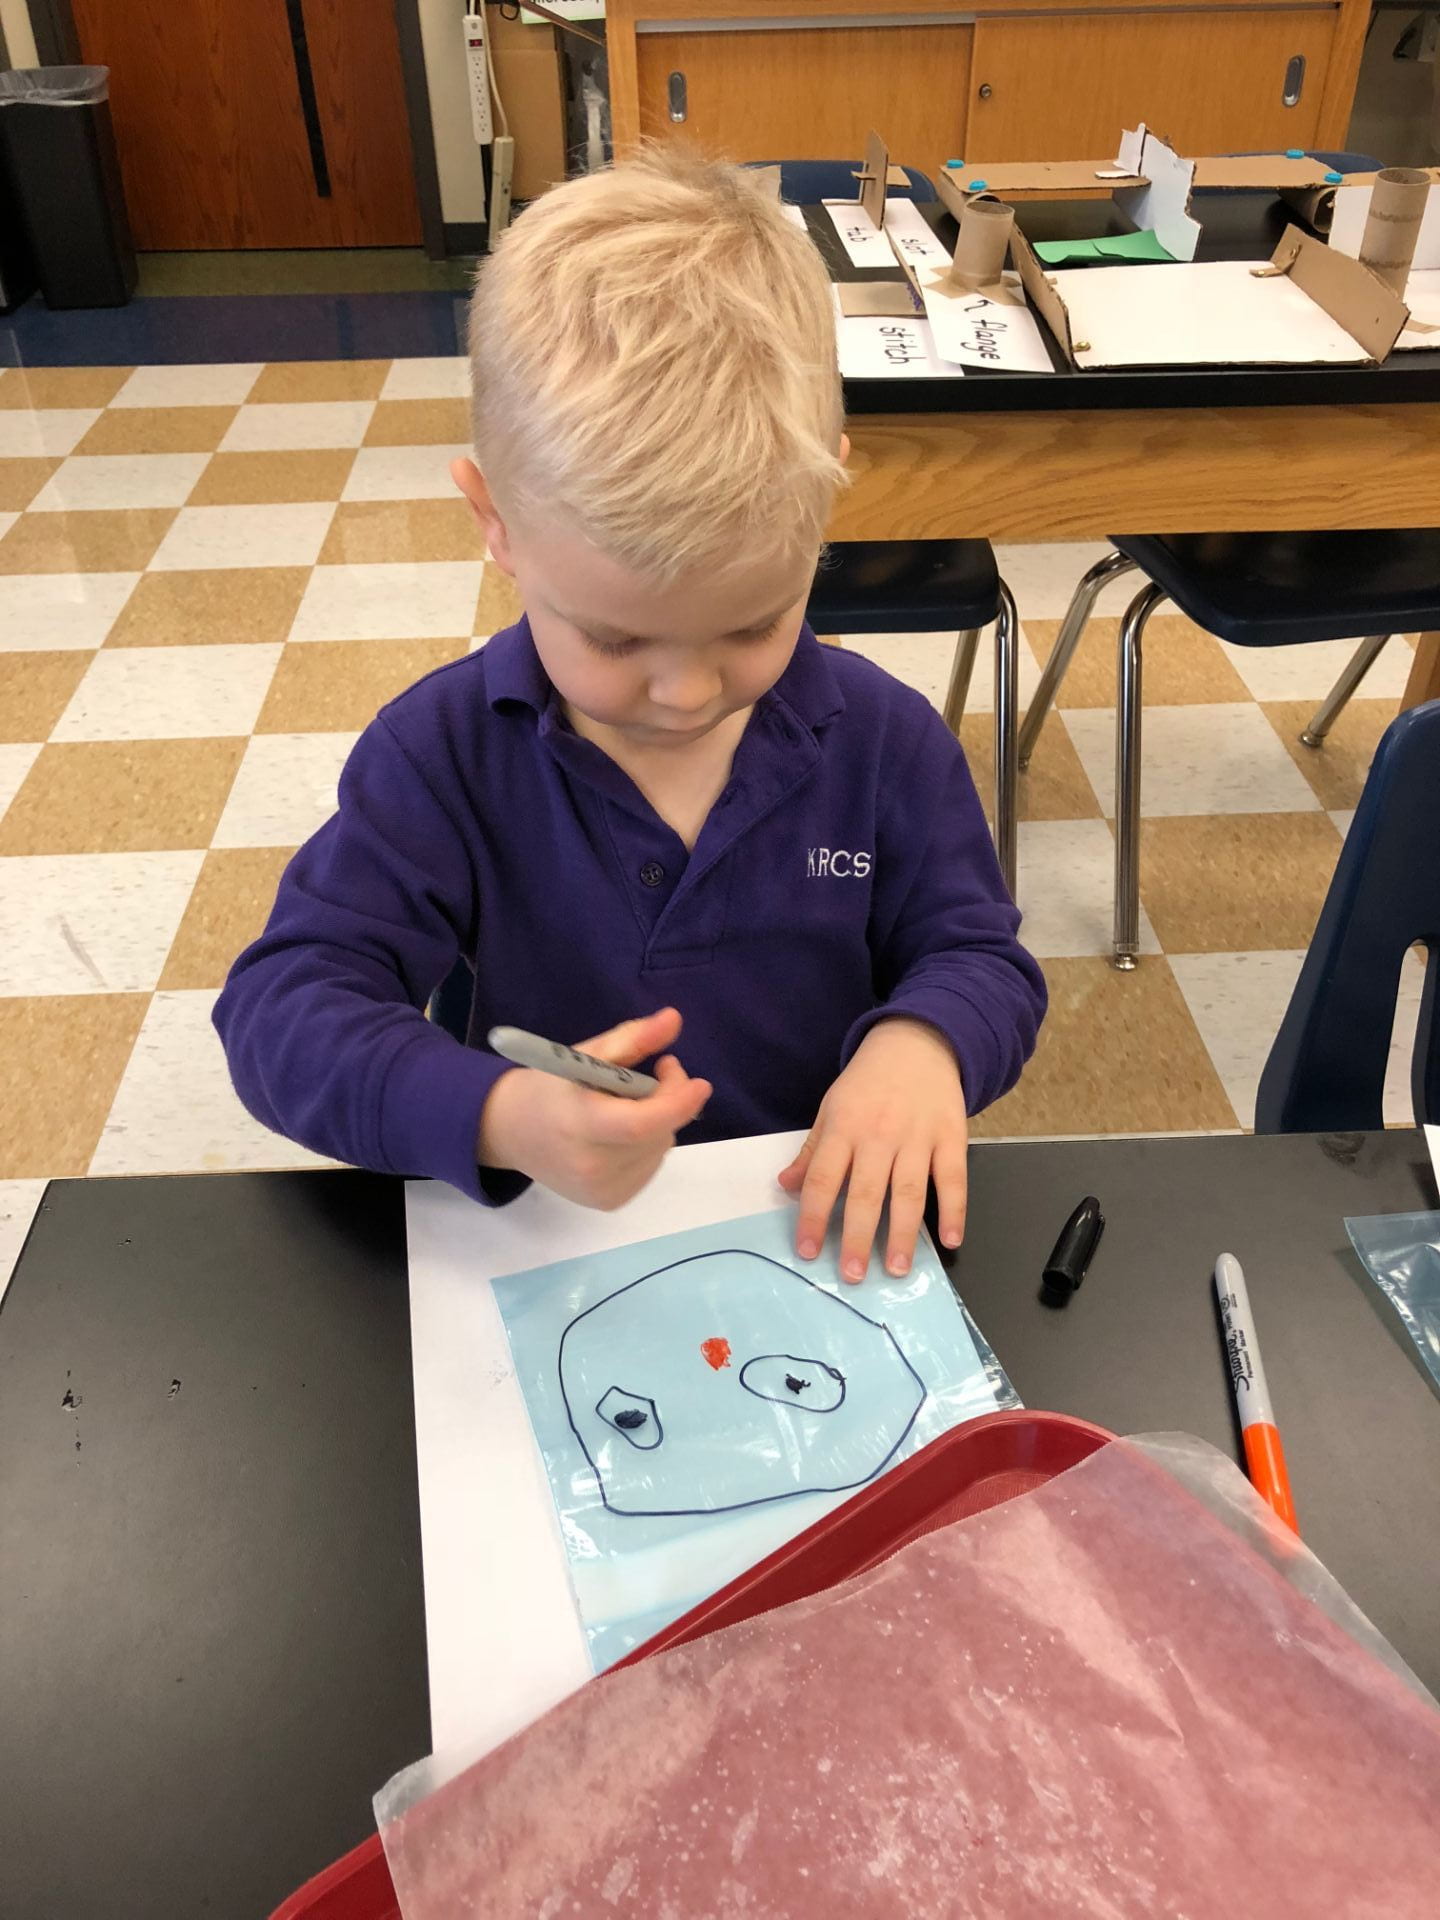
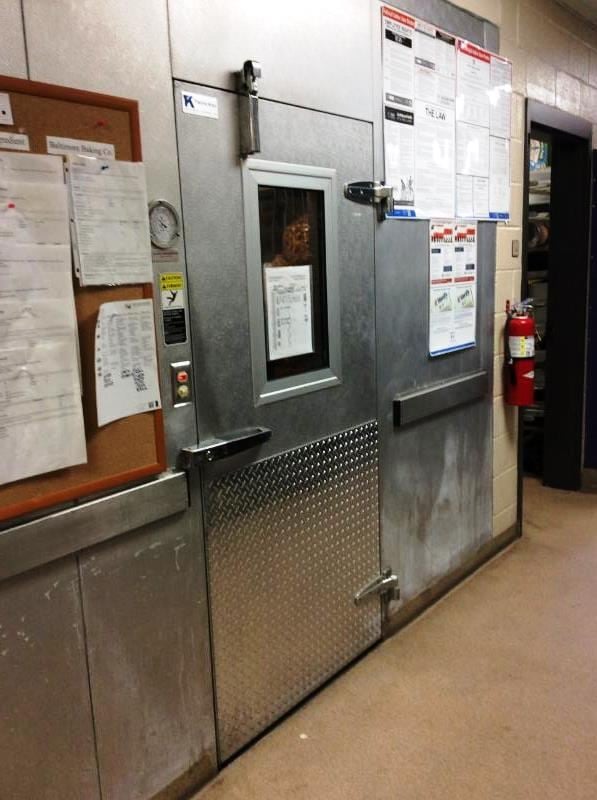
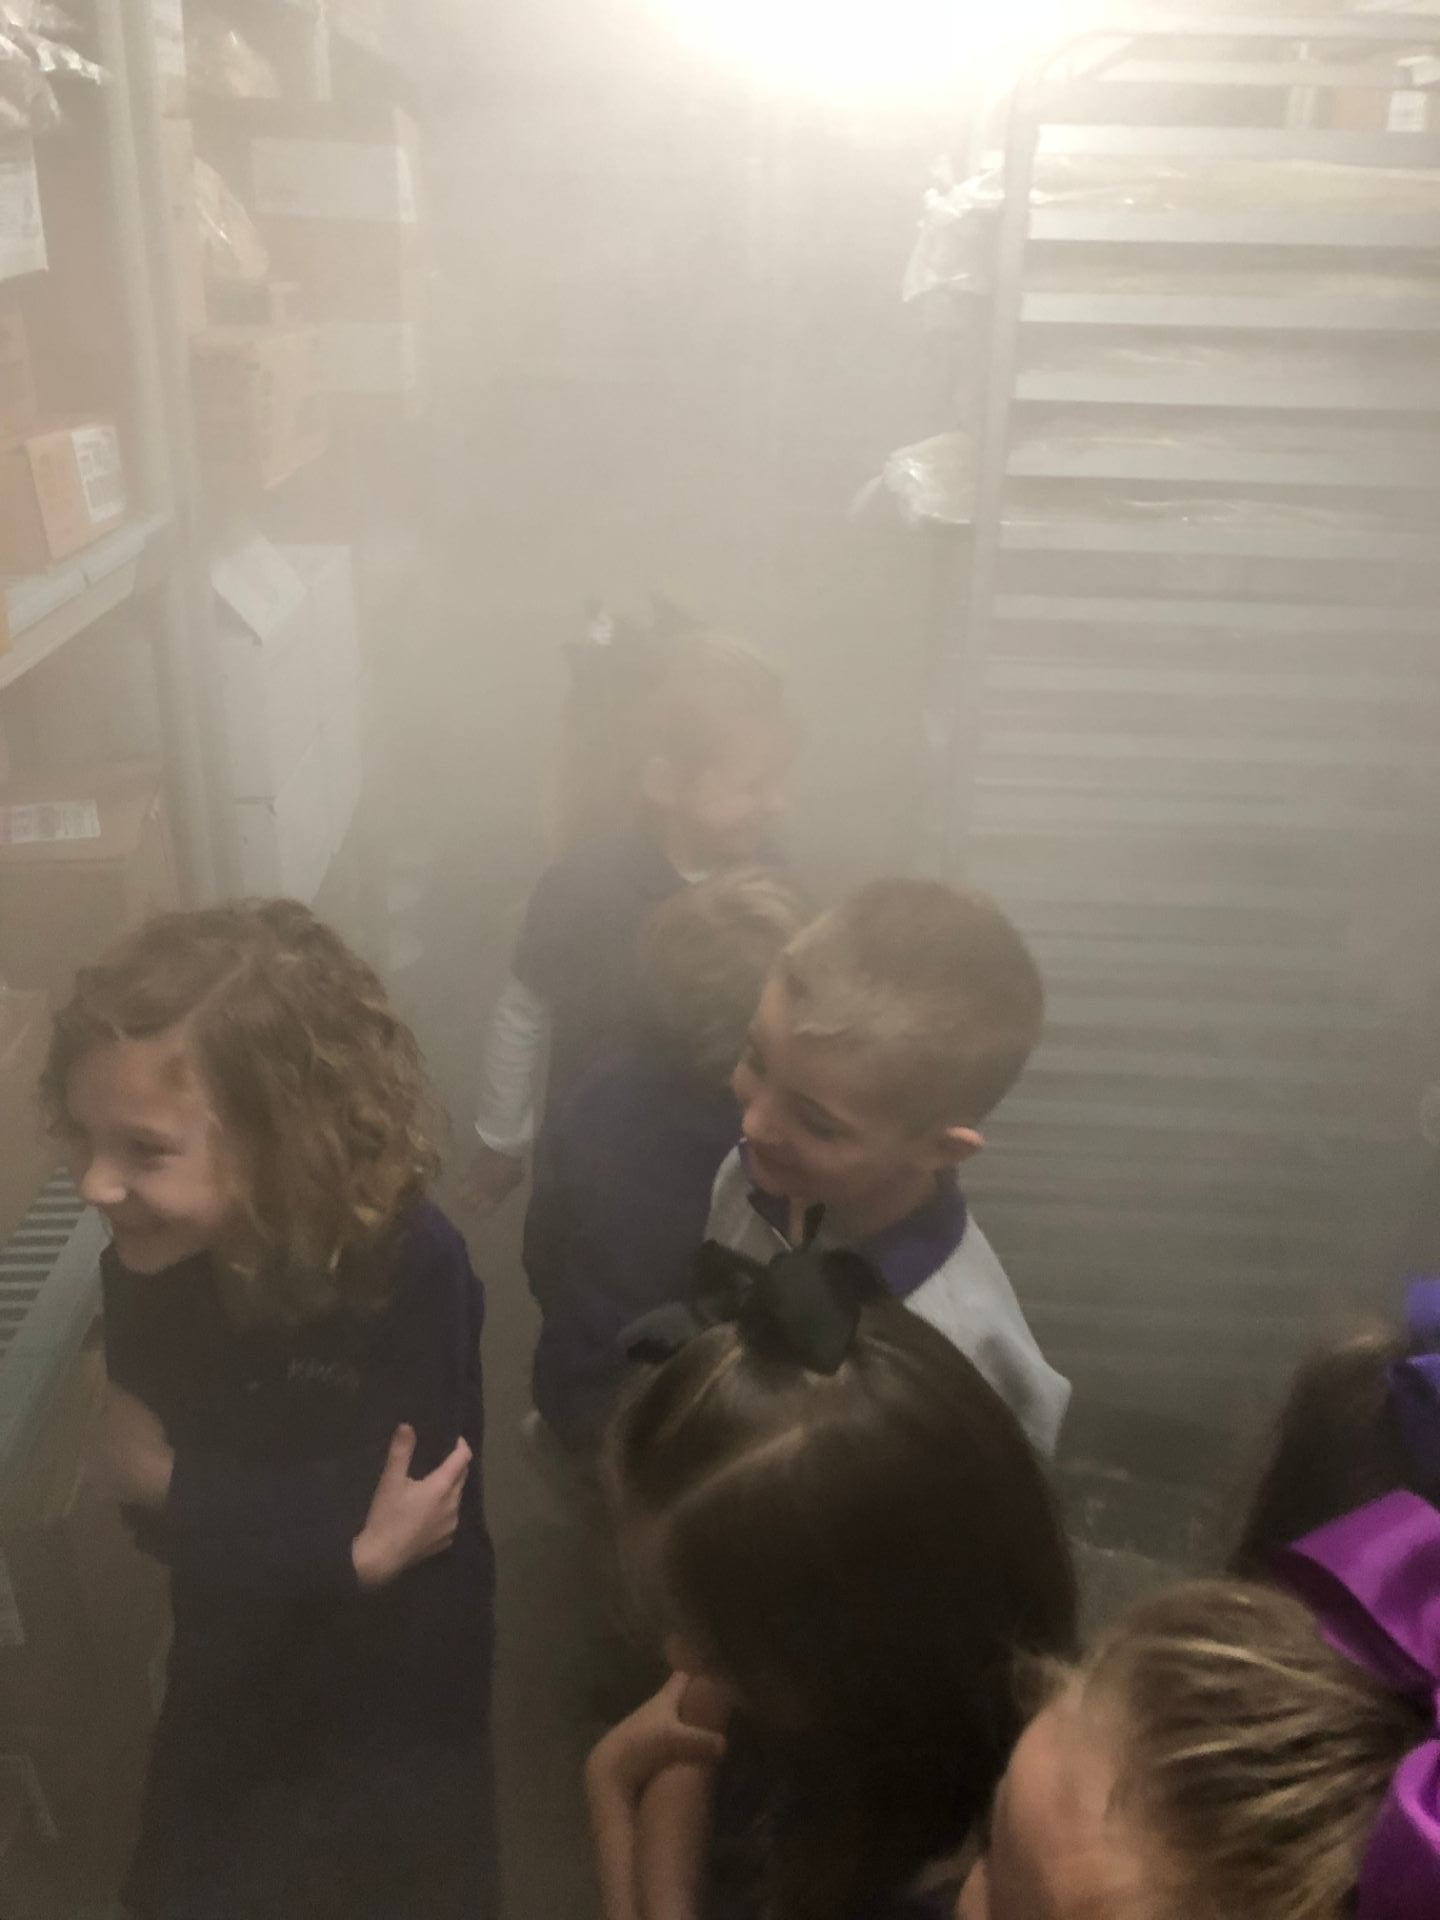
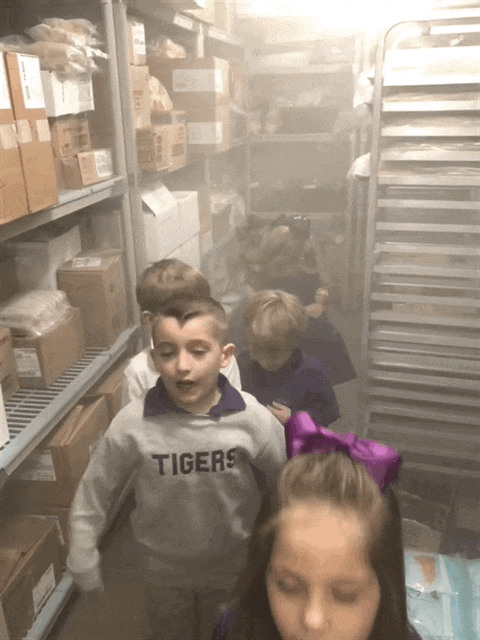
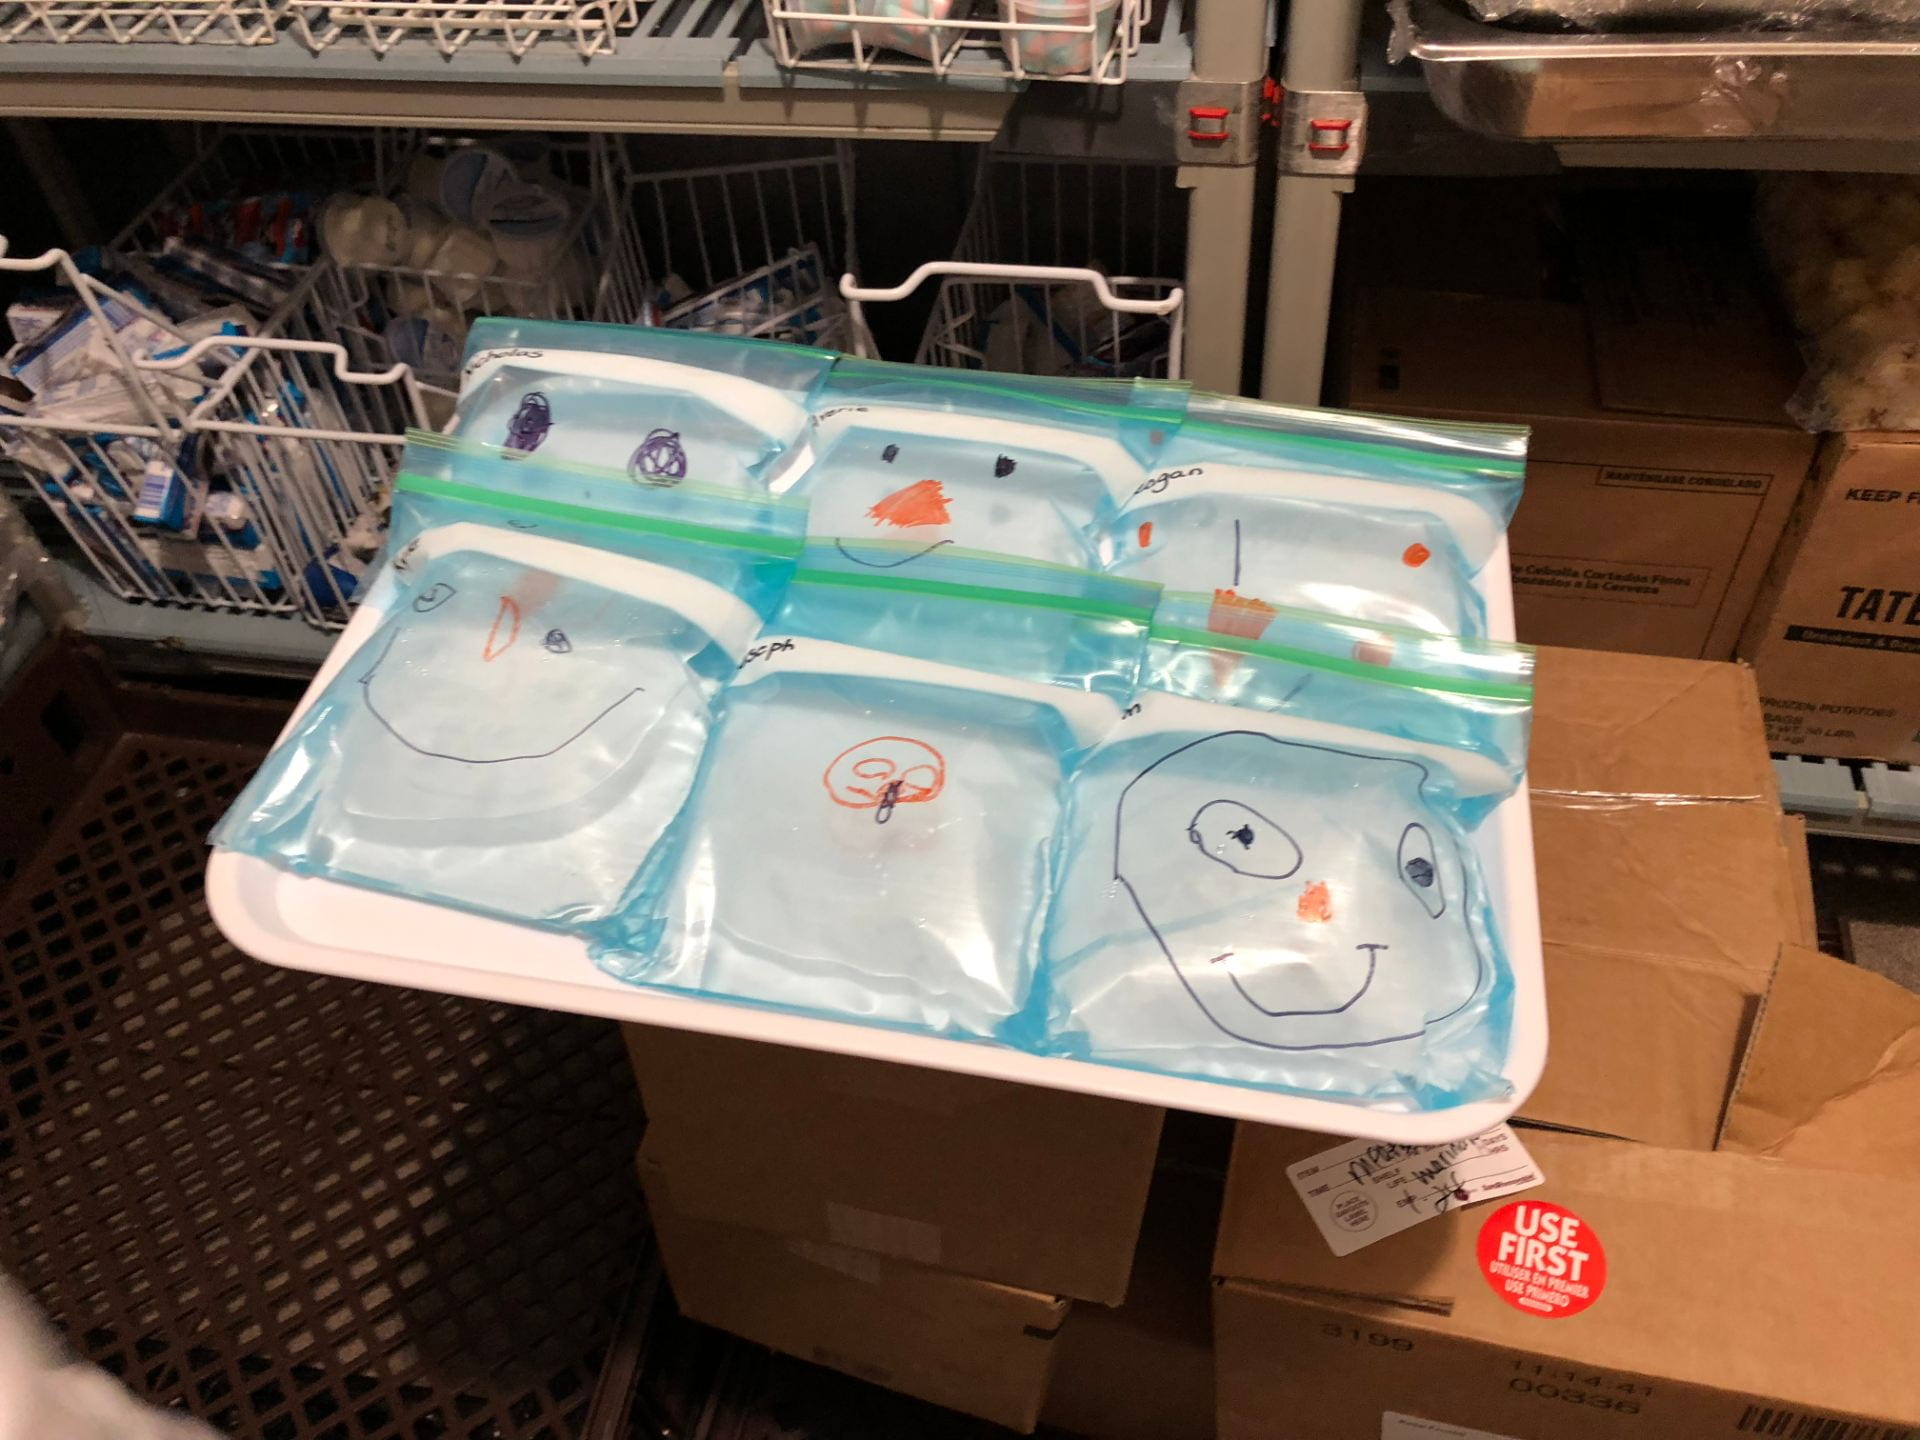
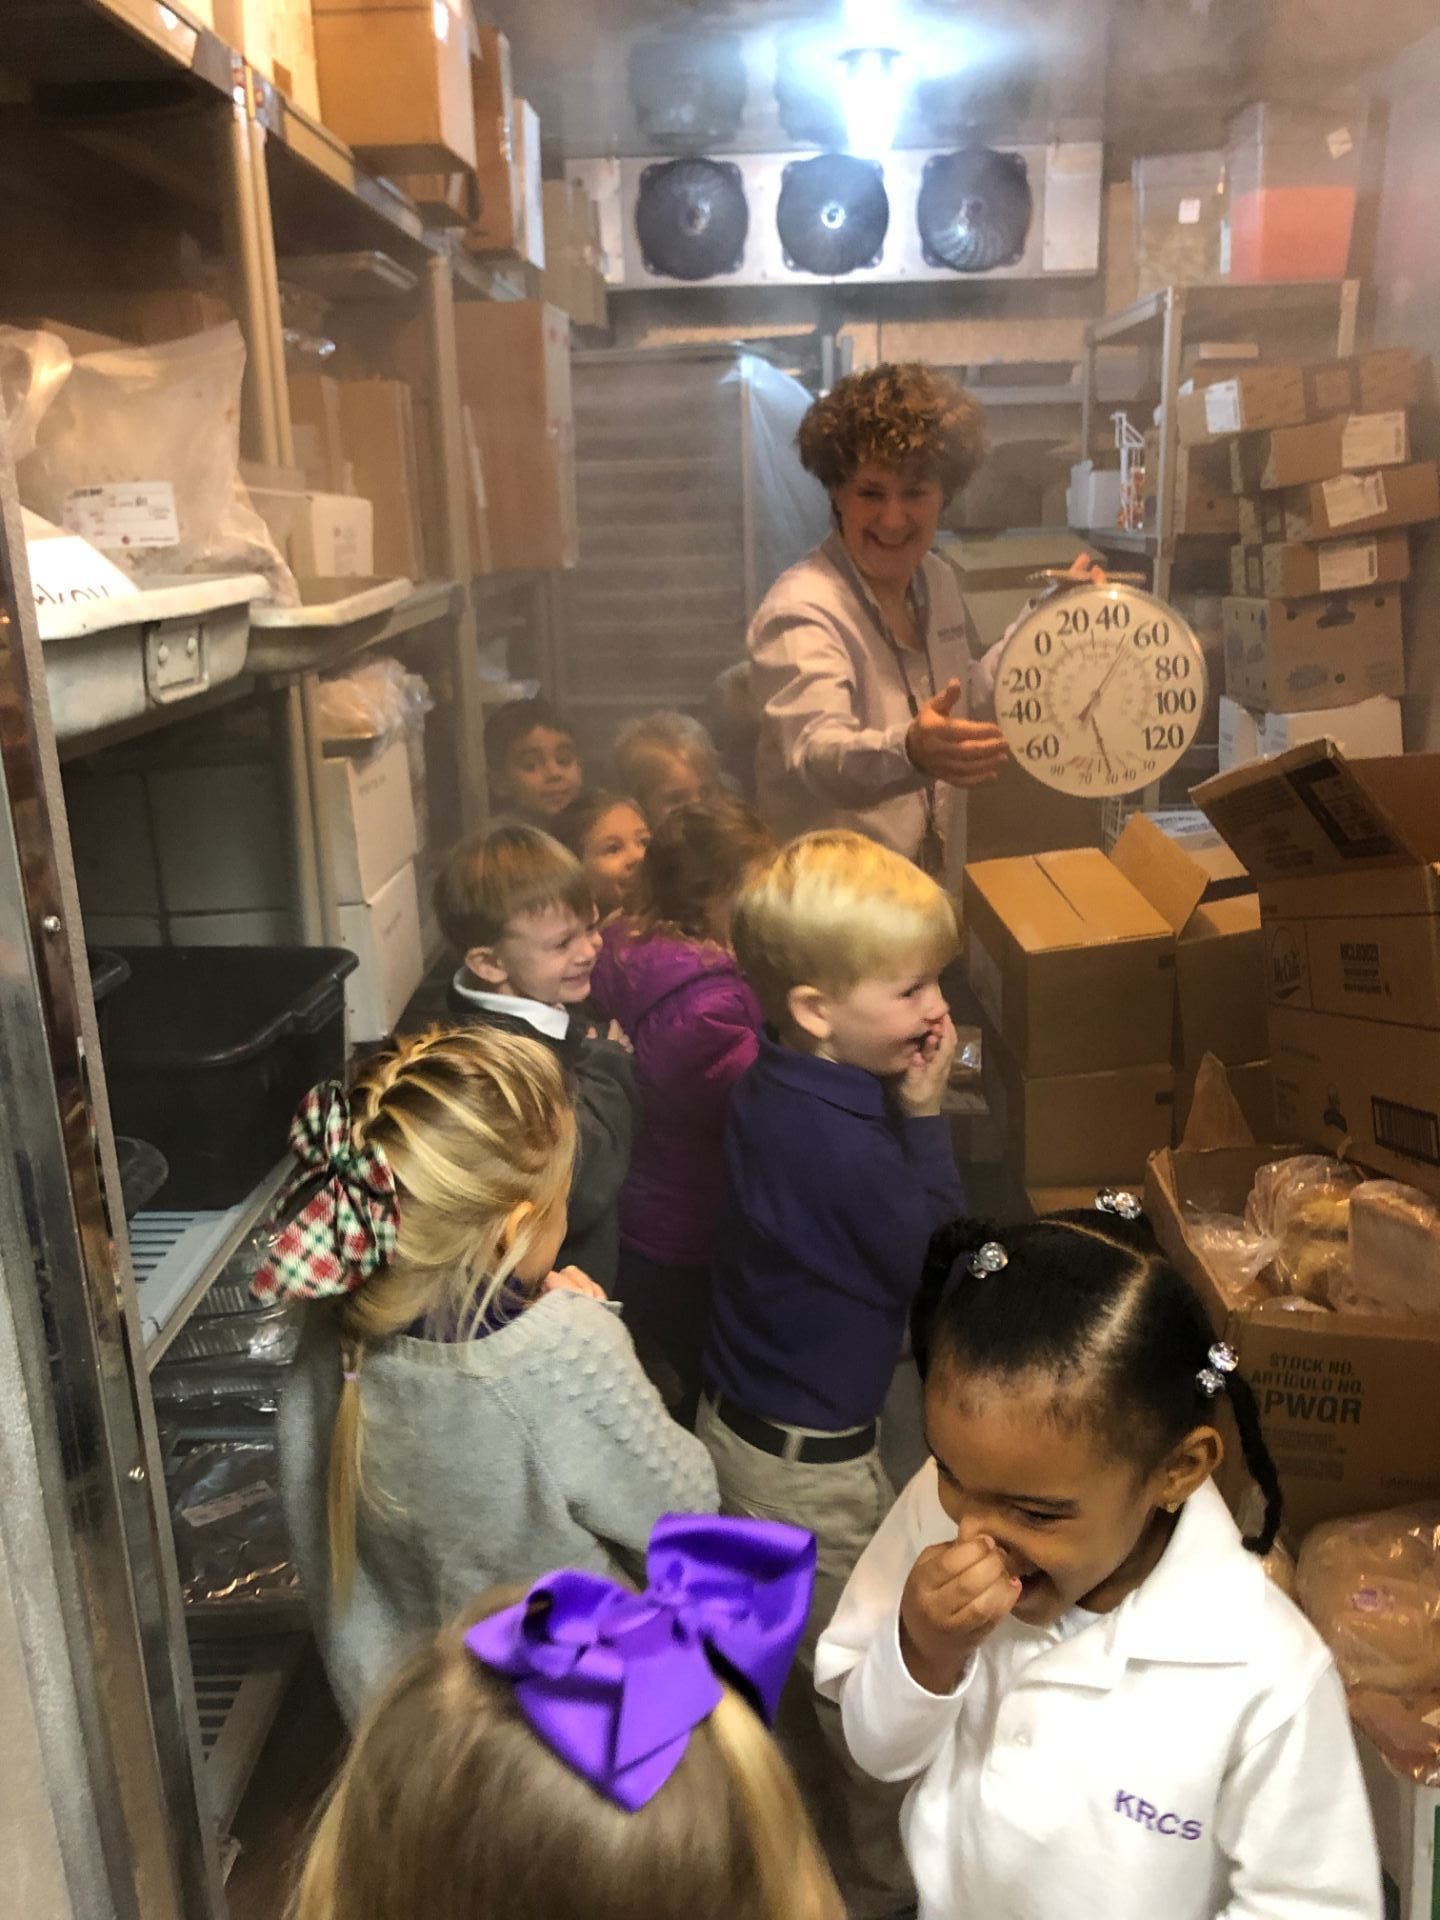
Then my youngest scientists drew snowmen faces on freezer bags. We filled them half-way with water, and brought them to the walk-in freezer in the kitchen next to the dining hall. It was so cold that we could see our breath! The following day, we took them out of the freezer. What will happen next? Thank you Mrs. Posey for allowing us to visit the kitchen.

Click here to use an interactive thermometer. Try this again at home. How long does it take an ice cube to melt? 

Category: Science | LEAVE A COMMENT
January 26

Snow Structures

Kindergarten scientists study the Arctic and Antarctica. In this lab, we traveled to the Arctic and looked at igloos built by the Inuits, native people of the Arctic. Inuits live in homes similar to ours today, but igloos are still used for hunting or fishing trips.

I tasked my engineers to construct new buildings of “ice and snow” with Styrofoam. I witnessed problem solving, creativity, and collaboration as they built. They worked on balancing their structures and incorporating three dimensional shapes. Styrofoam allows little hands to build without the use of tape or glue. What a fun way to develop fine motor skills and eye/hand coordination too. We learned that Styrofoam is not good for the environment because it doesn’t decompose, so this is one way to reuse it. We used Arctic animals, but there were no penguins because penguins do not live in the Arctic.

January 26

More Cardboard Construction

I demonstrated a variety of ways to attach cardboard (with minimal glue and tape) in this makerspace engineering lab. I tasked my engineers to try a few of these techniques. These are incomplete projects.

I used an awesome new kit called makedo. The kit includes screwdrivers, screws, saws, and a variety of other items to build with cardboard. Click here for more information about makedo. This would be a GREAT gift for engineering at home!

This engineer went home and practiced some of the ways we learned to connect cardboard! Love!

January 25

Germs Germs Germs

After a discussion about germs (bacteria and viruses), how they are passed, and where they are found, I sent my second grade scientists out to swab germ hot spots around school. When they returned, they gently rubbed their Q-tips over agar in Petri dishes.  Click here to watch a child-friendly video about viruses. Hope this lesson helps us have a healthy school year!

Watch the video to learn more about this investigation:

Just after we swabbed the Petri dishes:

Two days later:


After we swabbed the Petri dishes, we completed an investigation to demonstrate the importance of using soap during handwashing. We dropped pepper (germs) in water inside small bowls. We placed a clean Q tip inside the bowl, but the pepper did not move. Then, we dipped the Q tip in soap. This time when we touched the pepper, it moved quickly to the sides of the dish. The soap broke the surface tension of the water.

Category: Science | LEAVE A COMMENT
January 22

Science Summer Camps

Science ATL

Below is a list of STEM-themed summer camps in the metro Atlanta area, presented in no particular order, as an aid to parents seeking awesome science experiences for their kids this summer. Please do your own research to determine if any of these camps are the right fit for your child.

Disclaimer: Inclusion of any organization, activities, products, or services on this webpage does not constitute or imply the endorsement, recommendation, or favoring of the Science ATL Inc., or any of its employees or contractors acting on its behalf.

Click here for Atlanta area summer camps.

Category: Science | LEAVE A COMMENT
January 22

Ice Spike

Never stop wondering…

This scientist came to me before school and asked how a spike appeared in the ice that she left outside.

“Water expands when it freezes. As freezing continues, the expanding ice under the surface forces the remaining water up through the hole and it freezes around the edge forming a hollow spike. Eventually, the whole thing freezes and the spike is left.” University of Toronto Physics

Category: Science | LEAVE A COMMENT
January 21

Evergreens and Conifers

First grade arborists are completing their tree unit. I reviewed concepts that we learned previously with a lesson about evergreens and conifers. What are the differences between deciduous and evergreen trees? Are all needles the same? Why is the end of the cut branch sticky? Did you know that there are male and female cones? Male pine cones produce pollen and female cones contain the seeds.

We discovered that not all evergreens are conifers (cone bearing) and that all conifers are not evergreen. We know that God loves diversity because even the cones on one tree were not identical. Click here to watch a movie about evergreens with your child.

I brought in branches and cones from these evergreens that are growing around the Lower School. First grade scientists drew these branches on their dry erase boards, taking note of the length of the needles and how are attached to the branch.


Click here to watch a lesson on the golden ratio which can be seen on the bottom of a pine cone. We did not watch this together.


Why do pine cones close when they are wet? Think seed dispersal. How long will it take for them to reopen? Click here to watch a pine cone open and close.

Using what you know, how did I fit this pine cone inside the vase?

Conifers have cones. Yes they do!
Conifers have cones.Yes they do!
They close when they’re wet
And they open when they’re dry.
Conifers have cones. Yes they do!

What happened to these pine cones? is there something inside them that an animal might want to eat?


Take a walk with your child and look for examples of conifers and evergreens. Do you see any cones on the trees? Are the cones you see open or closed? Compare needles and look for animal homes.

Category: Science | LEAVE A COMMENT
January 19

Sunrise

I’ve shared this before, but I am so blessed to see the sunrise out my lab windows. As I opened my lab door on Friday, this beautiful sunrise welcomed me to a new day.

Category: Science | LEAVE A COMMENT
January 19

Eggs and Vinegar

Third graders took this investigation through the Scientific Method. What will happen if an egg is submerged in white vinegar? We also placed an egg in vinegar with food coloring. Vinegar is a weak acid. Click here to watch a video summarizing this investigation.

Bubbles appeared immediately which meant that a gas (carbon dioxide) was produced during the chemical reaction.

The egg rose to the top of the cup.

The egg rotated periodically. Hmmm…

Bubbles began to collect on the edges of the cup. Later we observed a frothy white material at the top of the cup.

A few days later, the shells were gone and in the words of one of my scientists, “It feels like a water balloon.” They also bounced! When the eggs broke open, the membrane separated from the white and yolk.

Then we placed an egg that had been in vinegar into corn syrup. What will happen to the egg now? Corn syrup consists of less water than vinegar.

The white and the membrane of the egg placed in vinegar and food coloring turned blue, but the yolk remained yellow. The second egg in the photo was the egg placed in corn syrup.

Experiments often lead us to new questions. What changes will occur if we leave the egg out of the vinegar? What might happen if we placed it in another liquid, like soda?

This is an easy investigation to do at home. Click here for additional information and a video. The children are actually witnessing osmosis through a semipermeable membrane!

Category: Science | LEAVE A COMMENT
January 16

Makerspace Skills

Engineering labs are always a favorite! The purpose is to teach our students skills which they can apply in STEM projects. In this lab, we learned how to connect cardboard in a variety of ways (without using an abundance of tape or glue). Click here to learn more. Then, my engineers were tasked with building a structure using the slot method.

I shared some real-world examples of the slot method.

This engineer discovered how to make a structure that collapses like the one below.

Marielle went home and built another design! Wow!